My husband and girls LOVE bananas, so lately I have been making a lot of banana flavored treats for my family.
This breakfast is healthy, delicious, and super simple to make with and for kids! Ella and I made this batch together for Sunday breakfast for our family.
This recipe makes 24 muffins- which is perfect for our large family. This recipe can be easily cut in half if your family size isn’t as large! Or you can make and freeze for an easy grab & go breakfast for those accidental last-minute mornings!
Let’s Bake!
Ingredients:
1 Stick vegan “butter”, softened (I use Earth’s Best!)
4 Over-ripe bananas
2 Cups flour
1 Cup light brown sugar
1 TSP salt
2 TSP cinnamon
2 TSP Pure Vanilla Extract
2 TSP baking soda
2 TSP baking powder
2 Cups oats
Instructions:
Wash hands ✋
Preheat oven to 400° + prepare muffin tins (reusable liners or spray with Pam Baking Spray w. Flour)
In your stand mixer bowl, mix together bananas, flour, and brown sugar.
Add in salt, cinnamon, vanilla, baking soda, and baking powder. Stir to combine.
Add oats, stir to combine.
Spoon batter into muffin tin + top with oats for decoration
Bake 15 minutes + let cool before serving
That’s it! So easy that kids can make these almost entirely by themselves!
I hope you enjoy your Vegan Banana Oat muffins! If you do, please share!
My sweet Mia recently decided that she is going vegetarian! My husband recently told me that he is going pescatarian! Hooray! We are taking another giant step closer to being a completely meat-free home!
My mom also recently told me about these “Blue Zone People” who eat very little meat and live to be over 100 years old. I’m not a fad-diet person, or a diet person at all if we’re being honest, but if it involves no meat, I’m a supporter!
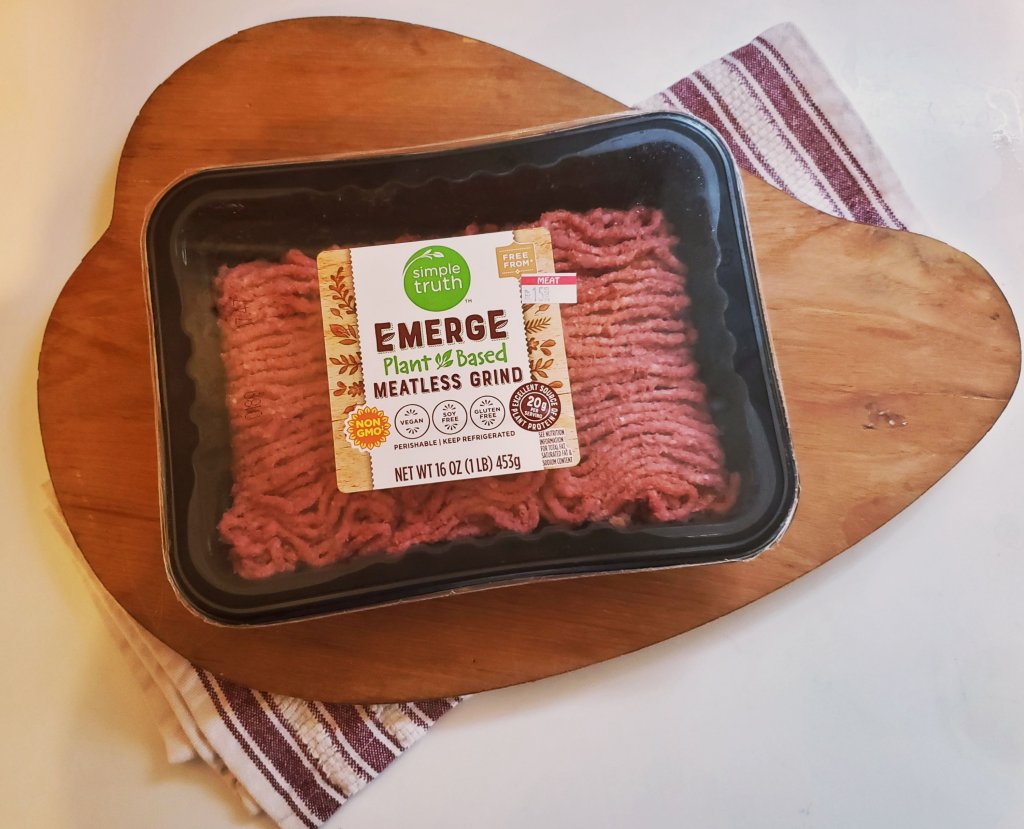
However, all three share a lack of enthusiasm when it comes to “fake meat,” or meat alternatives. I, for one, LOVE ❤ “fake meat,” but that is probably for the first time in my life, I can eat something that resembles meat without being afraid of eating it. We aren’t supposed to put dead things inside living things 🤷🏼♀️.
[ ❇ FUN FACT: I did not eat meat growing up due to a very debilitating phobia of vomit (better known as emetophobia), but did not classify myself as vegetarian because my diet consisted of strictly noodles, butter, and cheese until I met my husband. So basically, I was a carb-ivore. 😂]
I became determined to find recipes that make “fake meat” more appetizing to keep them from losing their interest in going meat-free and provide a variety of healthy AND large-family affordable meatless meals, using mostly ingredients we keep regularly stocked in our pantry. Using what you already have is the MOST eco-friendly thing you can do.
Let’s Get Cooking
◾ Fresh Ingredients:
1 Yellow onion
1 Green pepper
1 Yellow pepper
1 large tomato
1 LB. “Meatless Grind”
◾ Pantry Ingredients:
3 TBSP olive oil
1 Carton vegetable broth
3 TBSP tomato paste
1 TSP dried oregano
2 TSP dried basil
1 TSP garlic powder
1/2 TSP black pepper
Salt to taste
1 Cup brown rice
◾ Instructions:
Get Prepared – Begin heating 3 TBSP olive oil over medium heat in your Dutch Oven pan (I prefer Lodge brand) + chop all veggies.
Dump in your peppers & onions, after a few minutes add the tomatoes, cooking for another minute or so.
Scoot your veggies over against the sides and add your meatless grind into the center & cover. Stir grind, cover. Stir grind, cover. Eventually you will mix all of the meatless grind in with the veggies as it cooks.
Add your 3 TBSP tomato paste, stir. Add 1 carton of vegetable broth, stir. Add 1 TSP oregano, 2 TSP basil, 1 TSP garlic powder, 1/2 TSP black pepper, + salt to taste, stir.
Bring the temp down to low, cover + let simmer for 20 minutes.
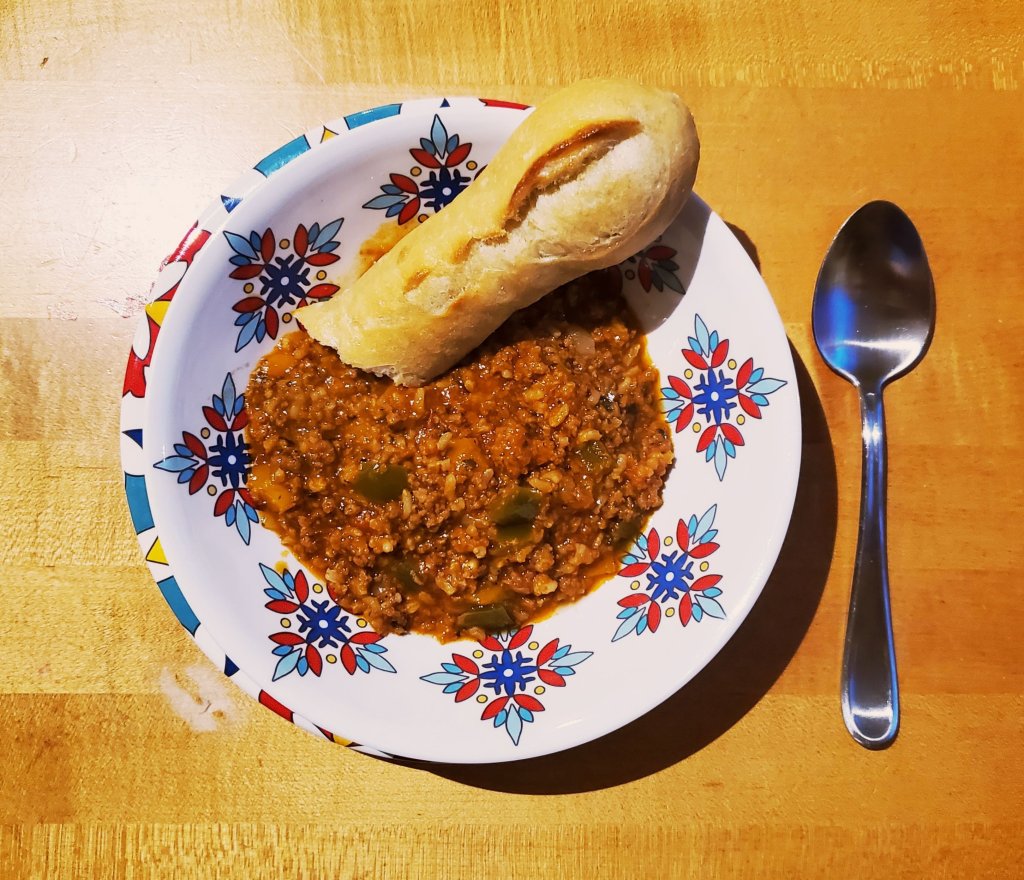
Add 1 Cup brown rice. Cover + cook until rice is finished.
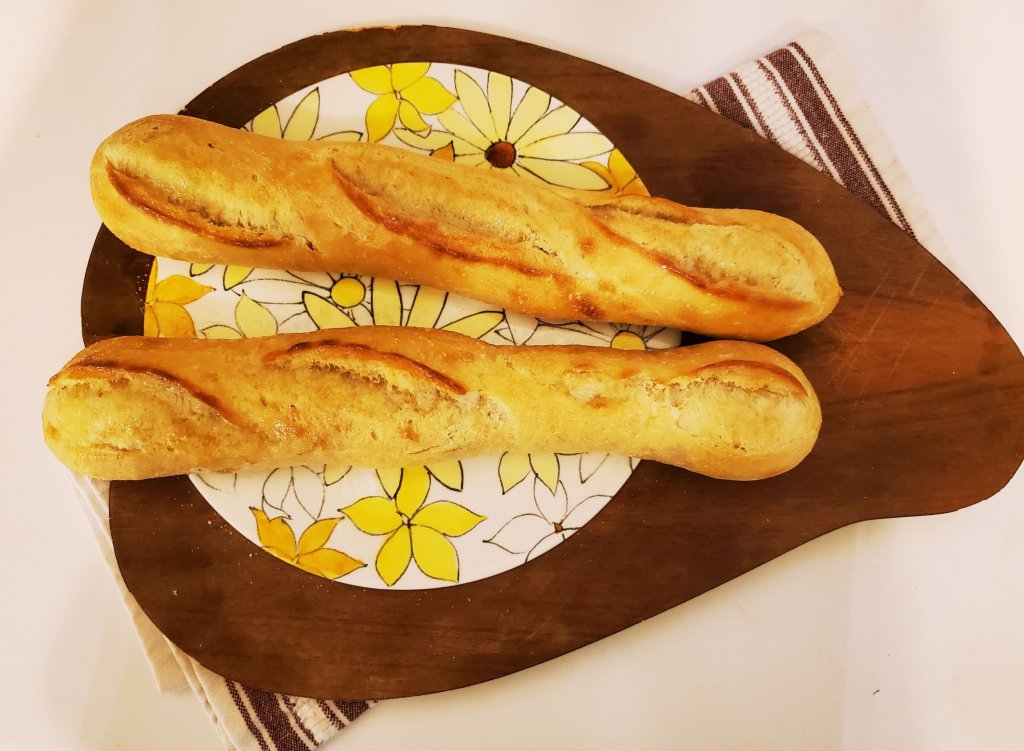
Serve, paired with a crusty bread. We chose French Baguette.
Enjoy 😘
Found this recipe delicious? Please consider sharing! Make sure to subscribe for more easy & affordable meat-free recipes!
My youngest baby is already about to turn 1 year old in just a few weeks! It is hard to believe this time last year I was perfecting every last detail of her nursery makeover before she arrived.
I never got to design Kaden’s nursery since we lived with my parents at the time he was born and they made the executive decisions about what was purchased for his nursery.
I never got to design Ella’s nursery, and as we added more and more girls, we just sort of left the dull pink color and mismatched furniture for all of the girls. I finally decided to design the nursery that I wanted and would love, and learned that I really don’t care for pink all that much, especially as a wall color.
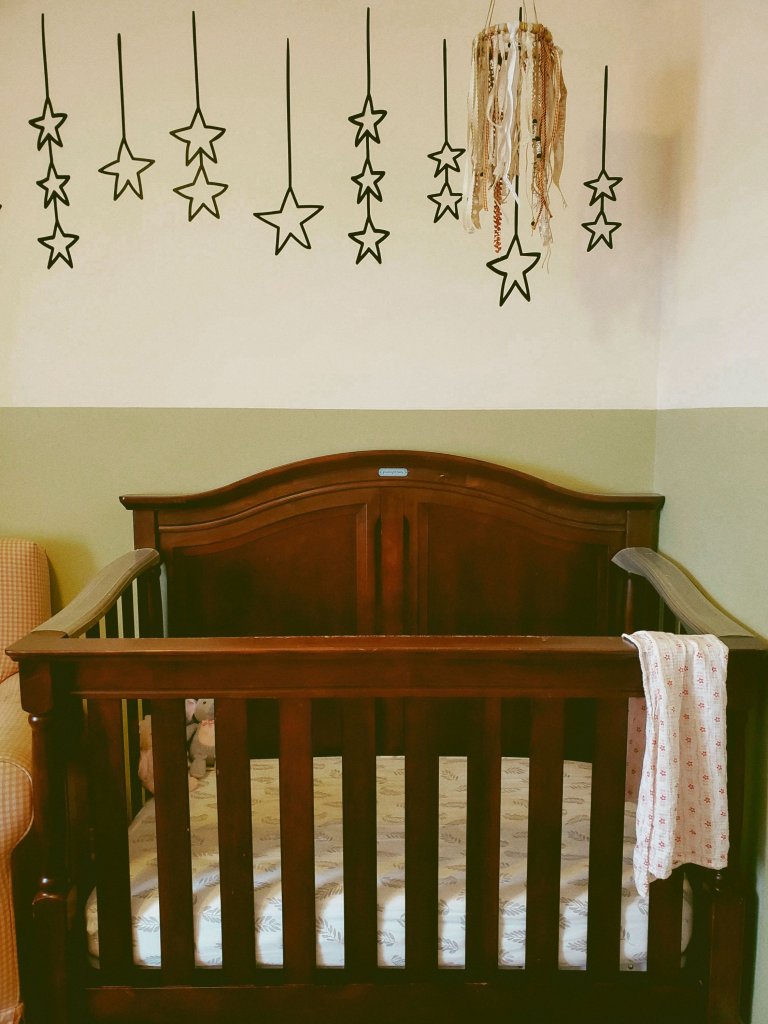
My DIY Dream Nursery
This bed has made it through all 5 of my babies. It’s time is certainly coming to an end, but for now, I’m still loving all of its beauty.
This nursing chair has also made it through all 5 of my children, and 2 of my cousins before them. It came with an ottoman, which was well loved, but very large and in a small home, every inch of space counts. So it was freecycled, and hopefully loved.
I have always preferred hand created art over store bought art. I want my home filled with unique items that no one else in the world has. Basic is an insult in my vocabulary, so I prefer to be anything but.
I made this dream catcher to match my fall + earth inspired nursery with hemp and ribbons. I think it pulled the room together with its color palette.
The stars are decals that I found on Etsy. They were very easy to put on and made a huge difference in the room.
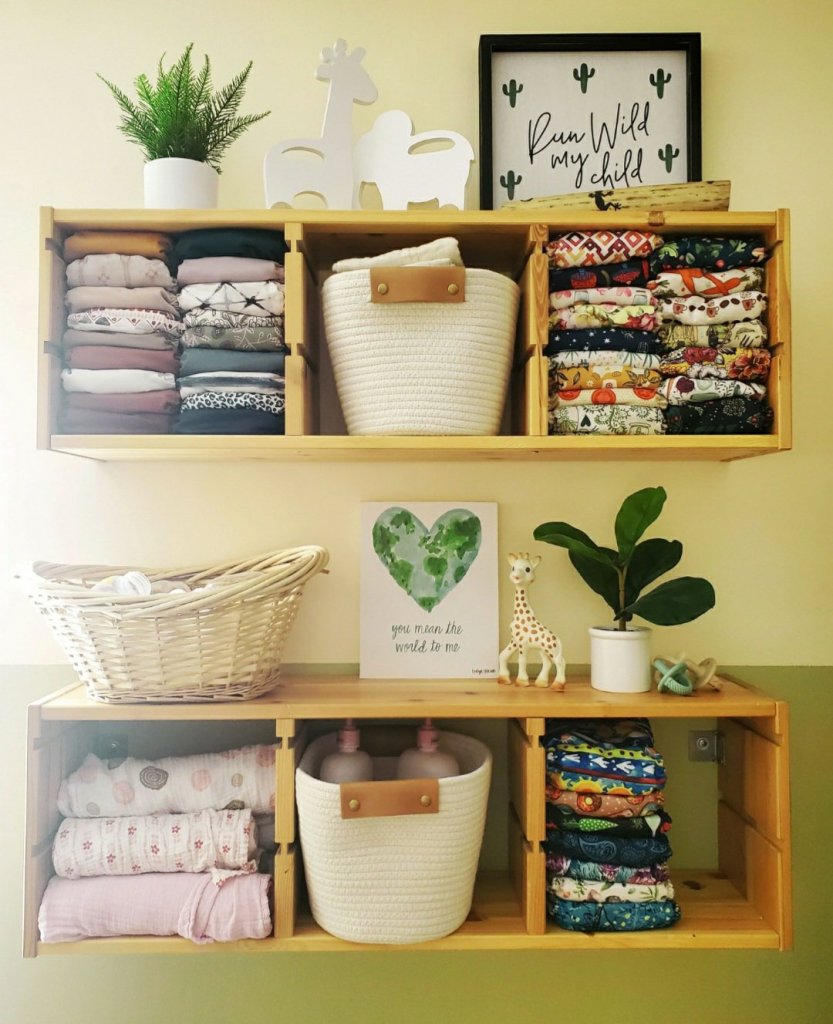
I have had this shelving unit since my oldest was a toddler and housed his VHS & DVD collection. I asked my husband to hang them on the wall instead. I love being able to have my cloth diapers on display, easily accessible, yet stylish at the same time. I spent a long time finding the perfect additions to style these shelves and I have to say, as simple as it is, this is probably my favorite wall in the house.
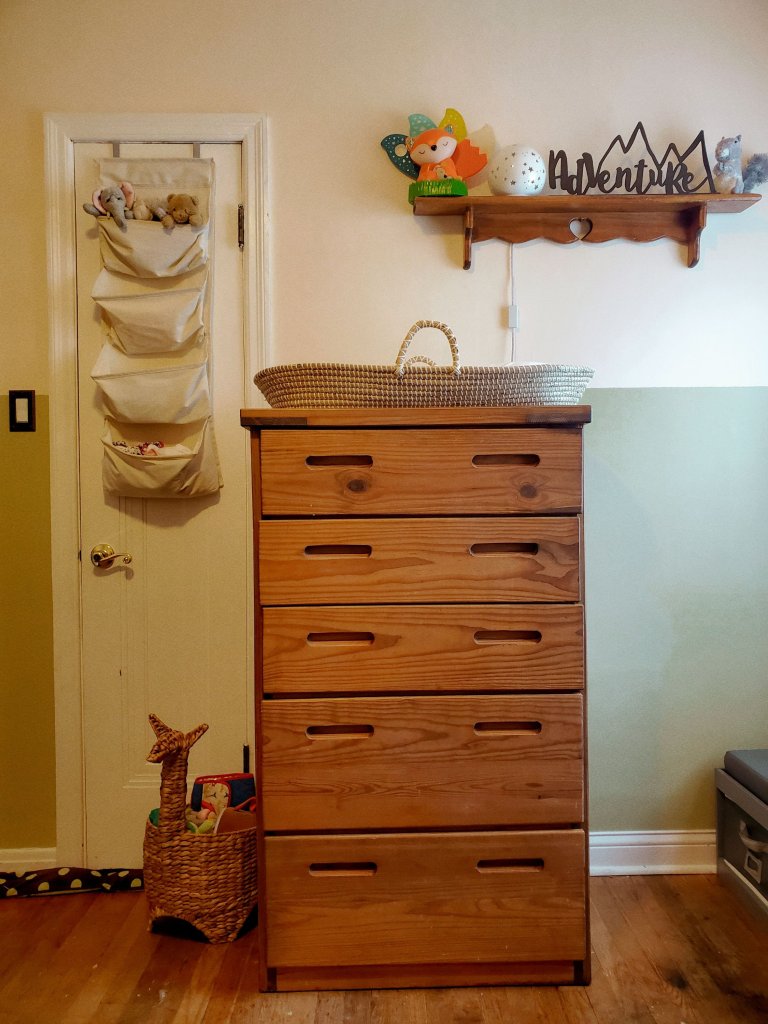
When my husband came to America this was his dresser which we were gifted by his parents. The shelf I have had since Ella was a baby which I picked up at the thrift store.
I chose to omit a changing table this time around and use a Moses changing basket instead which I highly recommend. We didn’t have enough space for a changing table, and quite honestly, over a span of 4 kids, it was only used about 6 months per kid, if that. I decided to convert my changing table into a hutch for my dining room. I love being able to take the Moses basket easily from room to room. And it takes up no extra space.
The Llama toy basket came Target.
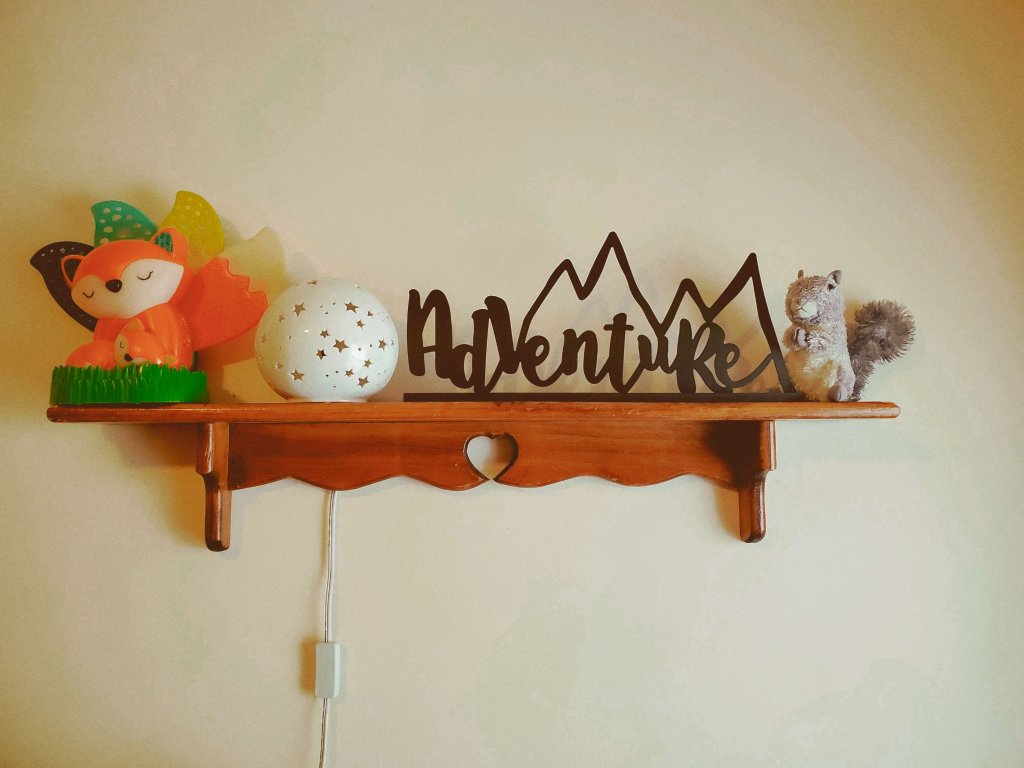
This shelf I had a bit of trouble styling, but I love the wood and simplicity of it.
The lamp came from Target. The Adventure sign came from Hobby Lobby.
Small houses require a lot of additional storage anywhere you can add it. This cloth storage unit added some extra storage and fit well in this room’s color palette.
This was an additional step that everyone thought I was silly for adding, especially at around $15 a piece, but I think small details are important in the big picture. Why redo an entire room and leave those ugly plastic ones? Especially when we want to be a plastic-free home! I think they look beautiful in this room, and with the amount of money I saved shopping my home, using mostly what we already had, I figured that I could splurge a little on the cover plates I wanted.
I loved these animal hangers from Hobby Lobby. I got them during a 50% hanging decor sale making them less than $5 a piece. They went so well in here and add even a little bit more extra storage space. Every little bit counts in a small house!
So that’s my DIY Dream Nursery! I loved designing it and I love the feel that it has brought to our home. If you love it as much as I do, I ask that you please share!
Be sure to check back for more home makeovers as I share each room!!
A few years ago during the worst of my grief depression following the death of my son’s father, I began what I later learned as “Swedish Death Cleaning.”
Swedish Death Cleaning is the idea of clearing out all of the clutter from your home in order to leave less of a burden on your loved ones when you die to make it simpler on them.
I began obsessively tossing everything in my home and organizing everything perfectly in the event that I would pass. I wanted everything to be in order (even controlling from my grave, I see 🤪) so that when I was gone they would be able to find everything easily and they wouldn’t have to go through any of my things.
I got rid of almost everything in my home and found that a huge part of my stress had gone away. I found that my children actually played with the toys they had left. I found that every item left in my home has a purpose, and is used. I found that having a completely decluttered and organized home significantly cut down on waste. I found that it is much easier to thoroughly clean when you have less to move.
I learned that holding onto items for the off chance that I “might” fit in something one day or “might” use it one day even though we haven’t used it once in years was only creating extra unnecessary clutter. Why was I holding onto it? What purpose did it serve sitting in a corner or on a shelf being stored away. We aren’t supposed to hoard earthly treasures. We should give freely when we can, and if we have things that we truly are not using, we should offer it up to someone who could use it now.
With my 30th birthday approaching as well as the holiday season that will also soon be upon us, I thought I would create a gift guide to make shopping for the minimalist woman 😘 in your life a little easier.
A Gift Guide for the Minimalist Woman in your Life
Personal Care Gift Card (Massage, nail appointment, hair appointment, a facial. 💆🏼♀️💇🏼♀️ [ ⚠️TIP: Find out what salon the miminalist woman in your life uses before purchasing a gift card.]
A new candle🕯
Take care of one bill, expense, or outstanding debt. 💵 No matter how big or how small, its always nice to feel less financially stressed.
A grocery store gift card, or take grocery shopping! 🧁 It’s always nice to be able to get some things outside your family food budget.
A gasoline gift card ⛽
A new plant 🌿 real or faux!
Offer to help with something that needs finished! 🙌🏼 From finishing a project together to getting the laundry caught up for her, there’s always so much to do & not enough time to do it. An extra set of hands can be greatly appreciated.
Offer to babysit 🤱🏼
Provide an already prepared meal that is heat-able in the oven or crockpot for a night off from cooking, with minimal cleaning. OR go out for a meal. 🥗 [ ⚠️TIP: find out dietary restrictions ahead of time!]
A book or cookbook 📚 (Find out dietary restrictions ahead of time).
A Kitchen Aide Stand Mixer attachment for the homemaking minimalist woman. There are so many neat attachments that make cooking or baking from scratch even easier!
Cute reusable grocery bags
Earrings from a local artist or Etsy.[ ⚠️TIP: Etsy can sometimes have long shipping times. Plan accordingly.]
Baked goods. 🍪 Homemade is always best.
A bag of coffee from a favorite local coffee shop
I hope that this list helped give you a few ideas for creative and useful minimalist gift giving for the woman in your life! 🎁
🙏🏼 PLEASE SHARE AND SUBSCRIBE! & Also check back for my Gift Guide for the Minimalist Children & Families, as well as my Gift Guide for the Minimalist Man!
One of my very favorite hobbies is planning, especially for events. I dream of the day we find our forever home with plenty of space to host many elaborate parties for the rest of our lives.
Throwing Mia a “socially distanced” birthday party was my first event since covid-19 began, and I was ecstatic to be party planning again! I was a bit further behind on time than I had hoped, but overall my first “socially disanced” party was a success.
I’m excited to take you along to join us for an afternoon tea!
The Invitations
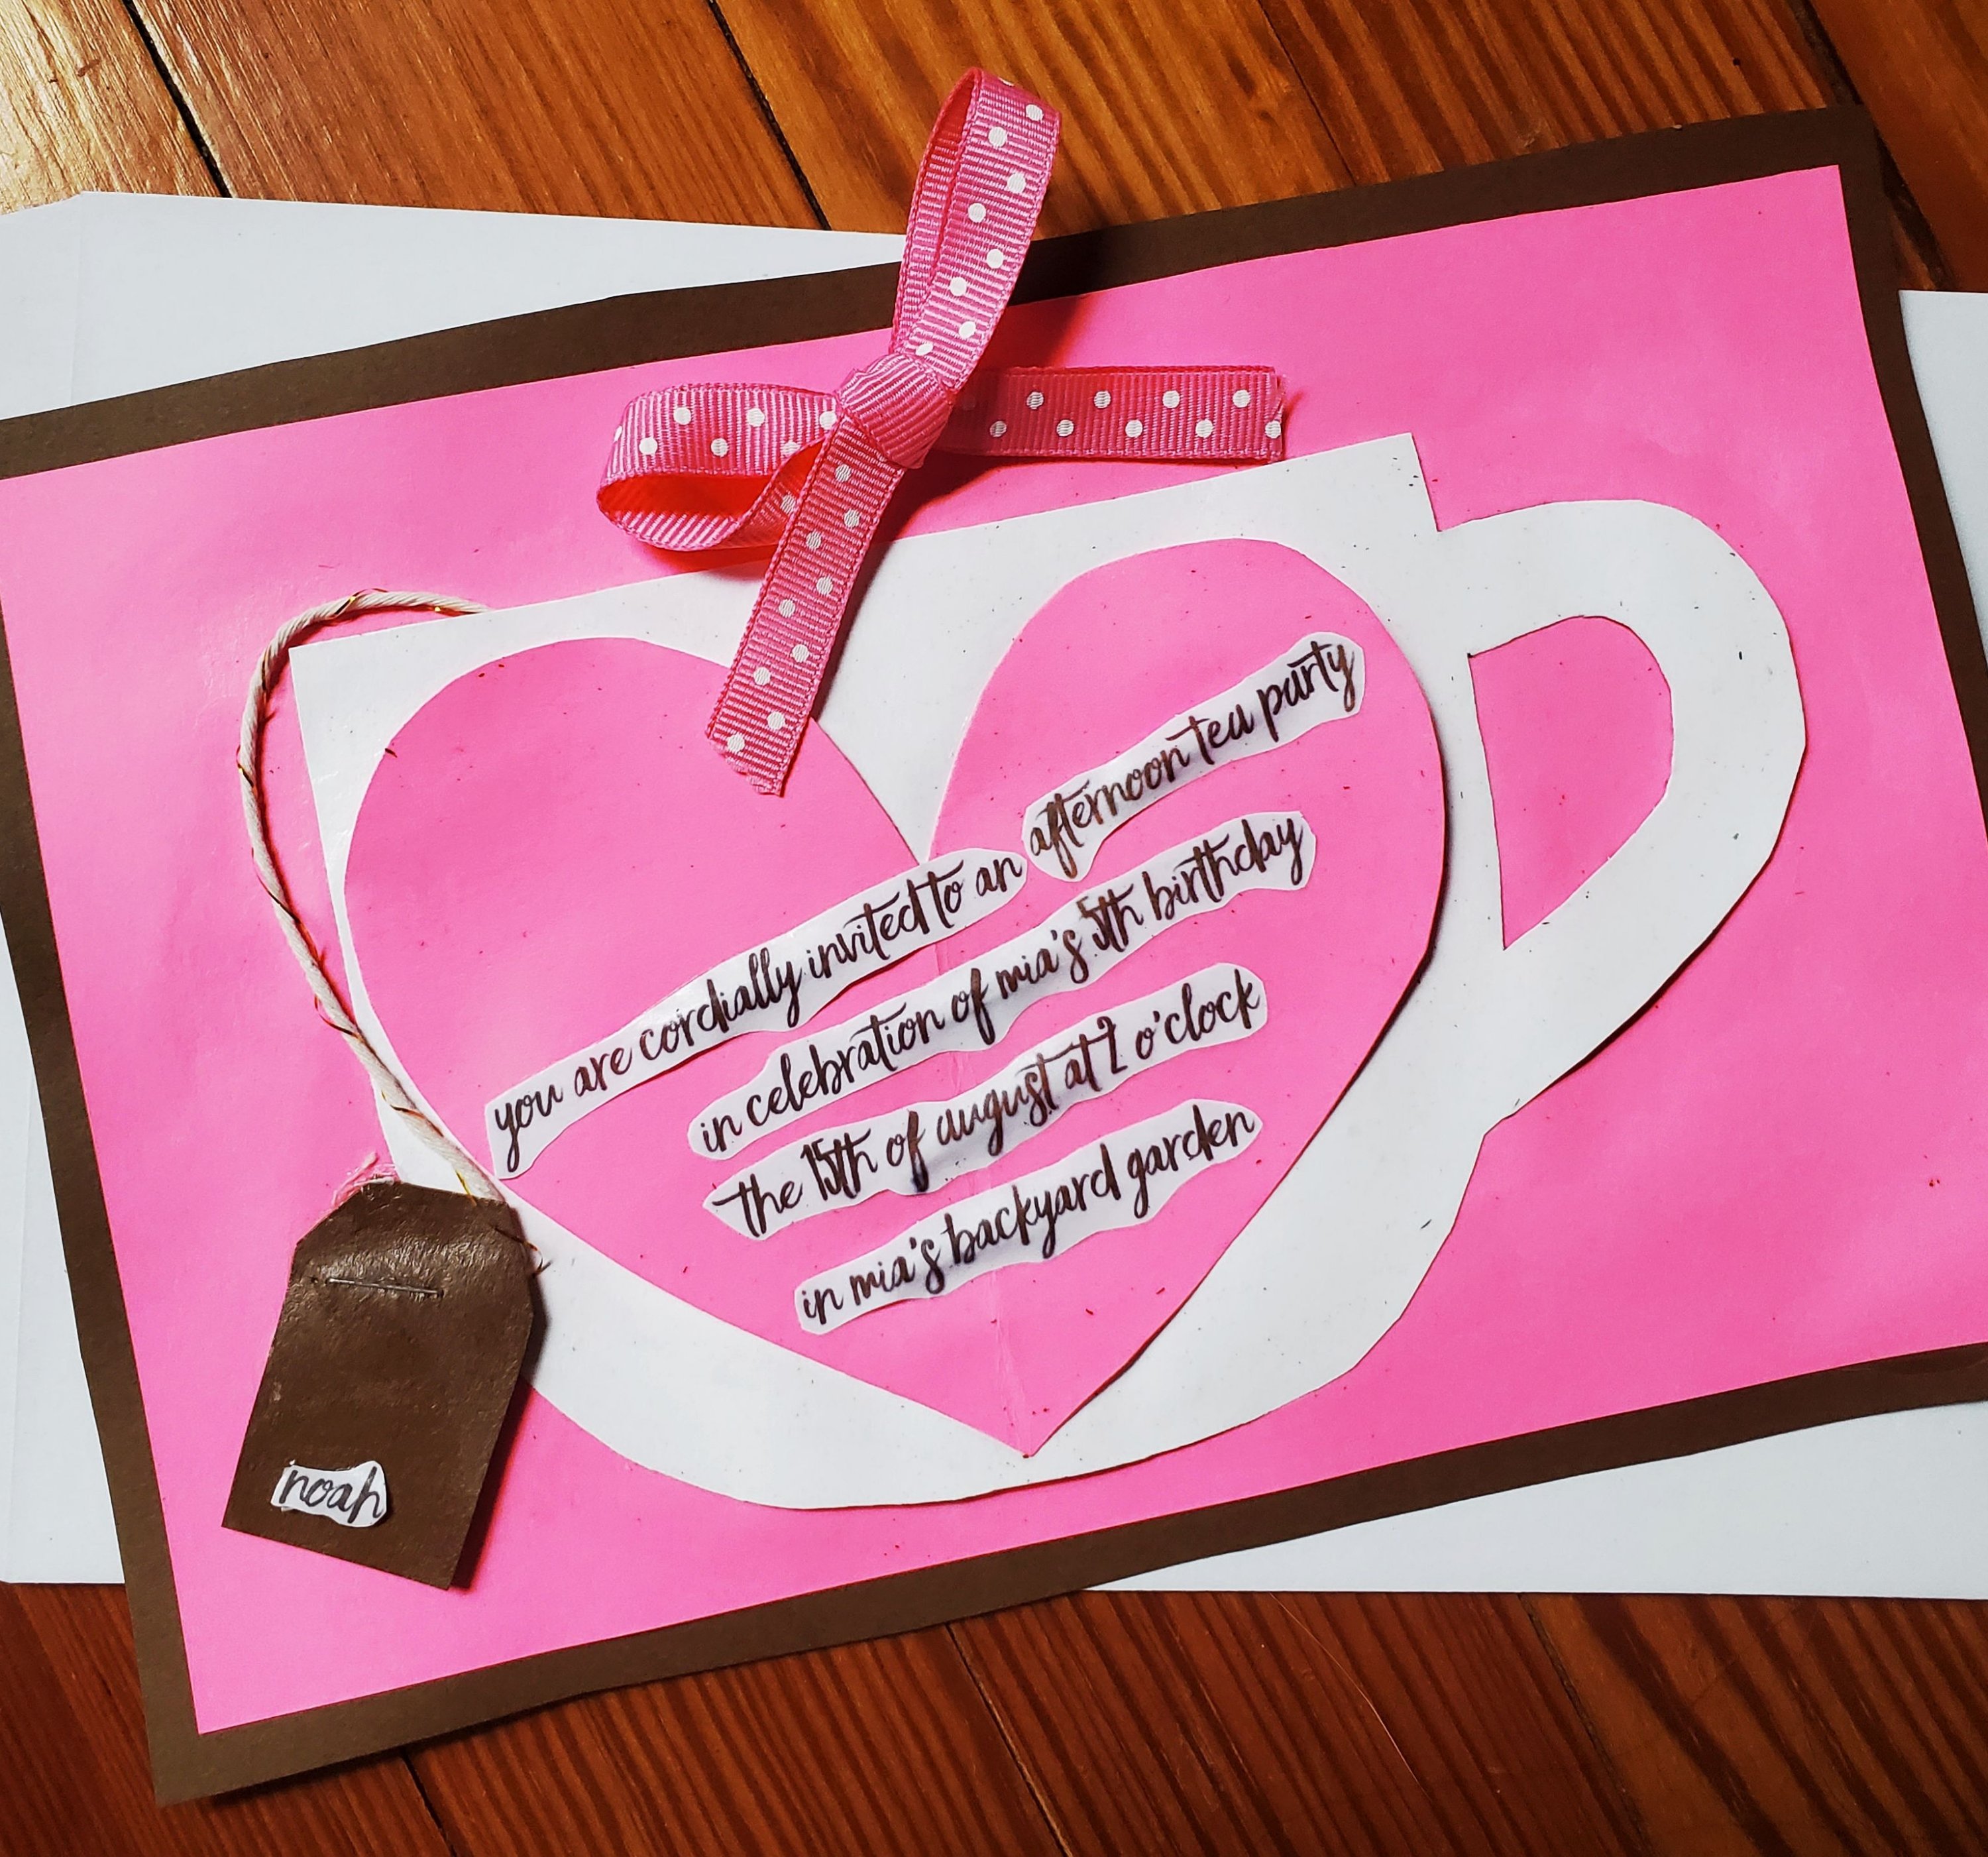
I had so much fun making these invitations and I was really impressed with how they turned out.
I found a free teacup template online, printed it out and lightly traced onto white card stock. After that, I bordered it with pink and added a pink heart to each teacup.
I typed up the wording and cut out each one to be able to fit inside the hearts. Unfortunately, by the time I realized that it looks best if you cut along the individual letters, I was already on my last one 🤦🏼♀️ but now I know for the future! I wanted the letters to pop, so I used drafting dots to attempt to create that effect.
I made a hole behind the cup and two holes above the cup to be able to tie in a string for the teabag and a bow. I attached the string from a white & gold foiled Christmas string I already had and attached the teabag to the string using a stapler to give it a realistic look. I asked my friend to tie a perfect bow for me because she makes beautiful ones and mine are downright sloppy 😂.
I then bordered the pink with a brown to match the guest’s teabag and hide the strings behind the pink card stock and tie it all together.
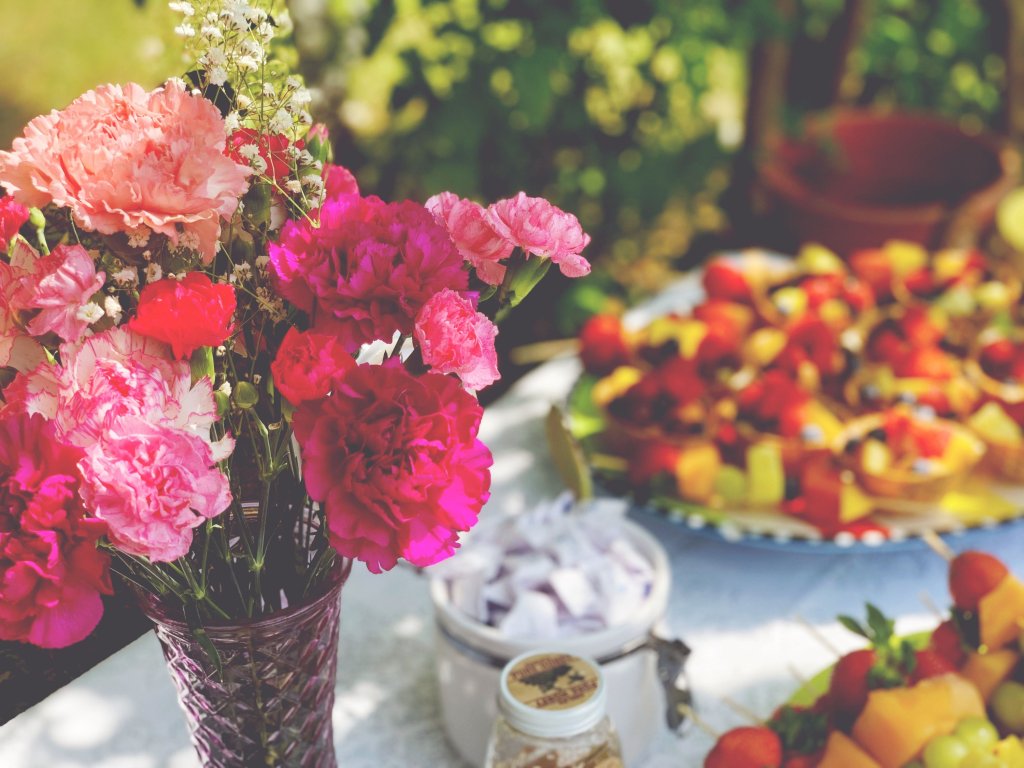
The Spread
The waffle fruit bowls were a big hit! I bought 1 box of 12 small waffle cone bowls and an already prepared fruit salad and divided it between the 12 waffle cone bowls. We also had a cream cheese fruit dip to be used as a sauce to drizzle on top of each bowl, or to dip your fruit skewer in.
I would have preferred to buy my flowers from my friend, Celeste, the owner & artist of Village General; but due to lack of time, I purchased two small, half-price, day-old bouquets and blended them together to create the look I was going for.
I found some Celestial Caffine-Free Fruit Tea Sampler to serve the children. I thought that fruit flavored tea would go over well with the children, and there were multiple really yummy options for them to choose from! Even my pickiest of all found a flavor he enjoyed!
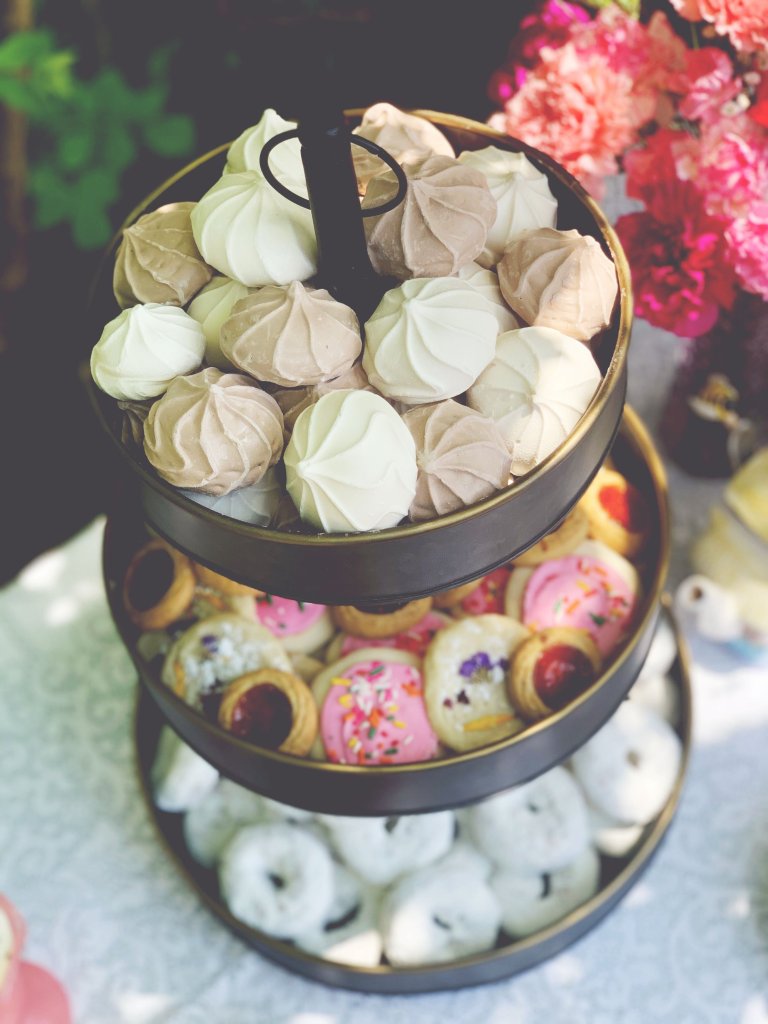
I had tried desperately to find some colorful macaroons, but had no luck tracking any down. I decided to substitute my original plan with meringues instead and that worked out just fine.
I made the pressed flower sugar cookies that turned out very cute! The other two cookies were purchased: Frosted Sugar Cookies in pink & of course, Verona cookies because you can’t have tea without those!
The bottom layer was simply a few boxes of powdered donuts, nothing too fancy. I would have liked to get the mini powdered donuts, but one package of them cost as much as 4 packages of the large ones, so I decided to go with those for budget purposes.
My mom found very cute little tea party plates that really pulled the theme together and came in several different patterns to match the various colors. They have an entire tea party set as well, that would make it even more adorable!
More food that was unfortunately not photographed was:
Chicken Salad Crossant Sandwiches
Fairy Bread Sandwiches
Ham & Cheese Sandwiches
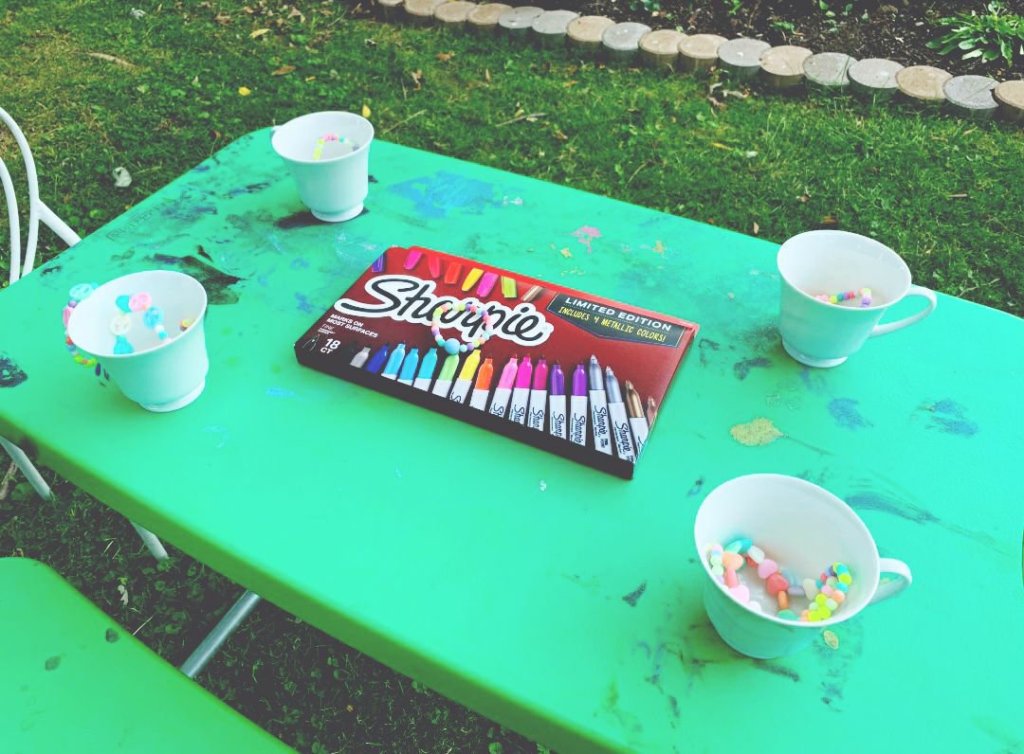
The Activities
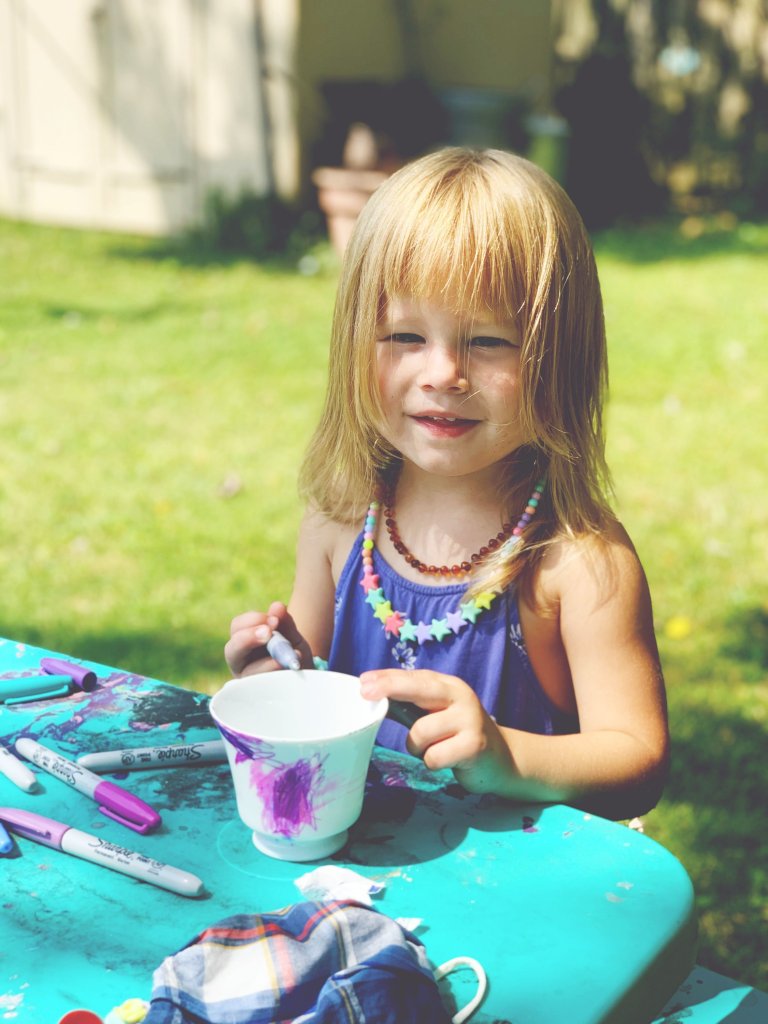
I found these plain white tea cups at the thrift store for 50 cents each. Each kid was given their own tea cup to decorate with sharpie to take home with them.
When decorating your own mugs or teacups with sharpies, it is important to bake them in the oven at 250°F for at least 2 hours so that the sharpie does not wash off.
I had planned to incorporate the tea cups into a game of having the children race with full tea cups of water to the fence and back while spilling the least amount of water, but tea went into the cups before I was able to get that far 🤦🏼♀️.
We also found many fun dress up ensembles at the thrift. The girls had a blast dressing up in boas, hats, and beads galore.
It was a really lovely day and I am very pleased with the turn out.
I cannot wait to begin planning for Thea’s FIRST birthday coming up in October (which if you know me, know that it is my FAVORITE month)! & Ella’s birthday in November!
Don’t forget to subscribe 😉 & as always, PLEASE share!
Disclaimer: This post contains affiliate links. If you choose to make a purchase through any of my links, I will make a small commission at no expense to you. Thank you for supporting a mama with a dream ❤
My oldest baby just turned TEN years old on July 31st. I cannot believe that I have already been a mom for a whole decade! It really does fly by! He will be an adult before I know it!
Over the last ten years, I’ve learned a lot of tips and tricks especially when it comes to mega motherhood!!!! I wanted to share my FIVE favorite items that have gotten me through the last ten years & mega motherhood a lot more smoothly.
1 • Itzy Ritzy Purse
New moms, this one is for you. I have some eye opening news for you. You have too much stuff.
When I had my son, I had this giant diaper bag that was heavier than he was stuffed to the brim with all of the things that the baby books told me I needed with adorable little travel size everything, safety kit with every size bandaid imaginable, bubbles, chalk, lipgloss, a small grooming set, tampons, pads, vomit bags, kroger bags, lysol, advil, bibs, toilet seat covers, grocery cart covers, multiple outfit changes, a blanket, winter gear, books, toys, activity packs, snacks, etc. I was ready for anything.
As I added kids, this bag became the bag of car essentials that I stopped bringing in because it was so heavy and so stuffed, it was just added stress. Plus, I hardly ever actually needed anything from it. I began carrying a smaller bag of the essentials while also carrying a purse.
Then I found this hands free crossbody Itzy Ritzy purse which is absolutely needed as a mom with young children. The back section is your purse, the front section is your diaper bag. You can now combine everything into one small, adorable bag.
In the diaper bag section, there is a pocket for your wipes and a small changing mat that is included. There is also room to hold diapers and a pacifier. That is literally all you need on a daily basis for outings. All of the extra stuff is just over-stimulating you and making it feel stressful to leave with kids when it doesn’t have to be.
In my purse section, I keep my wallet and a few small items. It keeps me from cluttering up my purse and it only takes a few seconds to clean out. Keep the essentials with you, and leave the rest at home (or at least in a secondary bag in the car if it makes you more comfortable). You don’t need it.
I clip my keys onto the outside so they are easy to grab and I don’t have to fumble around for them with children in a parking lot.
When you have multiple kids, you cannot be weighed down with things that you may need one day. You need your arms and eyes free at all times. This Itzy Ritzy cross body bag allows you to fashionably have everything that you need.
It is lightweight enough that I can carry it to and from the car by myself which means that getting it in and out of your vehicle is not a struggle. It also folds up well so that it will be able to fit into any vehicle.
I place my toddler in the front seat, and my baby in her car seat in the back portion so that we are facing each other, but it is very versatile for moving children around and allowing older children to ride as well. Each side has a handle bar on it where I have my older girls hold onto while we are out so that they are all safely in one place in front of me.
3 • Cloth Diapers
I highly recommend cloth diapers. In fact, so much that I wrote an entire article about them! If you are planning on having more than one child, these are a MUST!
Cloth diapers grow with baby from newborn to potty training which saves you from buying a LOT of diapers, especially since you can then reuse them with future babies, or even save for your grand babies.
Cloth diapers saved us during this 2020 pandemic! When all of the stores ran out of diapers, we had our trusty cloth diapers already! We never had to worry once that we would run out. I highly recommend buying at least one pack of cloth diapers to have in the off chance that there is another emergency since the world saw how fast and unexpectedly that can and will happen. Being prepared is key to motherhood. It would be a great gift for a new mother at a baby shower as well! 😉
4 • Built-in Potty Seat
We live in a very tiny starter home with four young ladies. It was originally a very tiny one-bathroom home until we added a second one on the upstairs floor to create a master suite. A tiny bathroom with a crowd full of tiny ladies runs out of room really quick, leaving us very little space to have a separate potty chair.
We installed a built-in potty seat onto our toilet so that we could still have a potty seat, but not lose any necessary space or add clutter to our floors which is vital when you have crawling tots!
5 • Bumbo
This portable seat called a Bumbo is so important! It is easy to carry with you so you are able to bring it from room to room or on-the-go.
● You can keep a supported-sitter with you while doing your housework.
● You can bring it to older siblings sporting events.
● You can bring it with you on a picnic, or to a restaurant so your baby doesn’t need to sit in a dirty high chair that is covered in germs (I have worked in enough restaurants to know how unclean restaurants are in general 🤢). You can add-on this Bumbo Play Tray to turn it into a portable highchair anywhere!
● You can bring it with you while traveling for hotels that may not have high chair recommendations. Make sure to add on the Bumbo Play Tray!
● With the Bumbo Play Tray, you can create a minimal mess space for your baby to engage in messy play such as finger-painting or shaving cream play.
There are so many uses for the Bumbo! You cannot go wrong with getting one of these! It minimizes messes and is extremely easy to clean. I have had the same Bumbo for the last 10 years, it has made it through 5 kids, and is still in the excellent condition! It is definitely built to last and worth every penny!
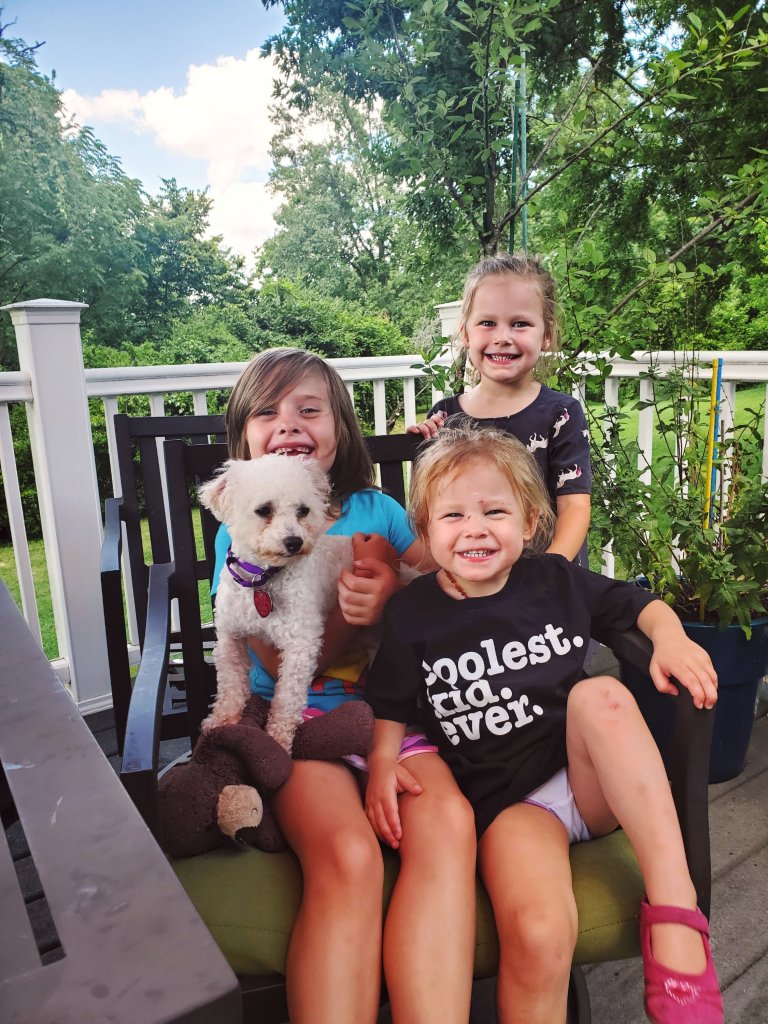
Ella holding Vera, Mia, & Sasha Athena (Thea)Kaden
I hope that these tips helped you for yourself or with finding a baby shower gift idea! Best wishes to the new mama-to-be! The best start to motherhood is being prepared not for one stage for one child, but for all stages for all children. 😘 Have a beautiful rest of your day.
🙏🏼PLEASE SHARE AND SUBSCRIBE
Disclaimer: this post contains affiliate links in which I will make a commission, at no expense to you! Thank you for supporting a mama with a dream! 😘
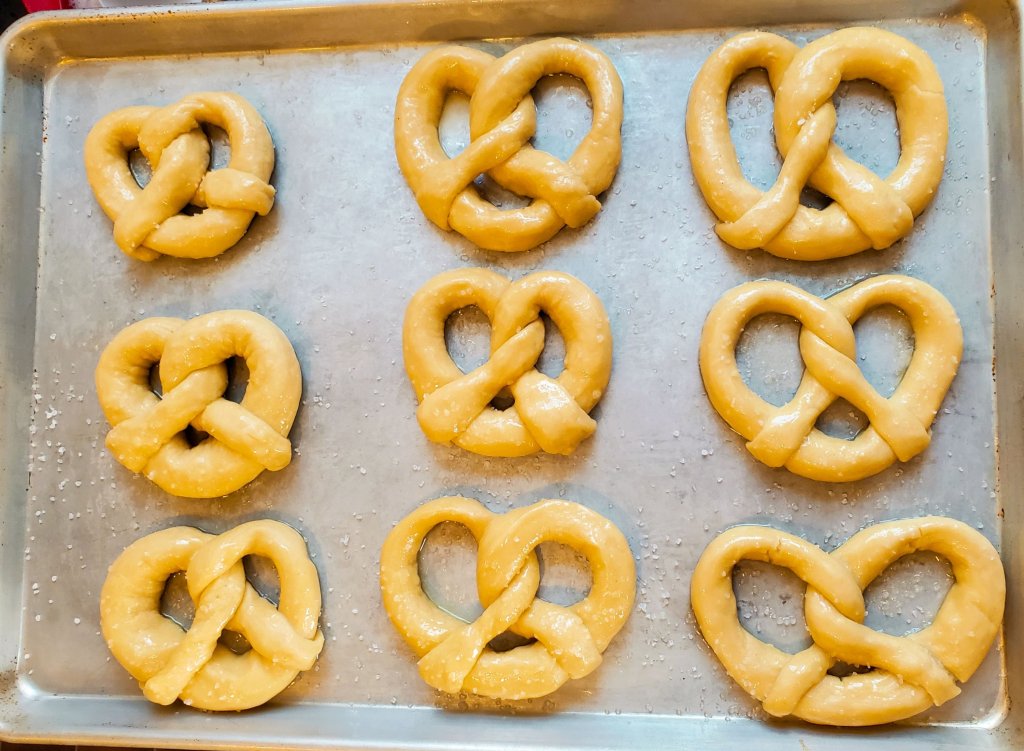
I love soft pretzels! Especially fresh soft pretzels. Like, a lot. I tried getting frozen soft pretzels to make at home, but they are just not the same. I decided to begin searching for soft pretzel recipes online. After trying a few, I decided to use my favorite parts of each to end up with some really delicious soft, buttery, and salty pretzels. They are also really filling!
Step 1: In a small bowl, mix your Active Dry Yeast and water and set aside.
Step 2: In a large mixing bowl, mix your sugar, salt, and flour.
Step 3: Once yeast is dissolved, combine with flour mixture and add warmed up Silk. Mix until dough is no longer sticky.
Step 4: Cover the dough with a dish towel and let rise for one hour.
Step 5: Preheat your oven to 500° F, uncover your dough bowl and punch down the dough. Break apart into 9 (as even as possible) chunks of dough.
Step 6: Roll each chunk of dough into a long rope. To form a pretzel grab both ends and form a heart, twist together once in the center and close pretzel by tucking ends under. Leave to rise for 15 minutes.
Step 7: In a large pot, boil water and baking soda. Use a spatula to dip each pretzel in the bath for 30 seconds then put onto baking sheet.
Step 8: Melt “butter” and brush generously onto each pretzel. Sprinkle course sea salt onto pretzels to liking.
Step 9: Bake in oven for 10 minutes, or until golden brown. After removing, brush more melted “butter” and serve warm.
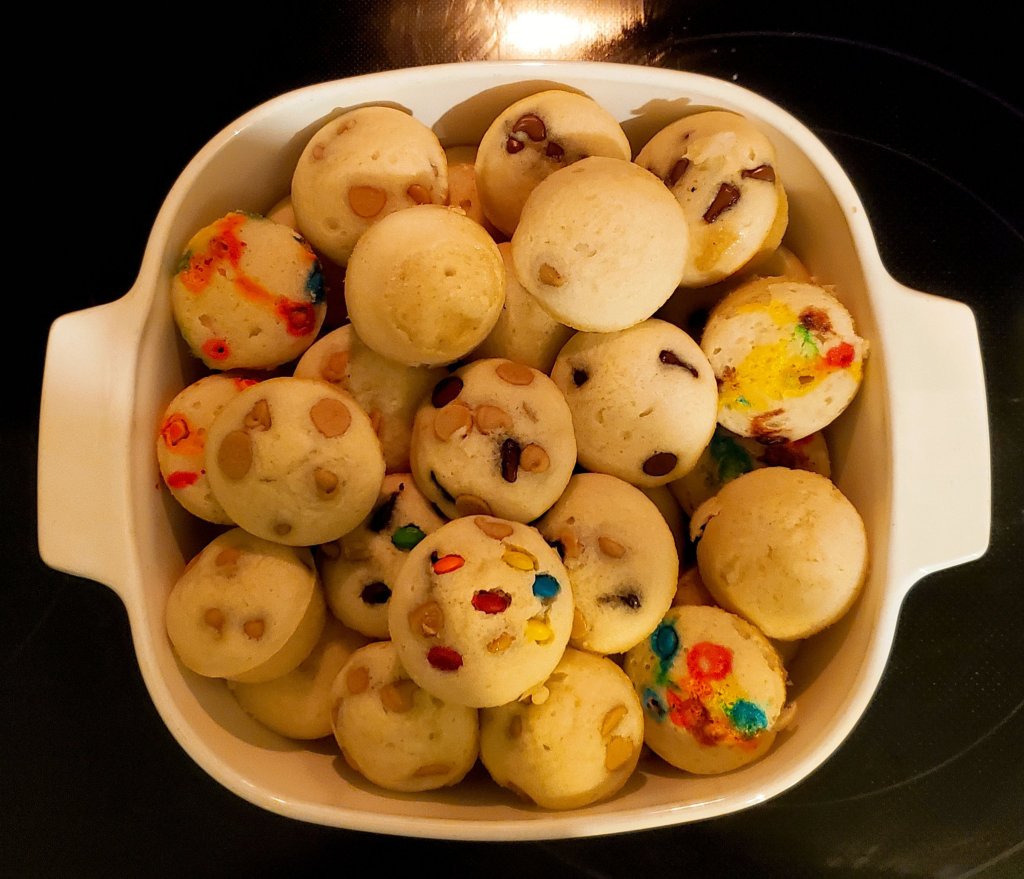
I love pancakes, but I do not love making them, nor do I have the time to make them. That makes these little incredibly easy, bite size pancake muffins the perfect solution! Mess free, easy grab & go, and delicious! No sticky syrup everywhere, no standing over a hot oven watching for air bubbles… just another incredibly easy, kid approved meal!
I like to make them after dinner while I am cleaning up. They take less than 5 minutes to whip up so I preheat the oven, get them ready, and start cleaning up from dinner. Once the oven is ready, put them in and set the timer for 10 minutes and finish cleaning. Try to race the clock and get your cleaning finished before the timer for the muffins go off!
Ingredients:
Box Pancake Mix
Water
Optional Mix Ins (chocolate chips, etc.)
Did I mention this was incredibly easy? 😜
Directions
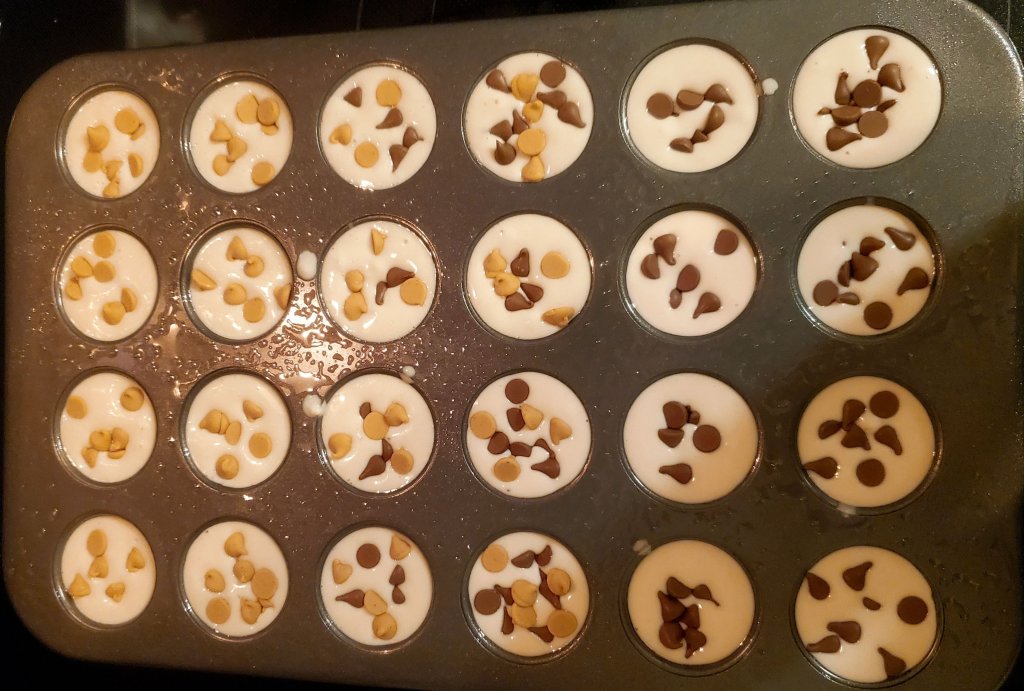
Step 1 • Preheat oven to 350° F and spray mini muffin tin with cooking spray, or use liners (reusable, please!)
Step 2 • Follow directions on box mix. The brand I used called for 2 cups mix + 1 and 1/3 cup water. Pour mix into mini muffin tin or (reusable) liners.
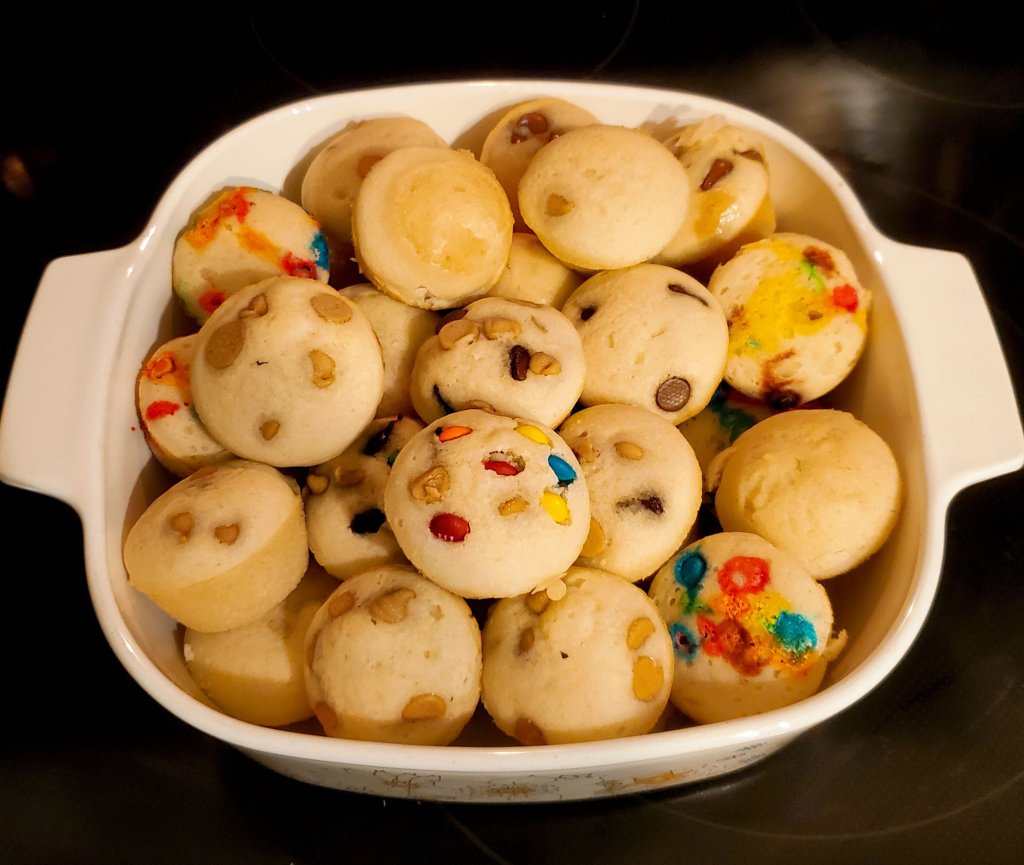
Step 3 • Top mixture with optional mix ins. I listed the mix ins that I used this time under each photo. Fresh fruit is always a great and healthier mix in!
I don’t think these could possibly be any easier to make. It is a fun breakfast to include children in making if you do have time in the mornings, but during the school year it’s just so much easier for me to make the night ahead.
As the muffins cool, finish up the last of your cleaning. Remove from the mini muffin tin, store for the morning, start your dishwasher and call it a day. You already have breakfast ready for your family in the morning. That’s how you get a head start on tomorrow before you even go to sleep!
Did you like these Incredibly Easy Bite Size Pancake Muffins? What mix ins did you use? Let me know in the comments! 🥞
I first heard about this Vegan Chickpea Salad from a dad in our play group and it has since become a staple in our home. Seriously, I make it at least once a week!
It is a healthy, kid-approved lunch that is so easy to make! In fact, it is so hard to mess up that you can totally let your kids make this (almost*) completely by themselves and it will still come out delicious. It is a great meal to get kids involved in the kitchen from a young age.
What You Need:
1-2 can(s) garbonzo beans
Red onion
Shallots
Celery
Lemon juice
Follow Your Heart Vegenaise
Dijon Mustard
Relish
Paprika
Dill
Salt & Pepper
Directions:
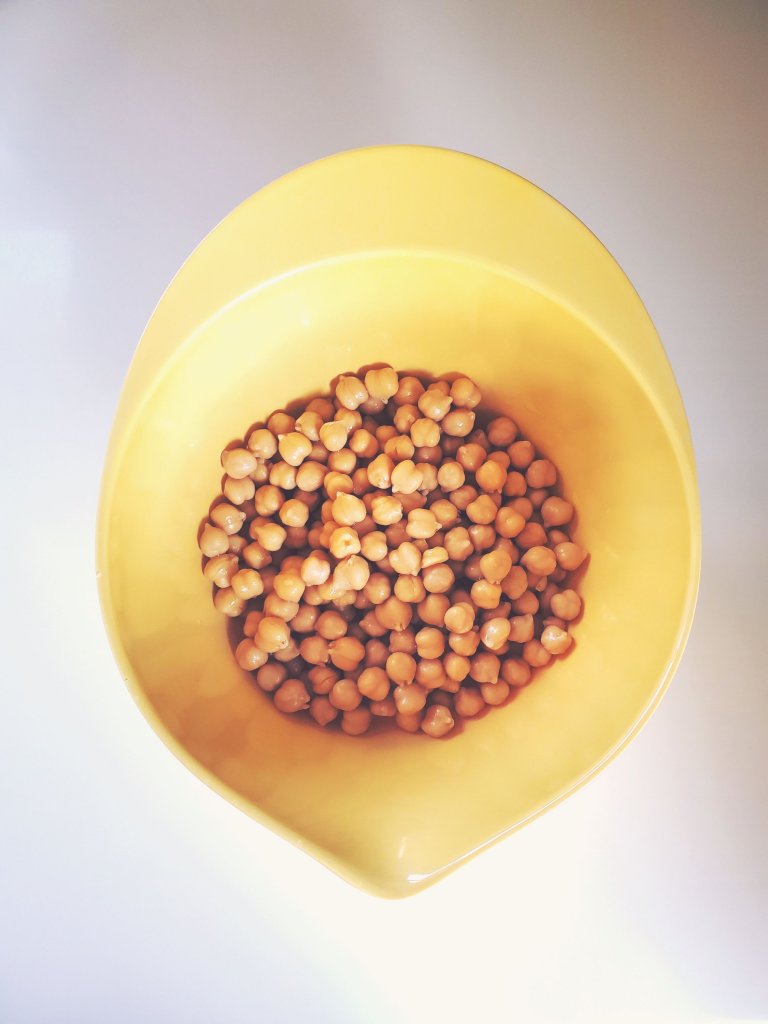
(I used 2 cans of garbonzo beans here)
Step 1. In a strainer, drain and rinse garbonzo beans then empty into a large mixing bowl.
Step 2: Add all ingredients into bowl.
This is one of those recipes where you can literally just eyeball everything to your own liking. Add as much or as little as you prefer – it will still come out delicious with very little effort.
It’s the perfect starter recipe for getting kids involved in the kitchen (*note: please leaving vegetable preparation / knife handling to an adult) from a young age. Being able to add ingredients freely is so exciting to my children. They get to play and experiment with their ingredients while gaining confidence since it still comes out delicious in the end!
Step 3: Stir and Mash
Mix everything together really well and then mash it up. A potato masher is easiest, but you can use whatever you have handy. I like to have it semi-mashed because I enjoy the texture, but mash it to your liking.
Enjoy!
Serve it up with some Ritz Crackers (our favorite way), as a sandwich, on homemade pretzels (recipe coming soon!), or on a bagel for a delicious and healthy lunch!
“Every cell in our entire body is destroyed and replaced every seven years. How comforting it is to know one day I will have a body you will have never touched.”
While the science behind it isn’t exactly accurate, it’s still a really cool idea, and I found it extremely fitting for today.
Today I have seven years opiate-free. Today is the day that I would have a new body that heroin has never touched.
Not only is it a new body, but a new decade for both the world and myself as I close the chapter on my 20s this year. How is that for awesome coincidental timing?
Even though it isn’t accurate, I’m going to look at it as if it were. So today I am beginning my new life, in my new body. I’m going to start looking towards the future and stop trying to hold onto the past.
I’m going to forgive myself, give myself grace, and move on. I’m going to stop thinking and speaking so negatively about myself. I’m going to let go of all of the self-hatred I have been carrying for so long. Those cells are gone, no need to hate them anymore.