Every Day is Earth Day 🌎

Crafts & DIY, Motherhood, Uncategorized

I hope you had a Happy Earth Month!

In our family, we celebrate the Earth every day, but for national Earth Day (& month) we are going to make sure to celebrate a little extra!

We wore our flower headbands to be extra festive on Earth Day on April 22. 

Not Our Trash, but it IS Our Earth

One of our very favorite outdoor family activities is plogging: picking up litter while jogging. Since my kids are pretty little, we mostly just walk briskly rather than jog, but it’s still exercise for our bodies and it’s still cleaning up our Earth.

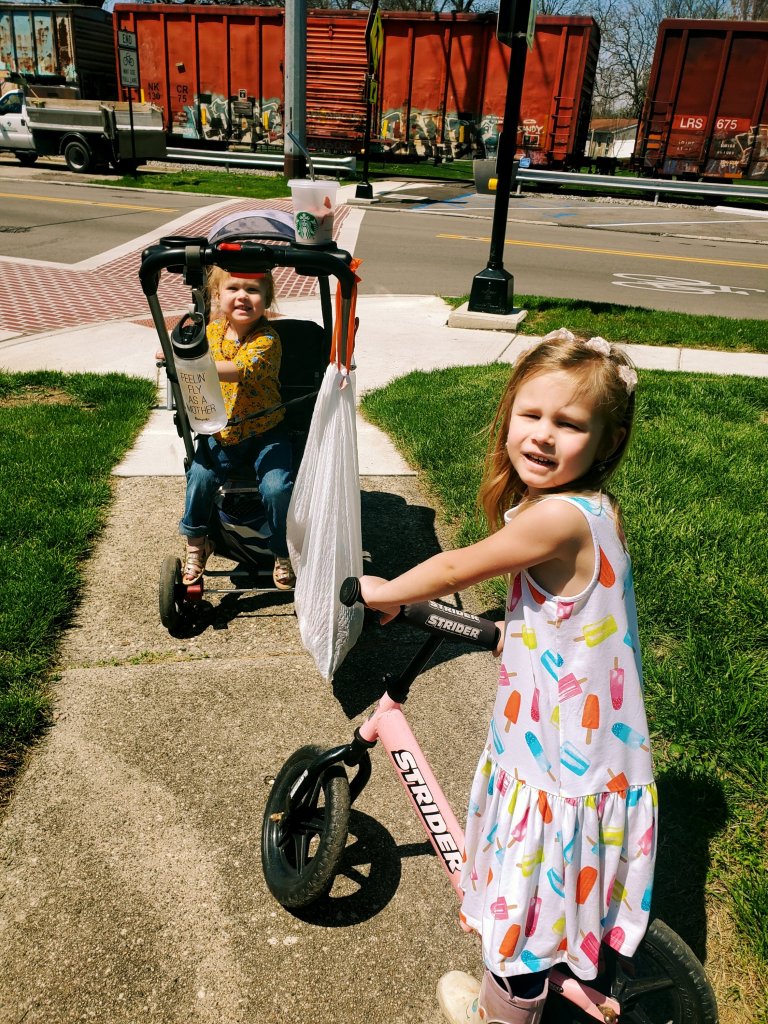
We tied a trash bag to our stroller. The park is on the other side of the train, so all of the trash collected at this point was from our walk from our home to the park alone.

I want my children to know that it’s up to them to change the world. They cannot wait for someone else to do it for them. It is our duty to leave the Earth a better place than we found it.

By the end of our walk, we had filled our entire bag.

We ended up going back out the next morning with Niko + the older girls as well. We walked back to the park, a different way, and picked up more litter. When we got there, there was actually a Community Park Clean Up going on which was really cool! They were handing out free gloves and trash bags for people to volunteer to clean up the park. I was unaware that our park offered that, but I love it!

Dirt Dessert

We made “Dirt cake” which we decided to rename “Dirt Dessert” instead since it wasn’t exactly a cake.

It was really yummy and everyone gobbled it up! This is definitely a dessert that I will be remaking with different themes throughout the year!

We talked about the Earth & why worms are good for it. In case you didn’t know, worms are decomposers!

Drive Less, Walk More

This month our weather has really started warming up, so we have began walking to the bus stop to pick up Ella & Mia and then walking home. We bring a trash bag with us each time we walk.

Nature Art

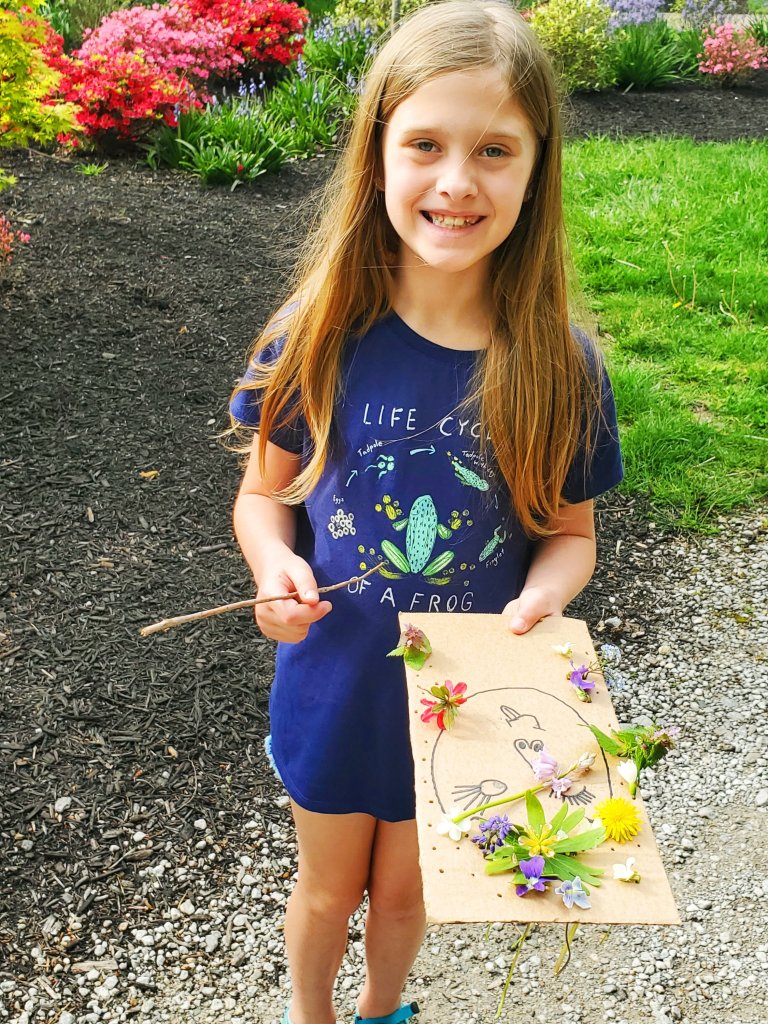
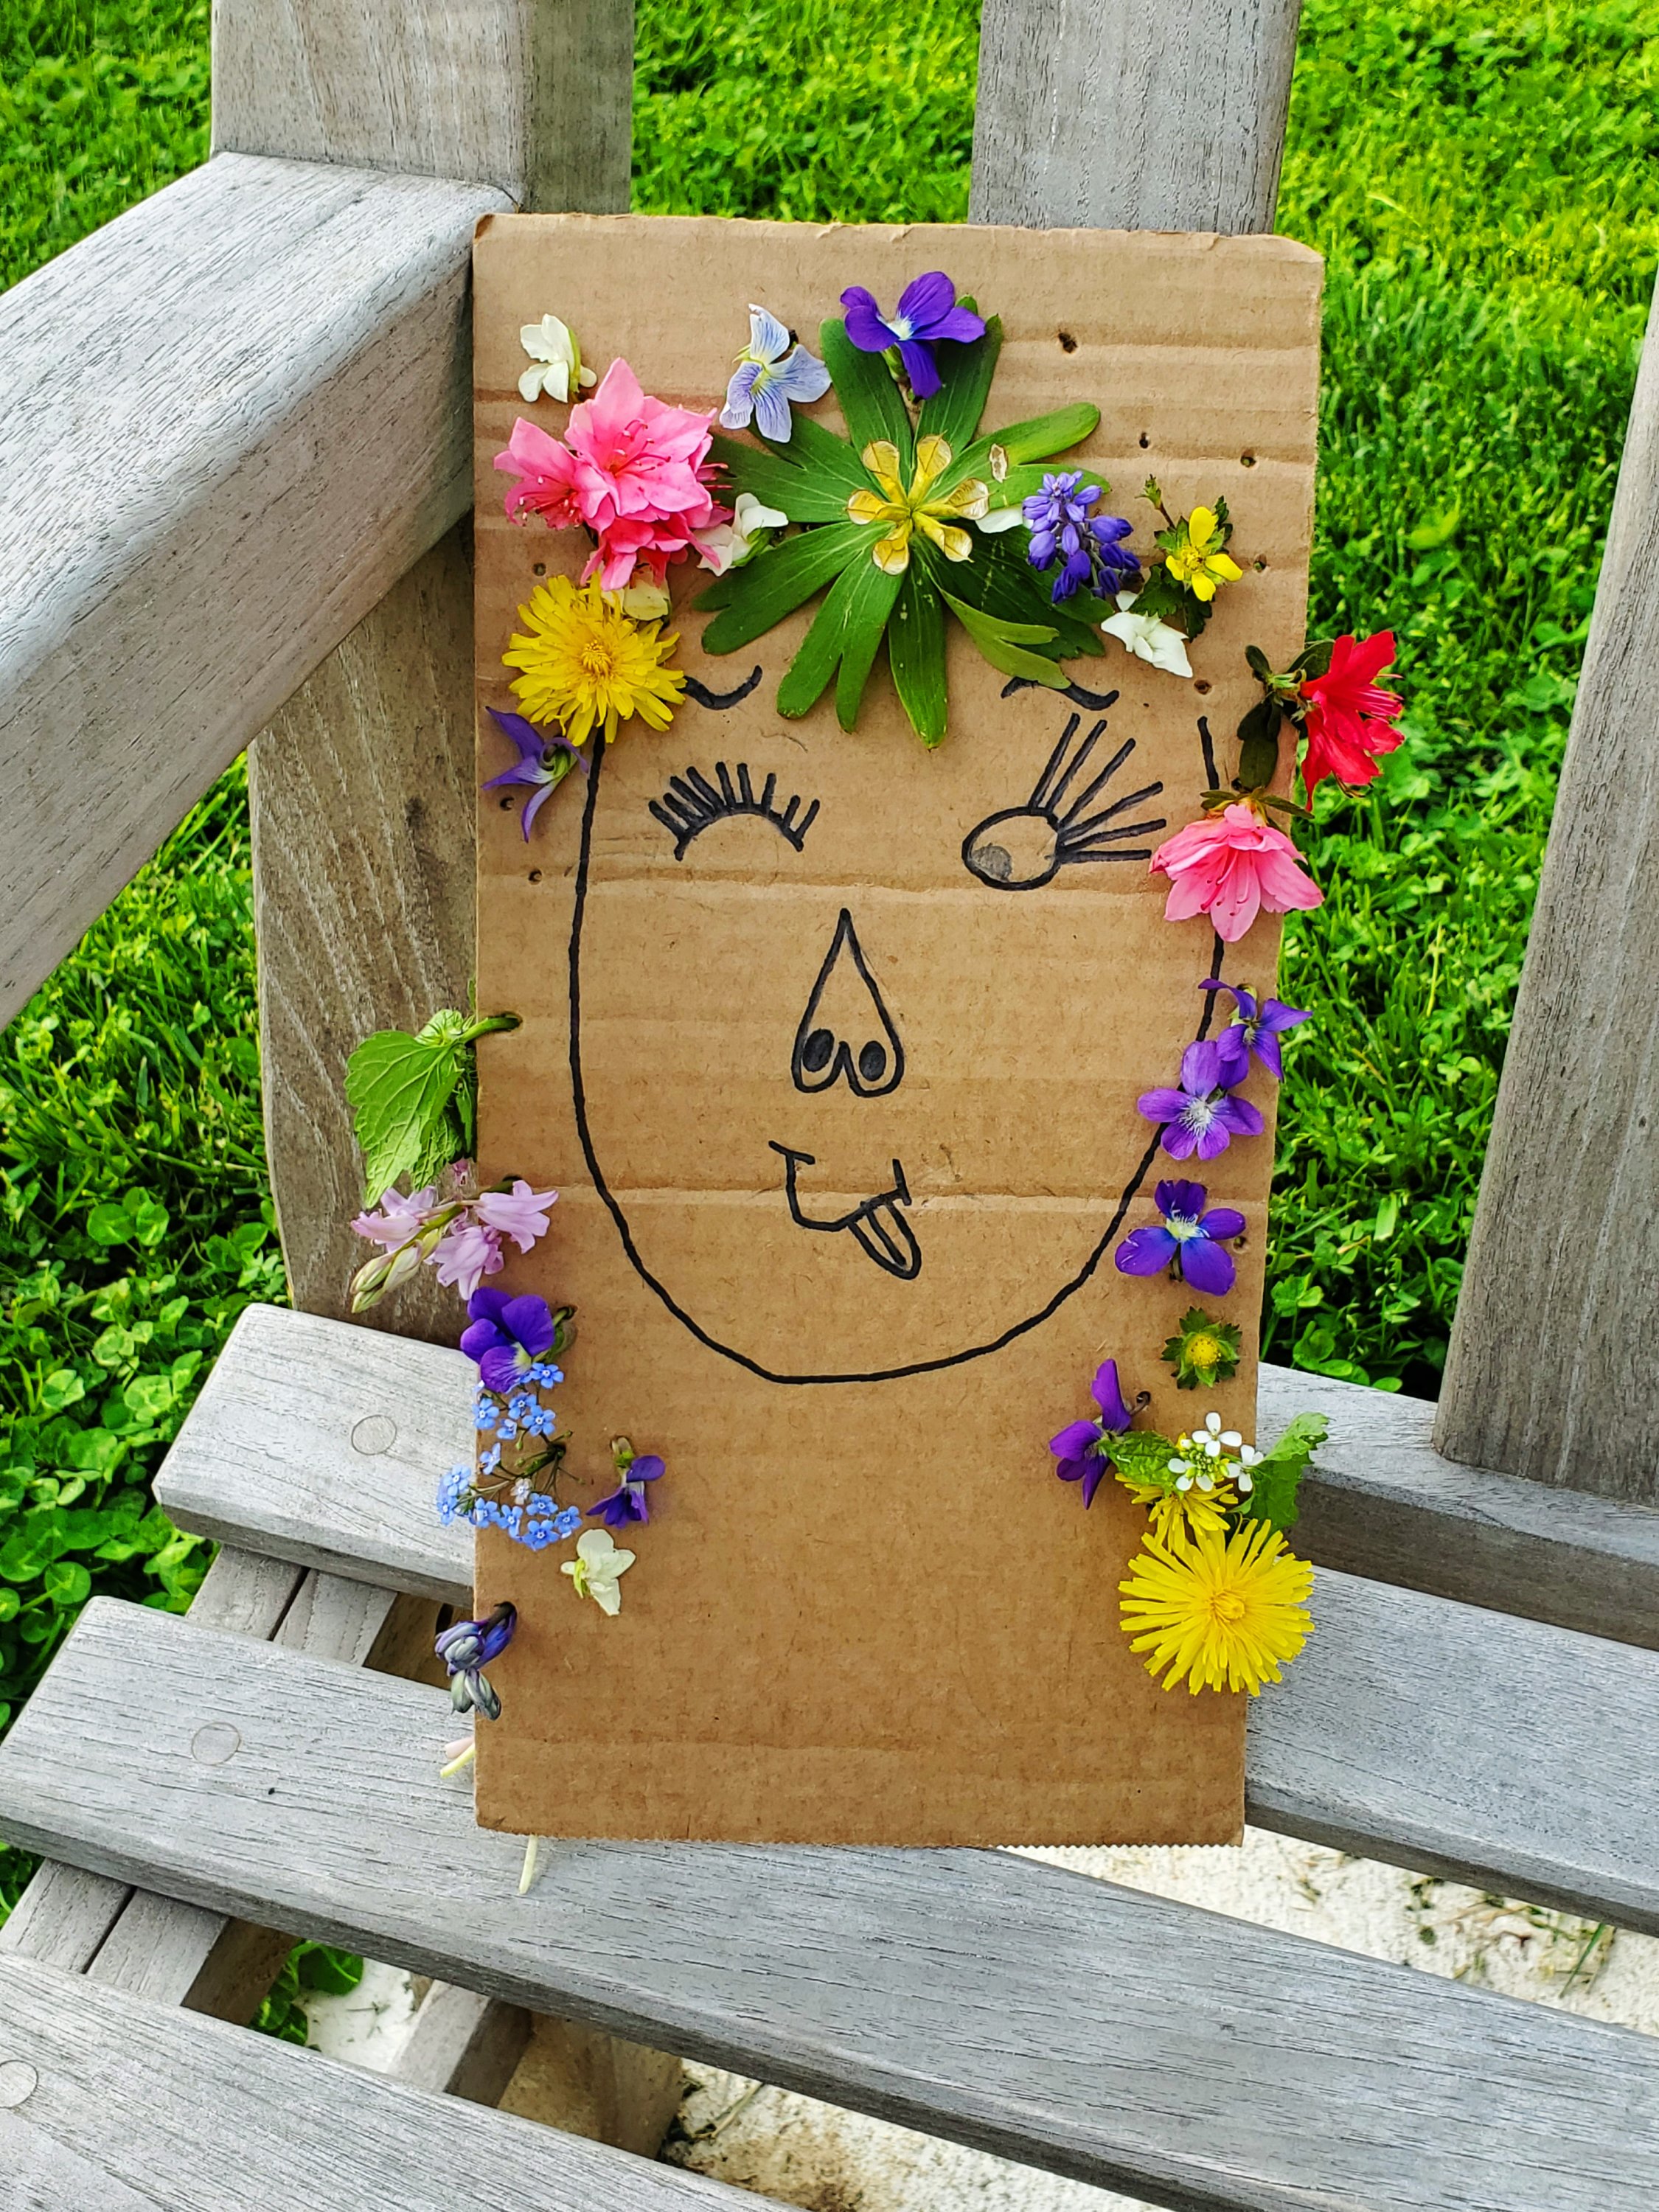
Mia drew a face on a piece of cardboard we cut from a box. Then we poked lots of holes where we wanted her hair to be.

We walked around the beautiful flower garden at Ault Park looking for flowers to use as our hair. We tried to use only flowers that had already fallen, or weeds that we thought they wouldn’t mind us picking for them.

Even though the playground distracted the kids & we didn’t end up filling all of our holes, I still think that it turned out really cute.

5 Easy Ways You Can Be More Eco Friendly!

1. Stop using plastic bags. Instead, opt for reusable insulated tote bags & mesh produce bags. It makes carrying groceries in from the car WAY easier too!

2. Use a refillable cleaning solution (like Thieves Household Cleaner). Thieves is non-toxic, plant-based, & can replace literally EVERY single cleaning product you currently own. (You can order Thieves HERE).

3. Shop at a second-hand store first before buying new. Chances are, a second-hand store will have what you are looking for at only a fraction of the price.

4. Utilize your local library. Libraries go WAY beyond just books. There are so many activities and classes that they offer, as well as information on local resources. It is a great place to bring children as well (just kindly remind them to use their inside voices.)

5. Use what you have before buying more. This goes for food, hygiene or household products, decor items, anything & everything. It helps cut down on waste & clutter as well.

🌍 I hope you had a good Earth Month. What did you do to celebrate the Earth this month?

I can’t believe tomorrow it will be May! Mothers Day is coming up as well as Moses FIRST BIRTHDAY!! How the heck has it already been a year?? Then after that it will be SUMMER BREAK ☀️! So many exciting things coming up! Don’t forget to subscribe so you don’t miss out on any of it!

Have a beautiful rest of your weekend 🧡

One Room Challenge | Main Bathroom

home, Uncategorized

This bathroom makeover has been on my to do list for a long time! I took a hiatus from working on any big projects around the house. Having our last three babies back to back took a pretty big toll on me physically and mentally.

After Moses was born, we had planned on moving and began the house-hunting process. Eventually, we landed on holding on this home while finishing up paying it off before we move, in order to gain a higher down-payment in the end. With Deer Park being an “up & coming neighborhood,” our home has already risen in value quite a bit from it’s purchase price & will only continue to rise as both our neighborhood & home continue to improve. Once we knew we were staying put, I really started getting to work on making our home work better for us and our growing kids. This room really got me excited to start getting our home together again, one space at a time.

Before:

I’ll start out by saying: I couldn’t stand this room. While I like all colors, Blue is my least favorite. It does not bring me any joy, unless it’s teal. I love teal.

The bathroom is a heavy traffic, very used room by not only our family, but usually by any visitors we have also, so I really wanted it to be a room I enjoyed being in. Mission ACCOMPLISHED!!!! I’m now obsessed with it!

Looking back at these pictures made me remember how much I couldn’t stand this room. I always felt so angry every time I was in this room, which was a major problem considering I spend a significant portion of my life in this room.

The Process

First step: paint! I used Rock Garden by Sherwin Williams. It is SO beautiful. It’s even better than I imagined it would be.

I took these photos as soon as I finished the second coat, while it was still drying. I was already so in love with it!

I painted the trim this time so that the color goes all the way to the ceiling. This made the room feel a lot taller, which tricks us into feeling like it is a larger room than it is.

When it was dry the next morning, I loved it even more! It really is the perfect color!

Next, I switched out the plastic outlet covers for gold ones. I also found gold cabinet pulls + knobs for both the sink vanity and this cabinet as well and ordered those off Etsy.

I put my First Aid box back (which I LOVE by the way, even more so now with the nice color contrast) and shopped my home for this basket to store toilet paper in. It fit perfectly! I had Niko hang a this planter in the corner with a faux plant. I found a similar little plant stand to place my small diffuser in.

I found this beautiful indoor plant at Kroger. It was the only one, and also in the only unbreakable pot which is important in the event that one of my kids or cats happen to knock it off the windowsill. It is also on the list of the best plants for the bathroom! I took it as a sign that it was meant just for me! The girls added a couple of their bath toys which I thought looked cool next to it.

Our previous bath toy storage was not working out for us so I picked up this across the tub toy holder from Target.

As soon as my pulls + knobs arrived, Sasha & Daddy put them on for me. I love them so much!

I am going to have so much fun finding + collecting different hand towels for this room.

I swapped out the old small silver faucet for this beautiful gold one to pull together all the gold accessories. It matches perfectly with the pulls on the cabinet above the toilet.

Once I got it swapped out, I realized that it was too tall (this is why measuring is important 🤦🏼‍♀️) and I couldn’t open the medicine cabinet behind the mirror anymore. The cabinet is vintage, original to the house (minus the black paint) and built into the inside of the wall. At first I was devastated and thought it was a total failure, but then Niko pointed out that we could move the hinges on the cabinet door so that we could raise the door enough to open it. That worked out great!! I’m absolutely in love with it.

Right before I started this bathroom project, the kids broke the door and it split halfway and was dragging against the floor tile, scuffing it up, so we just decided to take it down. It immediately made the bathroom SO much bigger. I’m talking double in size. We decided to keep the door off.

After a few weeks with it off, we decided that we need *some* privacy since the neighbors could see directly in our bathroom through our dining room window. We hung this hula girl bead curtain that we ordered from Etsy so we could get the privacy we need, without sacrificing space. She dances when you walk through the beads.

Eventually I plan to have “pocket doors” installed, because the next owners may not be aa fond of bead curtains as we are 😂. Having no door made me realize how crucial it is to not lose such a significant amount of space though. “Pocket doors” are the PERFECT solution for that. There will be actual, solid-door privacy, without compromising any space. I would also like to have the floor re-tiled with a beautiful black & white tile one day, but for now I’m considering this a finished project.

The bead curtain looks even better from the inside! You can see the details so well.

I also really love the new towel rack! I got that from Target for “free” using my Target Circle credits!

After finishing this bathroom makeover and hanging the bead curtain, I’ve officially decided that this tiny, dingy hallway in front of the bathroom is going to be my next indoor project. The rooms branching off from it are all finished and looking SO nice, but this hallway really takes away from the full potential. Plus small projects always lead to big impacts!

I hope you enjoyed my bathroom makeover! Make sure to subscribe so you do not miss out on future projects! I have a few REALLY fun ones in the works that you definitely won’t want to miss!

How I fit FOUR girls in one small bedroom COMFORTABLY!

Motherhood, Uncategorized

When I had a really bad mental breakdown in 2018, I did the (now-trending) Swedish Death Clean. Basically, you do an extreme declutter so that in the event of your death your loved ones aren’t left with the burden of doing it for you. I cleared out about 75% of ALL our belongings and I felt AMAZING. I haven’t missed a single thing since doing it, I developed new values and ways of looking at life, and was reminded once again that material items are absolutely worthless at the end of your life and just create chaos around you while you still have the chance to live it.

Anyway, while I went with an entire neutral/minimalist approach to my entire home, I wanted my girls room to be full of bright colors and happiness. The room I could fill the walls with their favorite things and cool treasures we find along the way, create art, inspire play, provide a safe and comfortable space, and make them happy. I didn’t want to take the colors out of their world.

Fitting 4 girls into one room has certainly been a process. It didn’t happen overnight. It happened piece by piece, over years of time. I am finally seeing the big picture come together. It’s going to be a room that continues to evolve over time, but I’m really in love with how it is at this moment in time & the girls are as well.

Welcome, come on in!

Double bunk beds are a MUST to fit all of the girls. The older girls (Ella & Mia) are on the top, while the younger girls (Sasha & Athena) are on the bottom bunks. Both bottom bunks touch the ground so we don’t have to worry about toddlers rolling out of their beds.

Ella & Sasha’s bunks have stairs. I added rainbow decals going up their stairs. I also really love the vintage 60s curtains that I found for their room.

Their bunk has 3 small shelves in the stairs. I am still trying to figure out what to do in that space.

Ella is on top & Sasha is on the bottom.

Ella has this cute shelf to keep her things. I thought it was the absolute perfect one because it matched with their other furniture and has a space for her books & controllers.

I LOVE these lights on Ella’s bed, but when they got the rainbow light for Christmas they had to choose one or the other for the outlet. I put them aside for now until I can figure out another solution.

My mom got all of the girls each their own blanket with their name on it. Ella’s blanket says “Be-You-Tiful Ella” and she has a fun color E pillow also. I love adding personalization where I can without being over the top.

Sasha’s blanket has a cute little unicorn with her name & other little doodles.

In between their beds they have their TV. In order to earn their remotes, they have to have their chores finished first.

Sasha got this rug for Christmas to play with her hot wheels and wooden vehicles. They love driving their cars all around the town making up stories and being different characters for each place.

Mia & Athena’s bed has a ladder instead of stairs. Mia is on top, Athena is on the bottom.

Mia has her own shelf like Ella’s to keep her things. Her blanket is all of her favorite colors with her name in different fonts.

Athena’s blanket is SO beautiful. It is flowers and her name in a pretty pink font.

This bunk has 4 drawers. The top is Sasha + Athena undies & socks. The bottom 3 are Sasha’s shirts, pants, and pajamas. It also has 3 shelves which I added cute cube baskets that have Athena’s shirts, pants, and pajamas.

A lot of girls equals a lot of shoes! I’ve actually had this since I was a kid at my parents house and now I passed it down to my own girls. One of the slots broke so I turned it into a boot slot instead.

Above their shoes is a space for them to hang up their artwork. We are not a family that keeps every piece of art or else our entire home would be overflowing with mountains of crafts. This gives them a space to hang their favorites for a bit, then change them out when they have a new favorite.

I painted their closet door the colors of the rainbow and added this “Choose Kindness” sign. I love their peace sign light above it.

I love how their crayon piggy bank looks next to the rainbow painted closet.

I have the inside of their closet divided by this shoe hanger. Ella & Mia both get 3 slots. Mia’s dresses & jackets are on the left, Ella’s dresses & jackets are on the right.

On the shelves I keep Ella & Mia’s sports cases. I got them each a suitcase to both store & roll their sports gear themselves so that I am not stuck carting everything around myself while also wearing a baby and carrying my own items. Whatever sport is currently being played gets their case on the lower shelf while the off season sport case goes up top. It helps to keep all of their gear together in one place and away from the toddlers who love to get into all their big sisters things.

On the bottom is another shoe rack with boots & rainboots.

I added these adorable mirror butterflies that I found at the thrift store up their wall on this small space.

The girls hang their bows on this adorable unicorn bow holder. I really fell in love with bows during cheer season and want to begin collecting bows for the girls. I got some holiday related ones this year that I put into the holiday bin until that season is upon us again.

This unit from Ikea is EVERYTHING. As you can see, their closet is extremely small. This unit is completely build-able piece by piece. You can work it so many ways to be able to suit your own needs at a very affordable price.

The top left corner is Sasha + Athena’s dresses and jackets. The left drawers are Mia’s shirts, pants, & pajamas. The top right corner is Mia + Ella’s sweatshirts and 3 baskets filled with their headbands, scrunchies, and various accessories like sunglasses. The top right side drawer is Ella + Mia’s undies & socks, the three lower are Ella’s shirts, pants, & pajamas. The roll-out drawer are Athena’s shoes/boots.

I added 4 matching baskets from Target on top. 1st: Sasha + Athena’s sweatshirts. 2nd: Swimsuits. 3rd: Holiday outfits/accessories. 4th: Purses 

I love this little corner of their room. My first car was a VW Bug and my dream vehicle is a VW Bus. They are definite musts in a Hippie themed room.

I added a fake Eucalyptus plant in the back that I will sometimes add a few drops of Eucalyptus oil to the jar to add a natural scent to it.

Their Snowy the Owl diffuser is another MUST. It is kid-friendly, easy to use, changes colors, and has a sound machine.

I added a 3 cube shelf in the corner which I’m not crazy about, but it’s working for now. I added 3 baskets to it to store daily hats, winter hats, and other various accessories.

On top of the cube shelf is Ella’s jewelry box that she got for Christmas. It really looks cute in that space, although I will be changing this corner out soon enough because like I said, this is an ever-evolving room.

I hope you enjoyed my girls hippie room and found some inspiration for your own shared girls room! I will make sure to update with any new changes so don’t forget to subscribe!! 🙂