Our Favorite Places | Mason Cottage Day

Crafts & DIY, homeschool, Motherhood, Uncategorized

We are beginning our second year taking homeschool classes at Mason Cottage Day! It’s hard to believe it’s only been that long! I feel like Ms. Natalie is one of my dear lifelong friends who I’ve known forever.

So naturally, I wanted my first post of my new Series: Our Favorite Places, to be about her studio – Mason Cottage Day! In this series, I’ll be sharing about our very favorite places & what makes them our favorite.

Welcome to Mason Cottage Day

From the moment you arrive, her studio is so welcoming! She has a board outside her door with important information & business cards, as well as which classes she is currently offering.

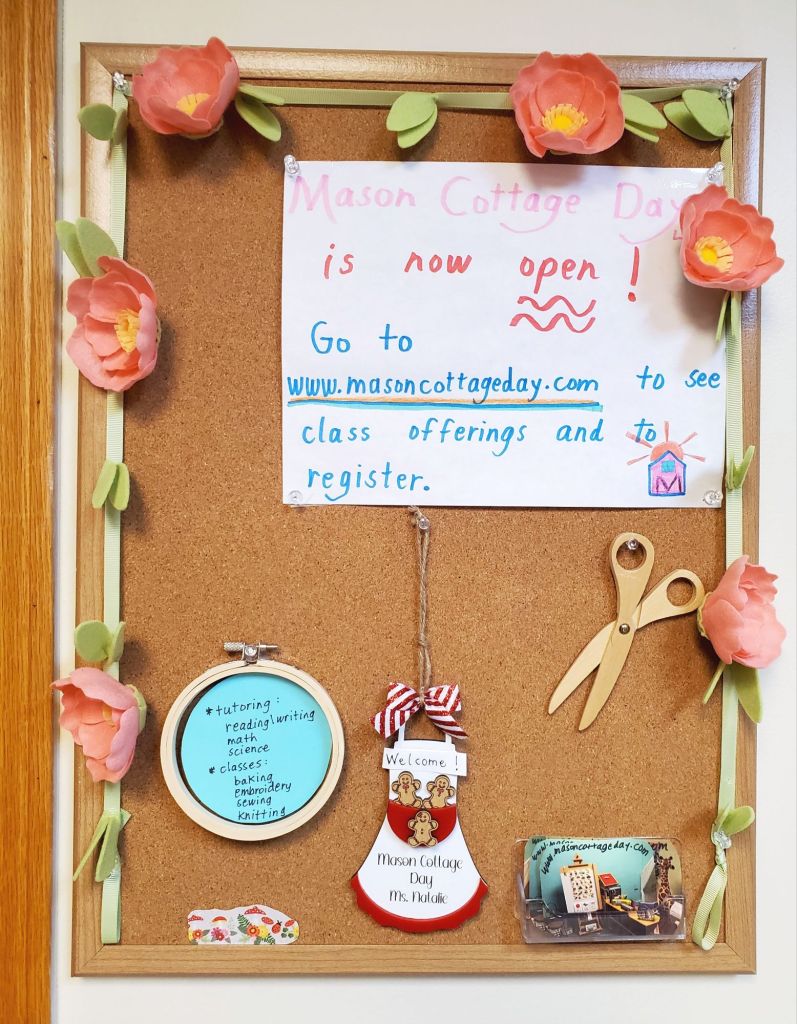
We personally have taken Sewing, Embroidery, Baking, and Reading/Writing classes in our time at Mason Cottage Day. I think science would be a really fun class to take too!

One of Ms. Natalie’s former students made her this adorable giant wooden pencil & another student made her this name plaque. I love that she continues to display their artwork that they took the time to create for her even after they have moved on. It shows how much she truly cares about each and every one of her students.

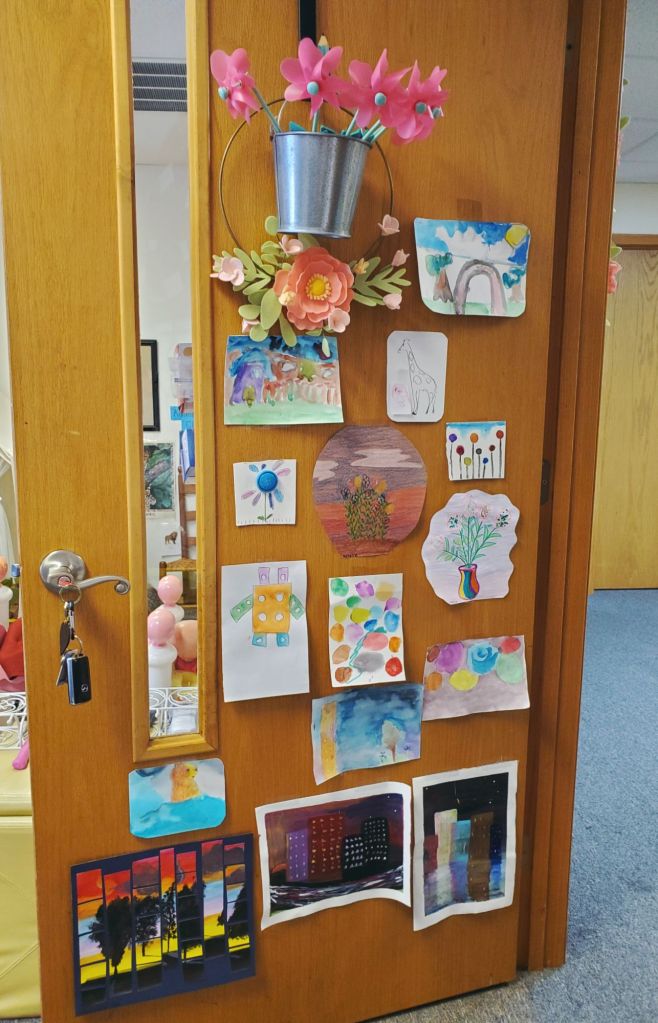
Each month, Ms. Natalie changes the artwork on display. It’s so fun to see the different projects & types of art the students are learning, as well as what students have come up with on their own in the art room.

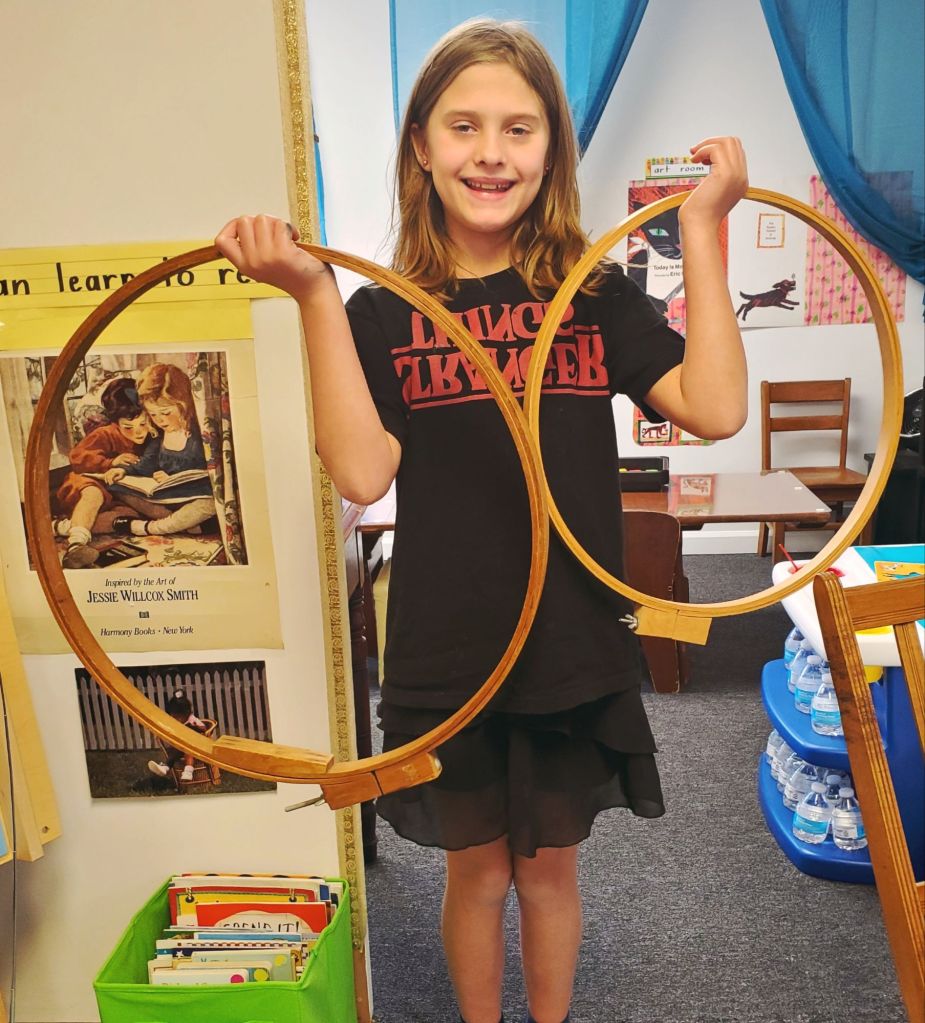
This is such a cozy reading corner for students learning to read, and I love the giant embroidery hoops on display. I had never seen them that large before!

She has a ton of books & learning games for all different ages. She has been working with Sasha on her reading, & it has been so impressive to see how fast Sasha has been making noticeable progress in her reading abilities.

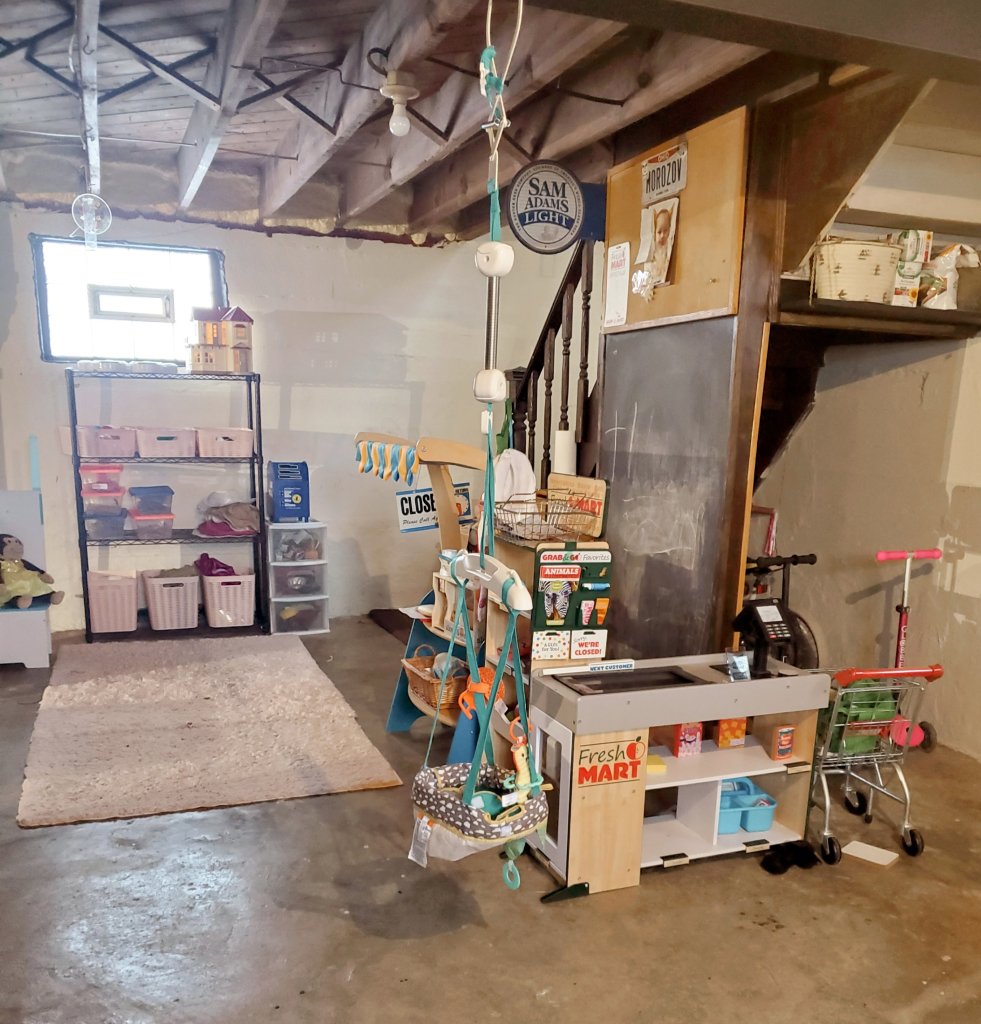
One of my favorite things about Mason Cottage Day is that it is really geared toward homeschooling families. Siblings are welcome to come play for free during lessons! That’s incredibly helpful, especially for low-or-one-income large families who otherwise have to miss out due to pricing or scheduling conflicts.

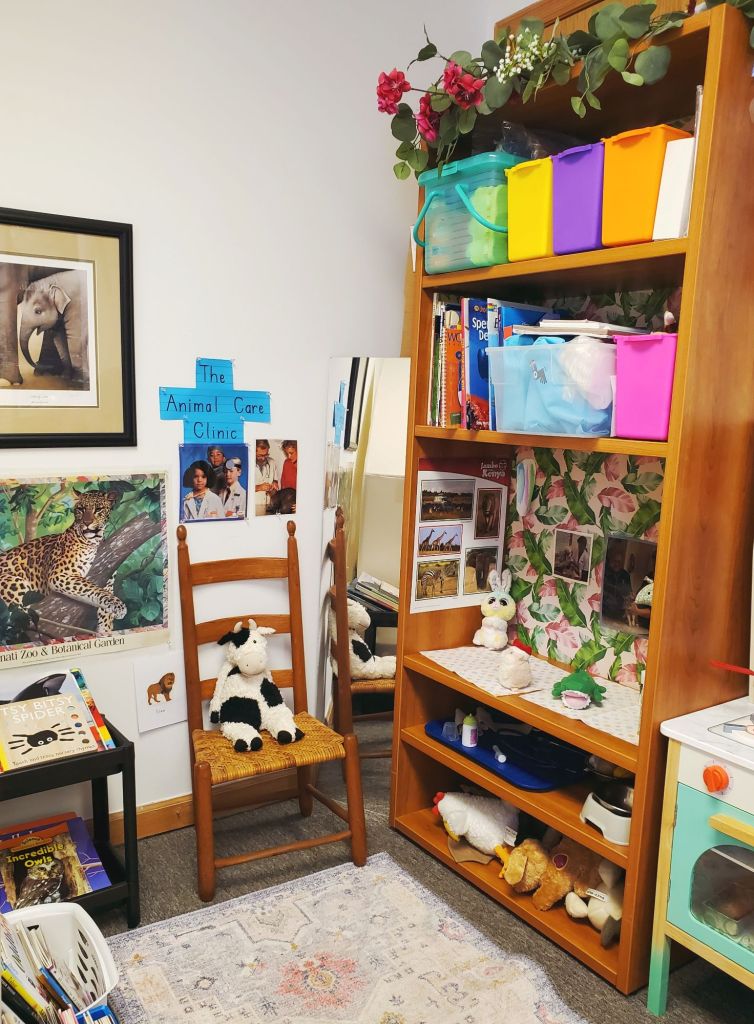
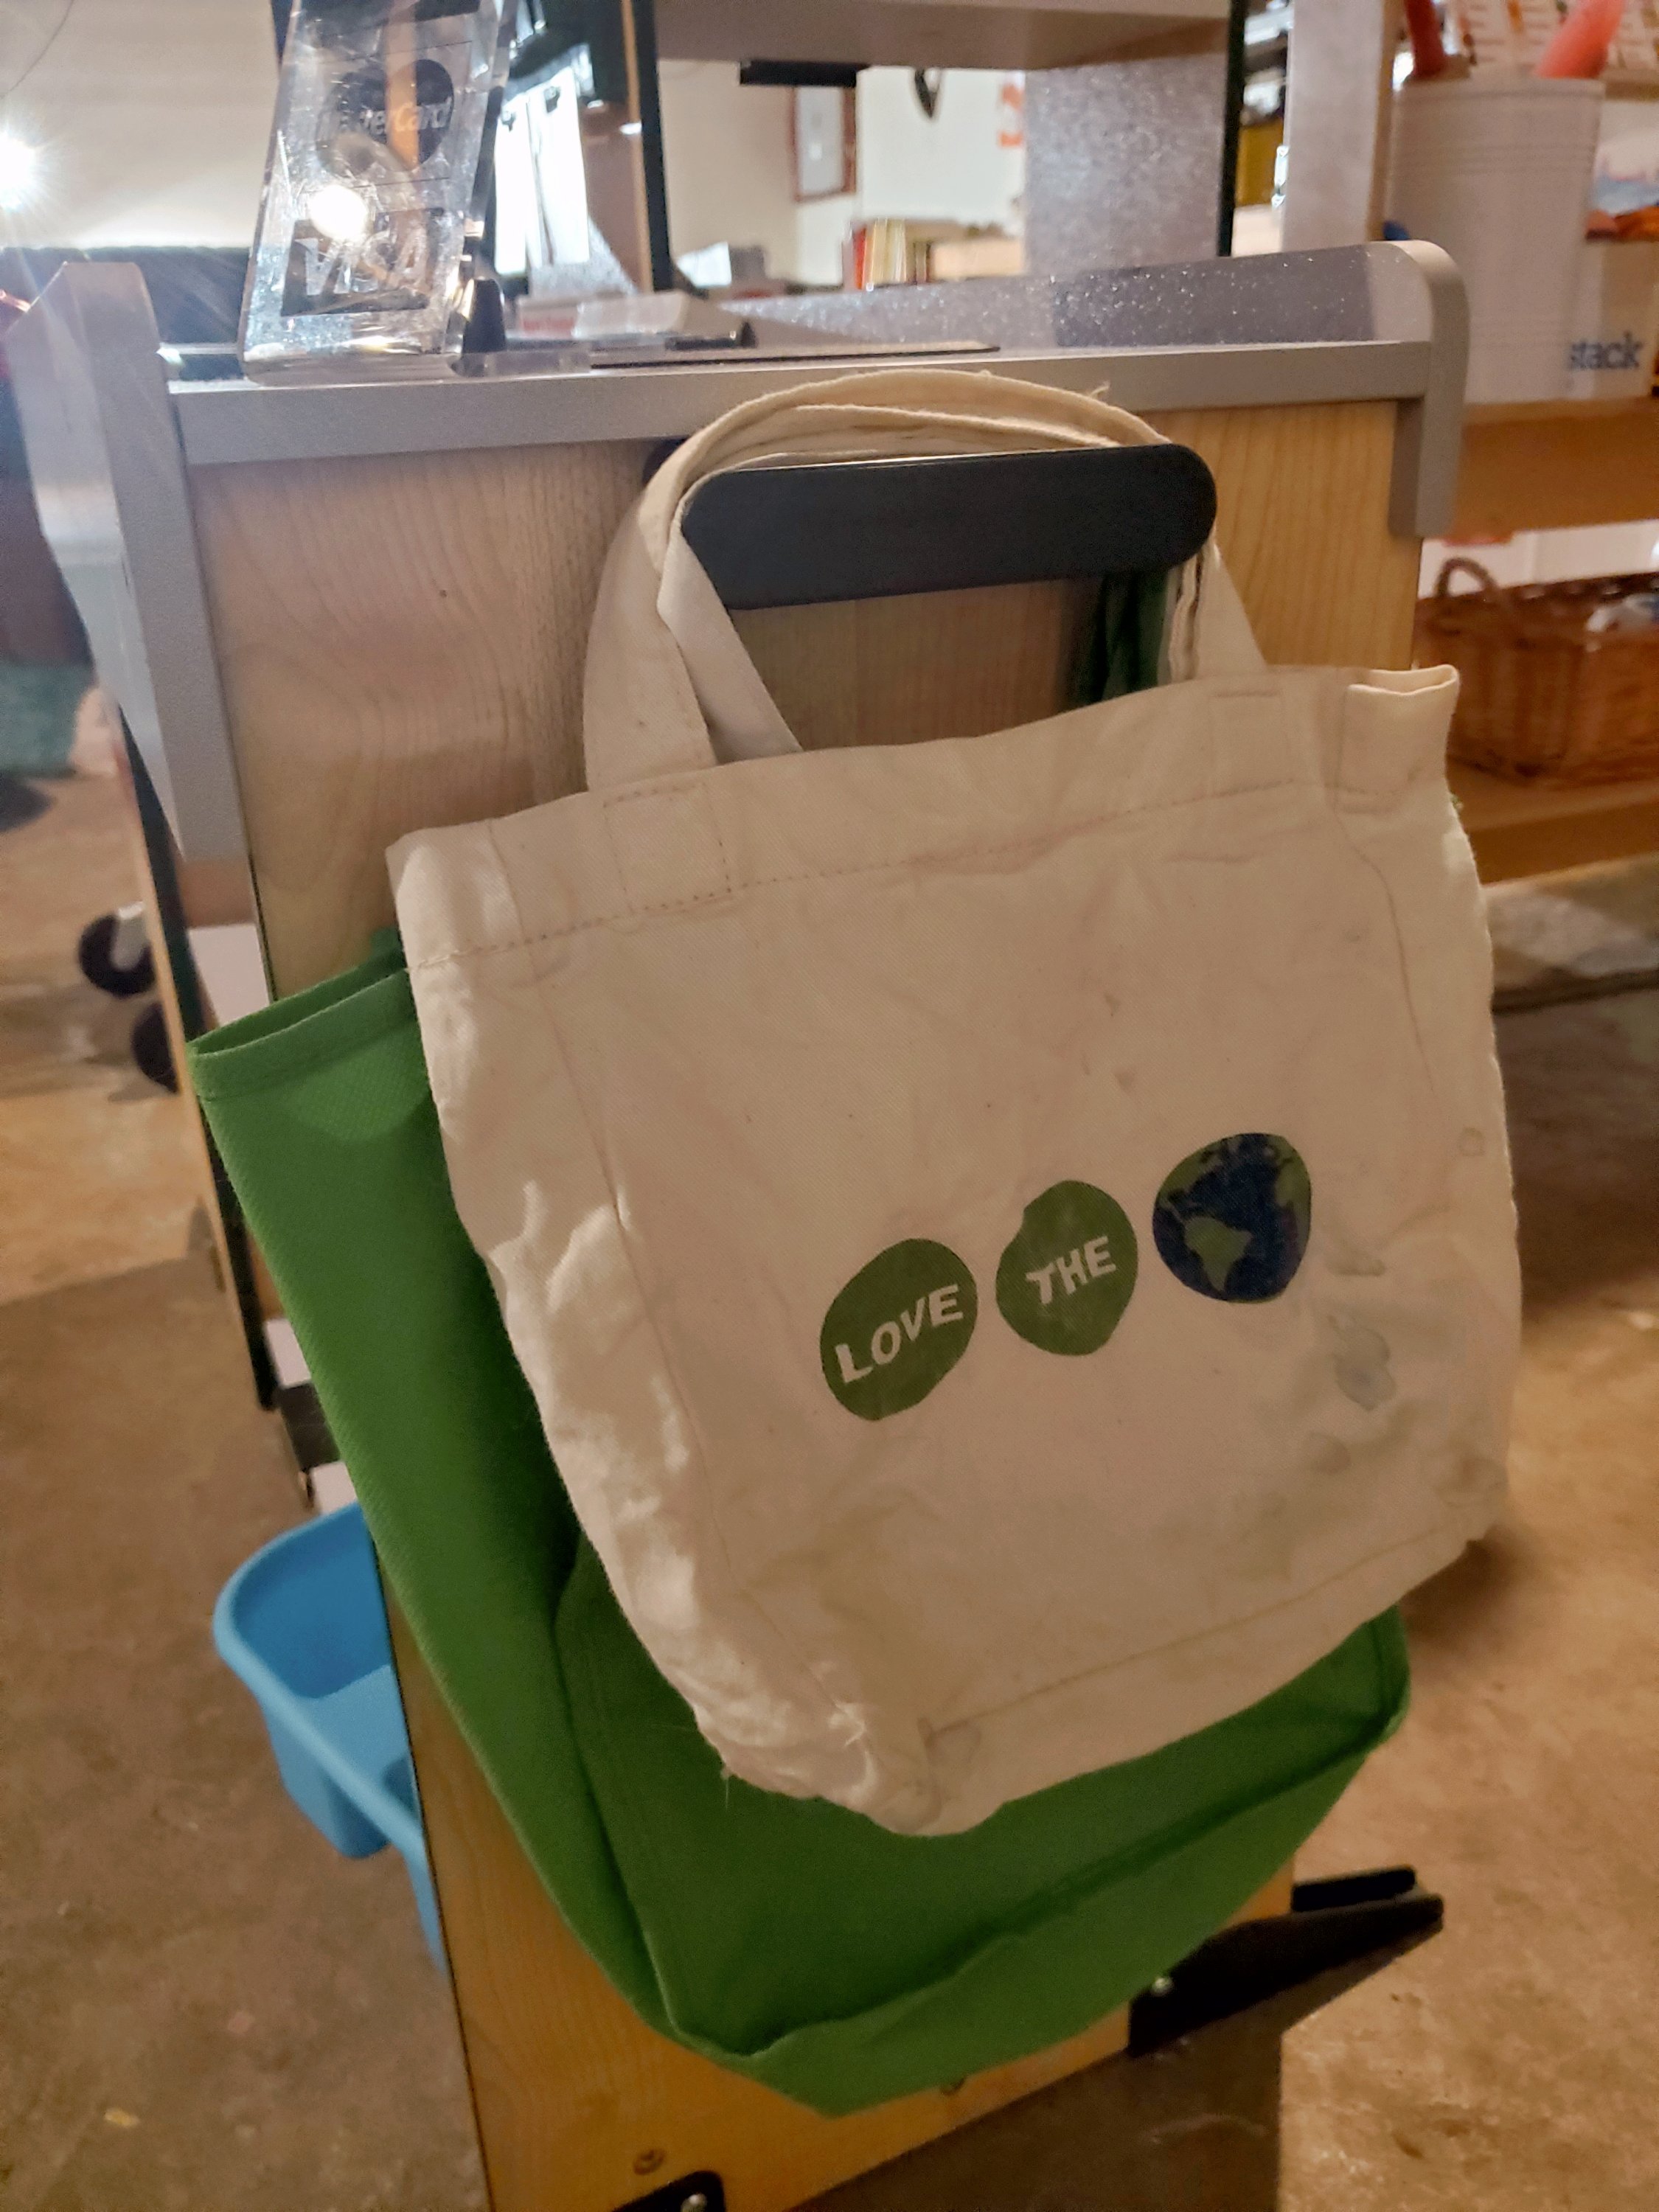
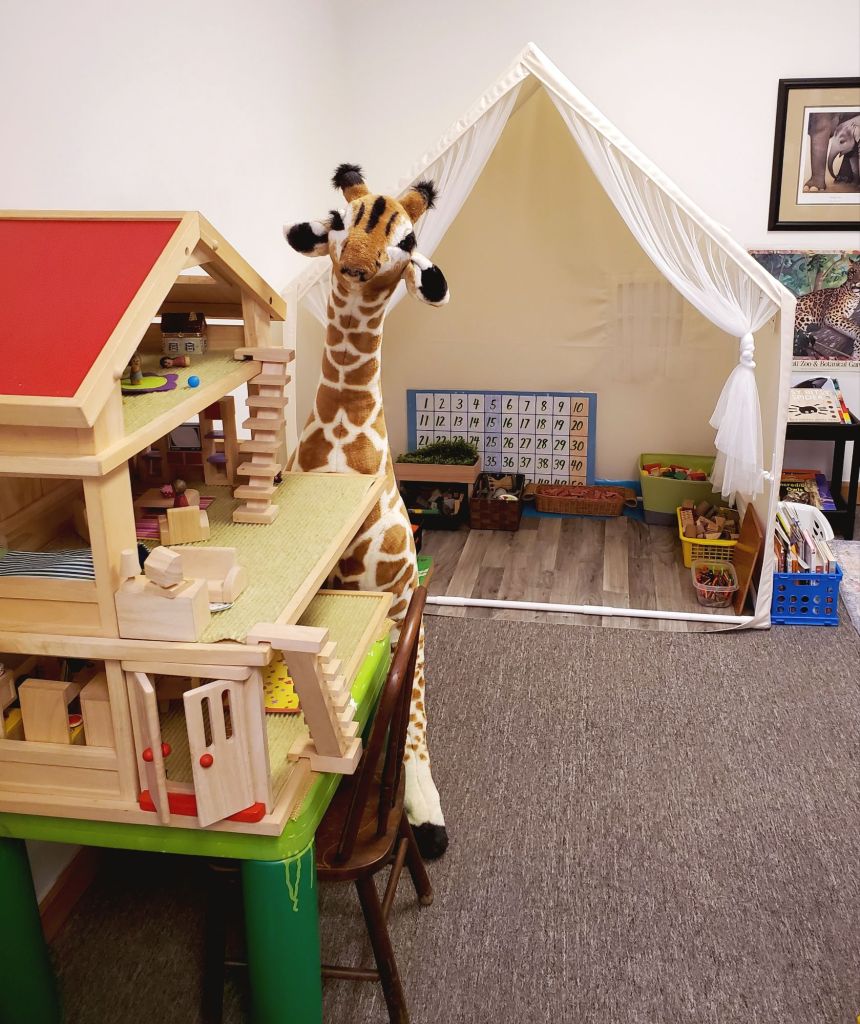
There are plenty of interactive areas to play such as a kitchen/nursery/home play area, a doctor or veterinarian area, a building area, and a doll house area for children to use their imagination.

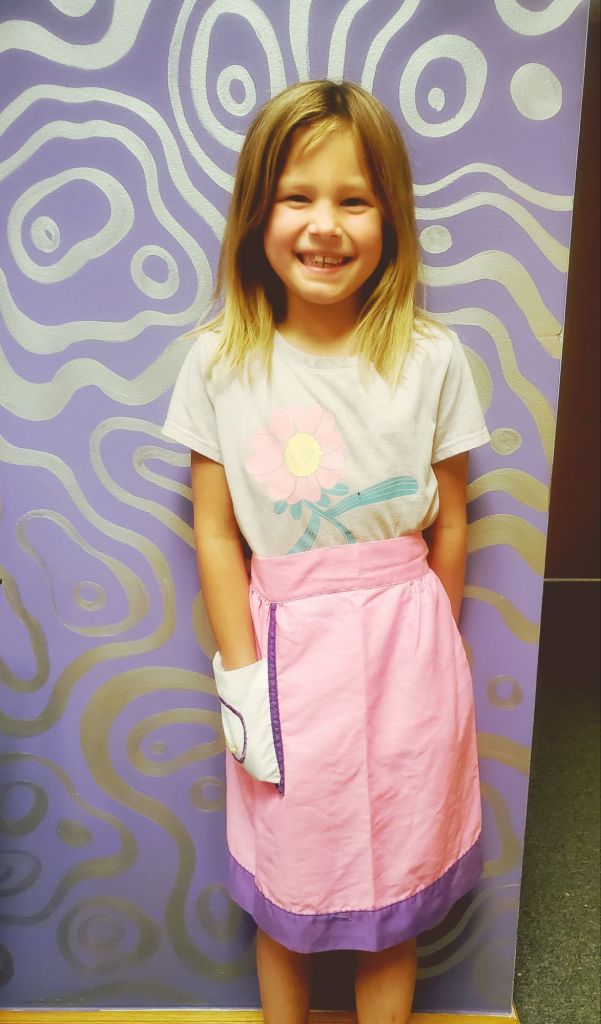
There is the cutest little hand-washing station for baking students, along with plenty of child-size aprons to choose from.

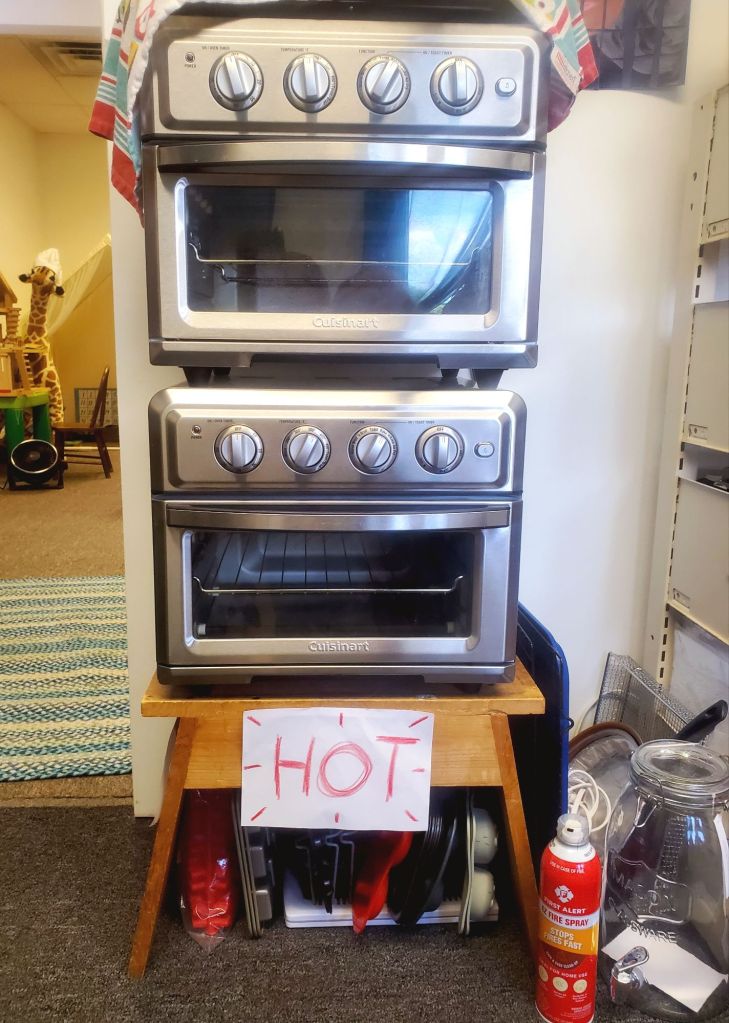
All of her baking is taught through these conventional ovens. They are the perfect child-size, beginner ovens to learn on.

Sasha has loved taking baking classes at Mason Cottage Day. She had learned how to make a good variety of different items. Her confidence in the kitchen is going up after each class & just like at our home, Ms. Natalie incorporates reading & math into her baking lessons, so those skills are also improving while she bakes. Sasha of course looks adorable in her little aprons & she’s always quick to let her siblings take turns helping her bake.

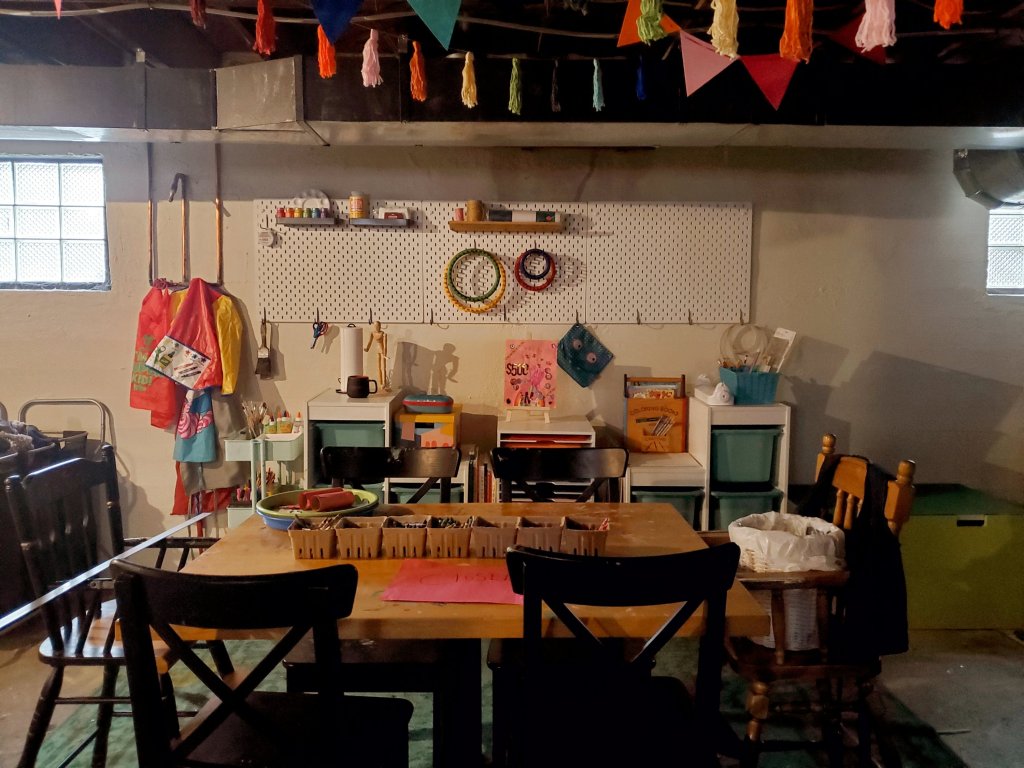
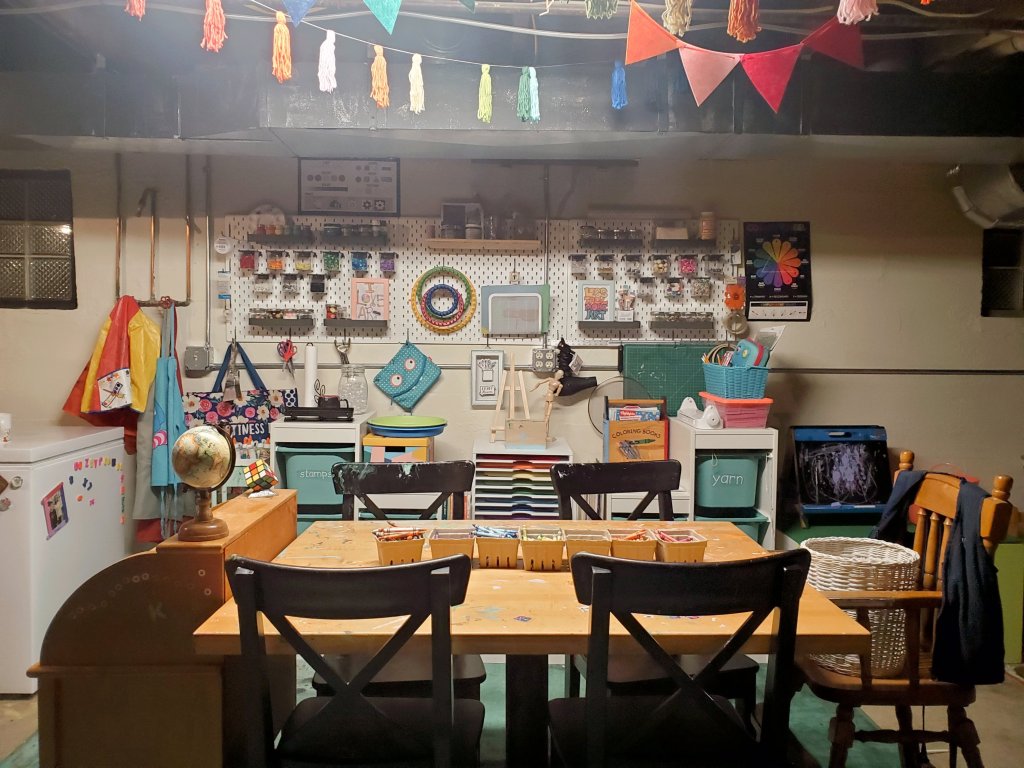
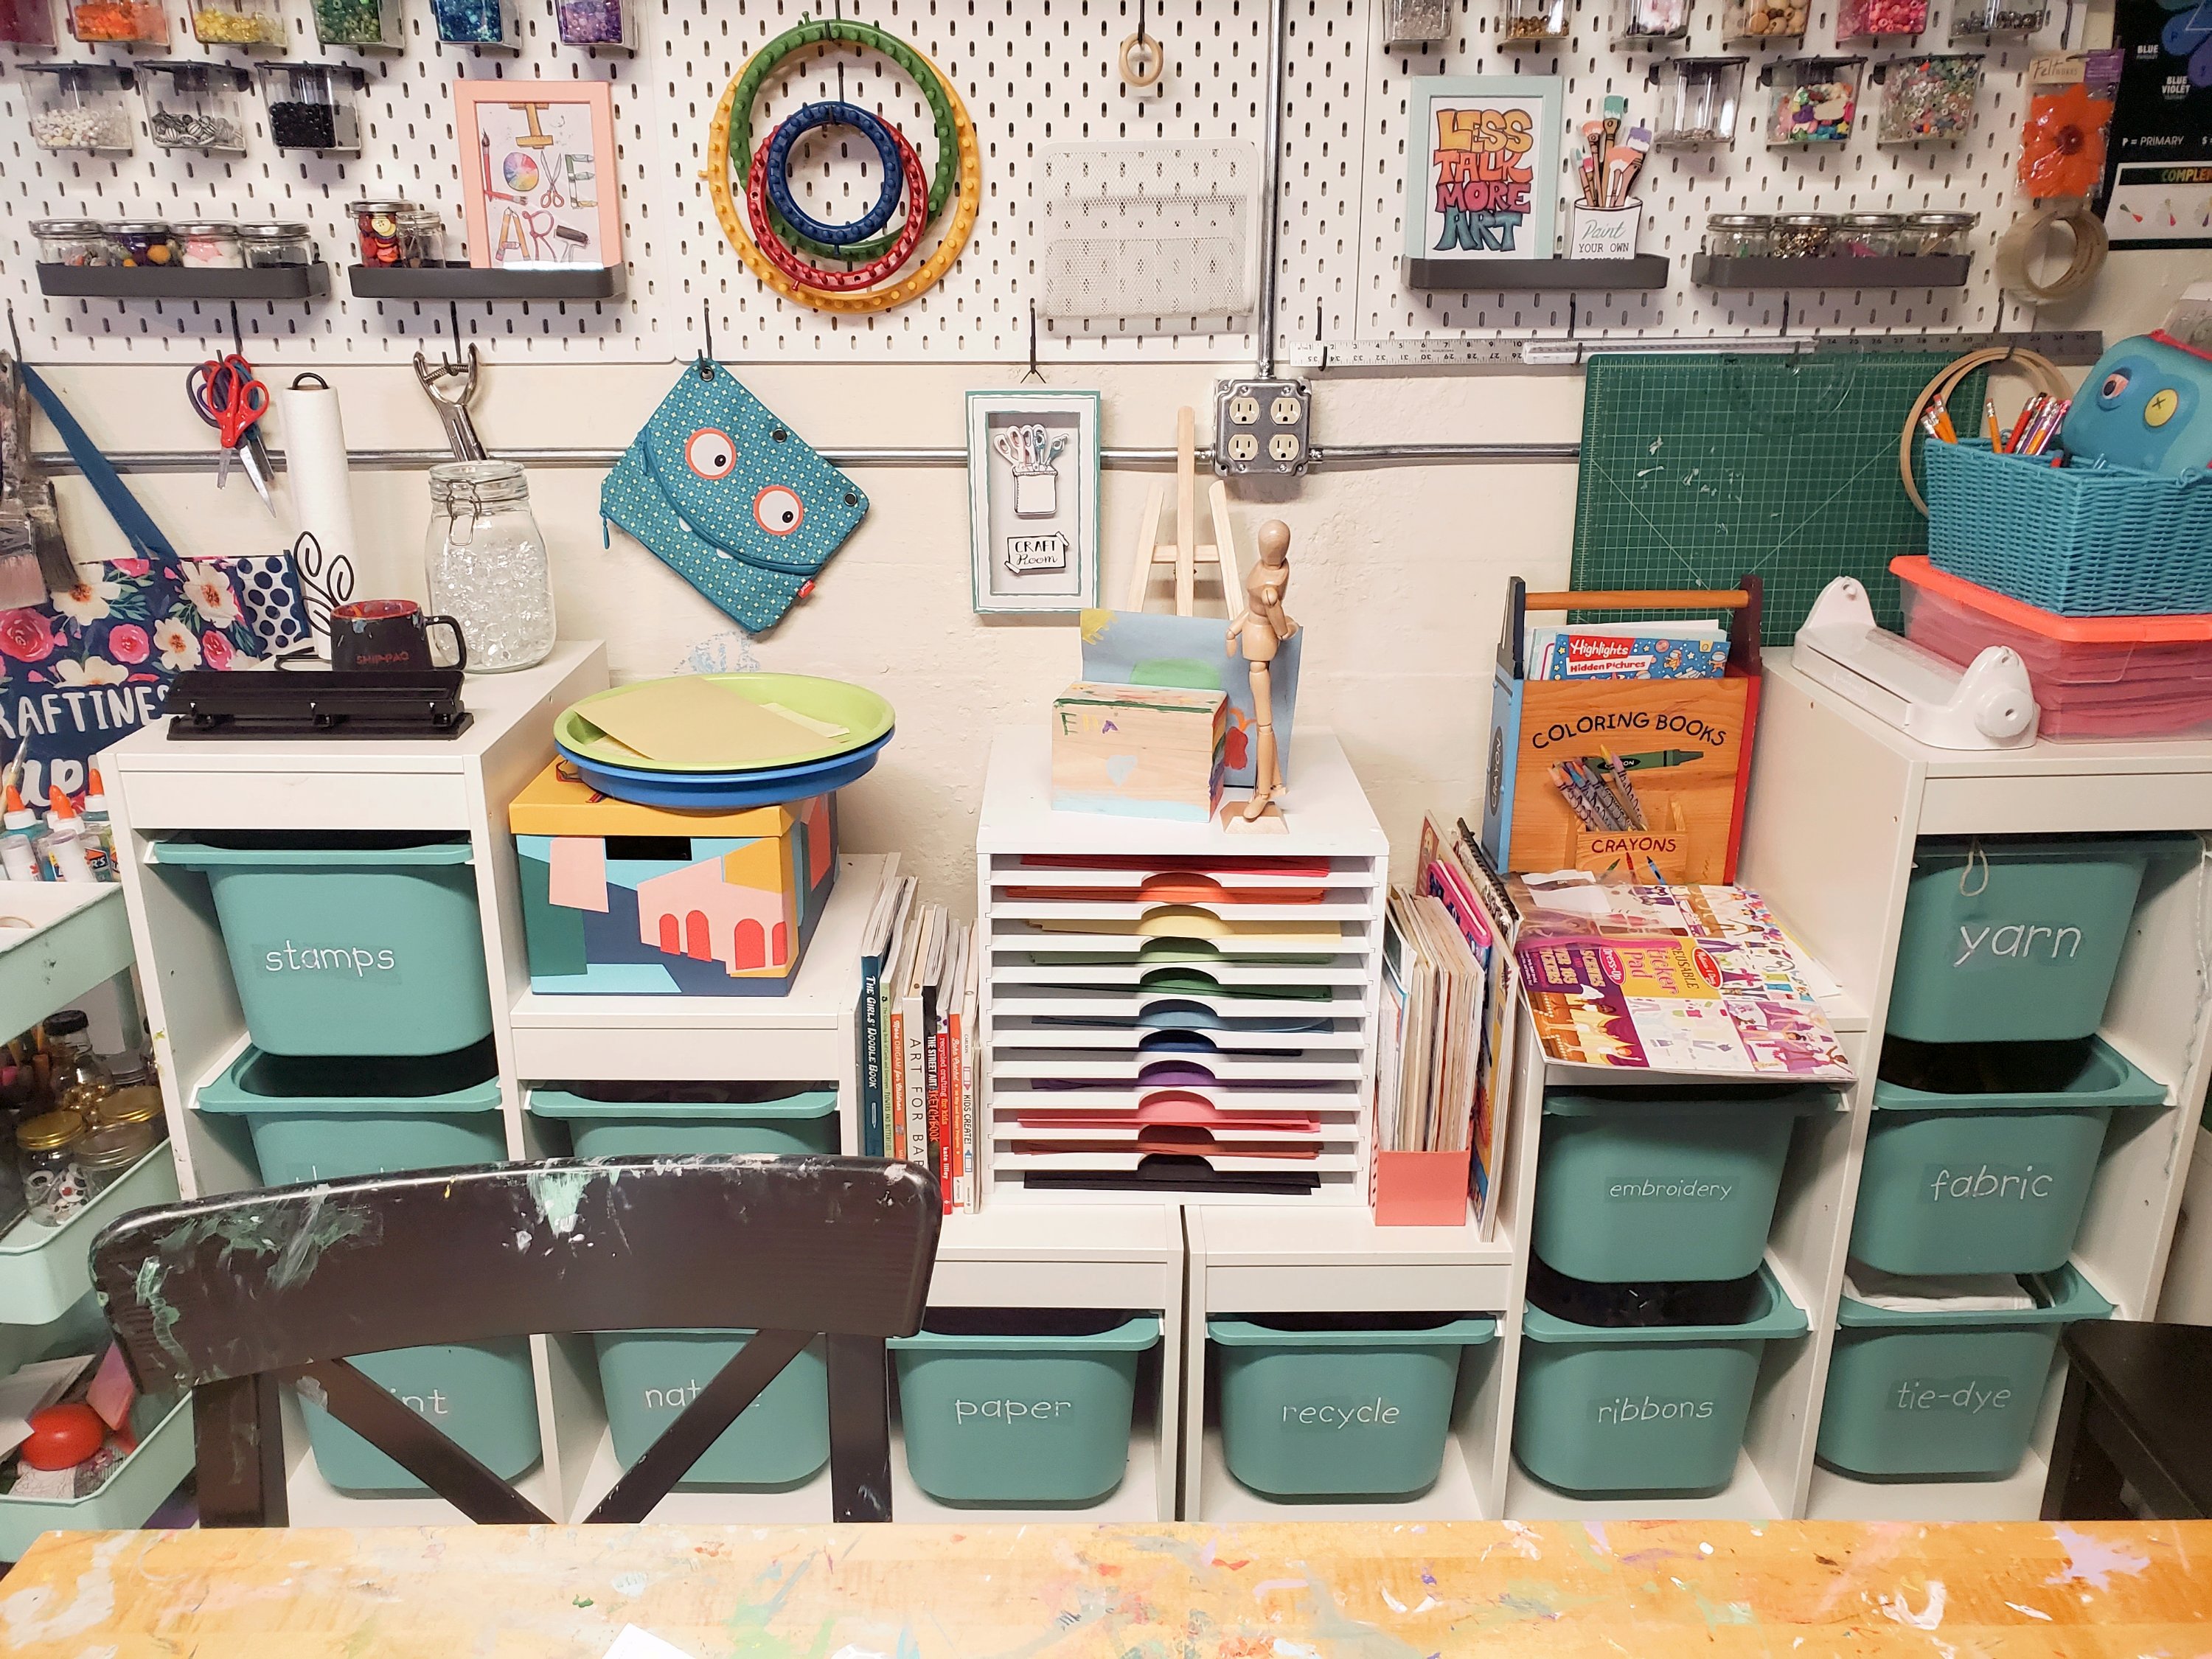
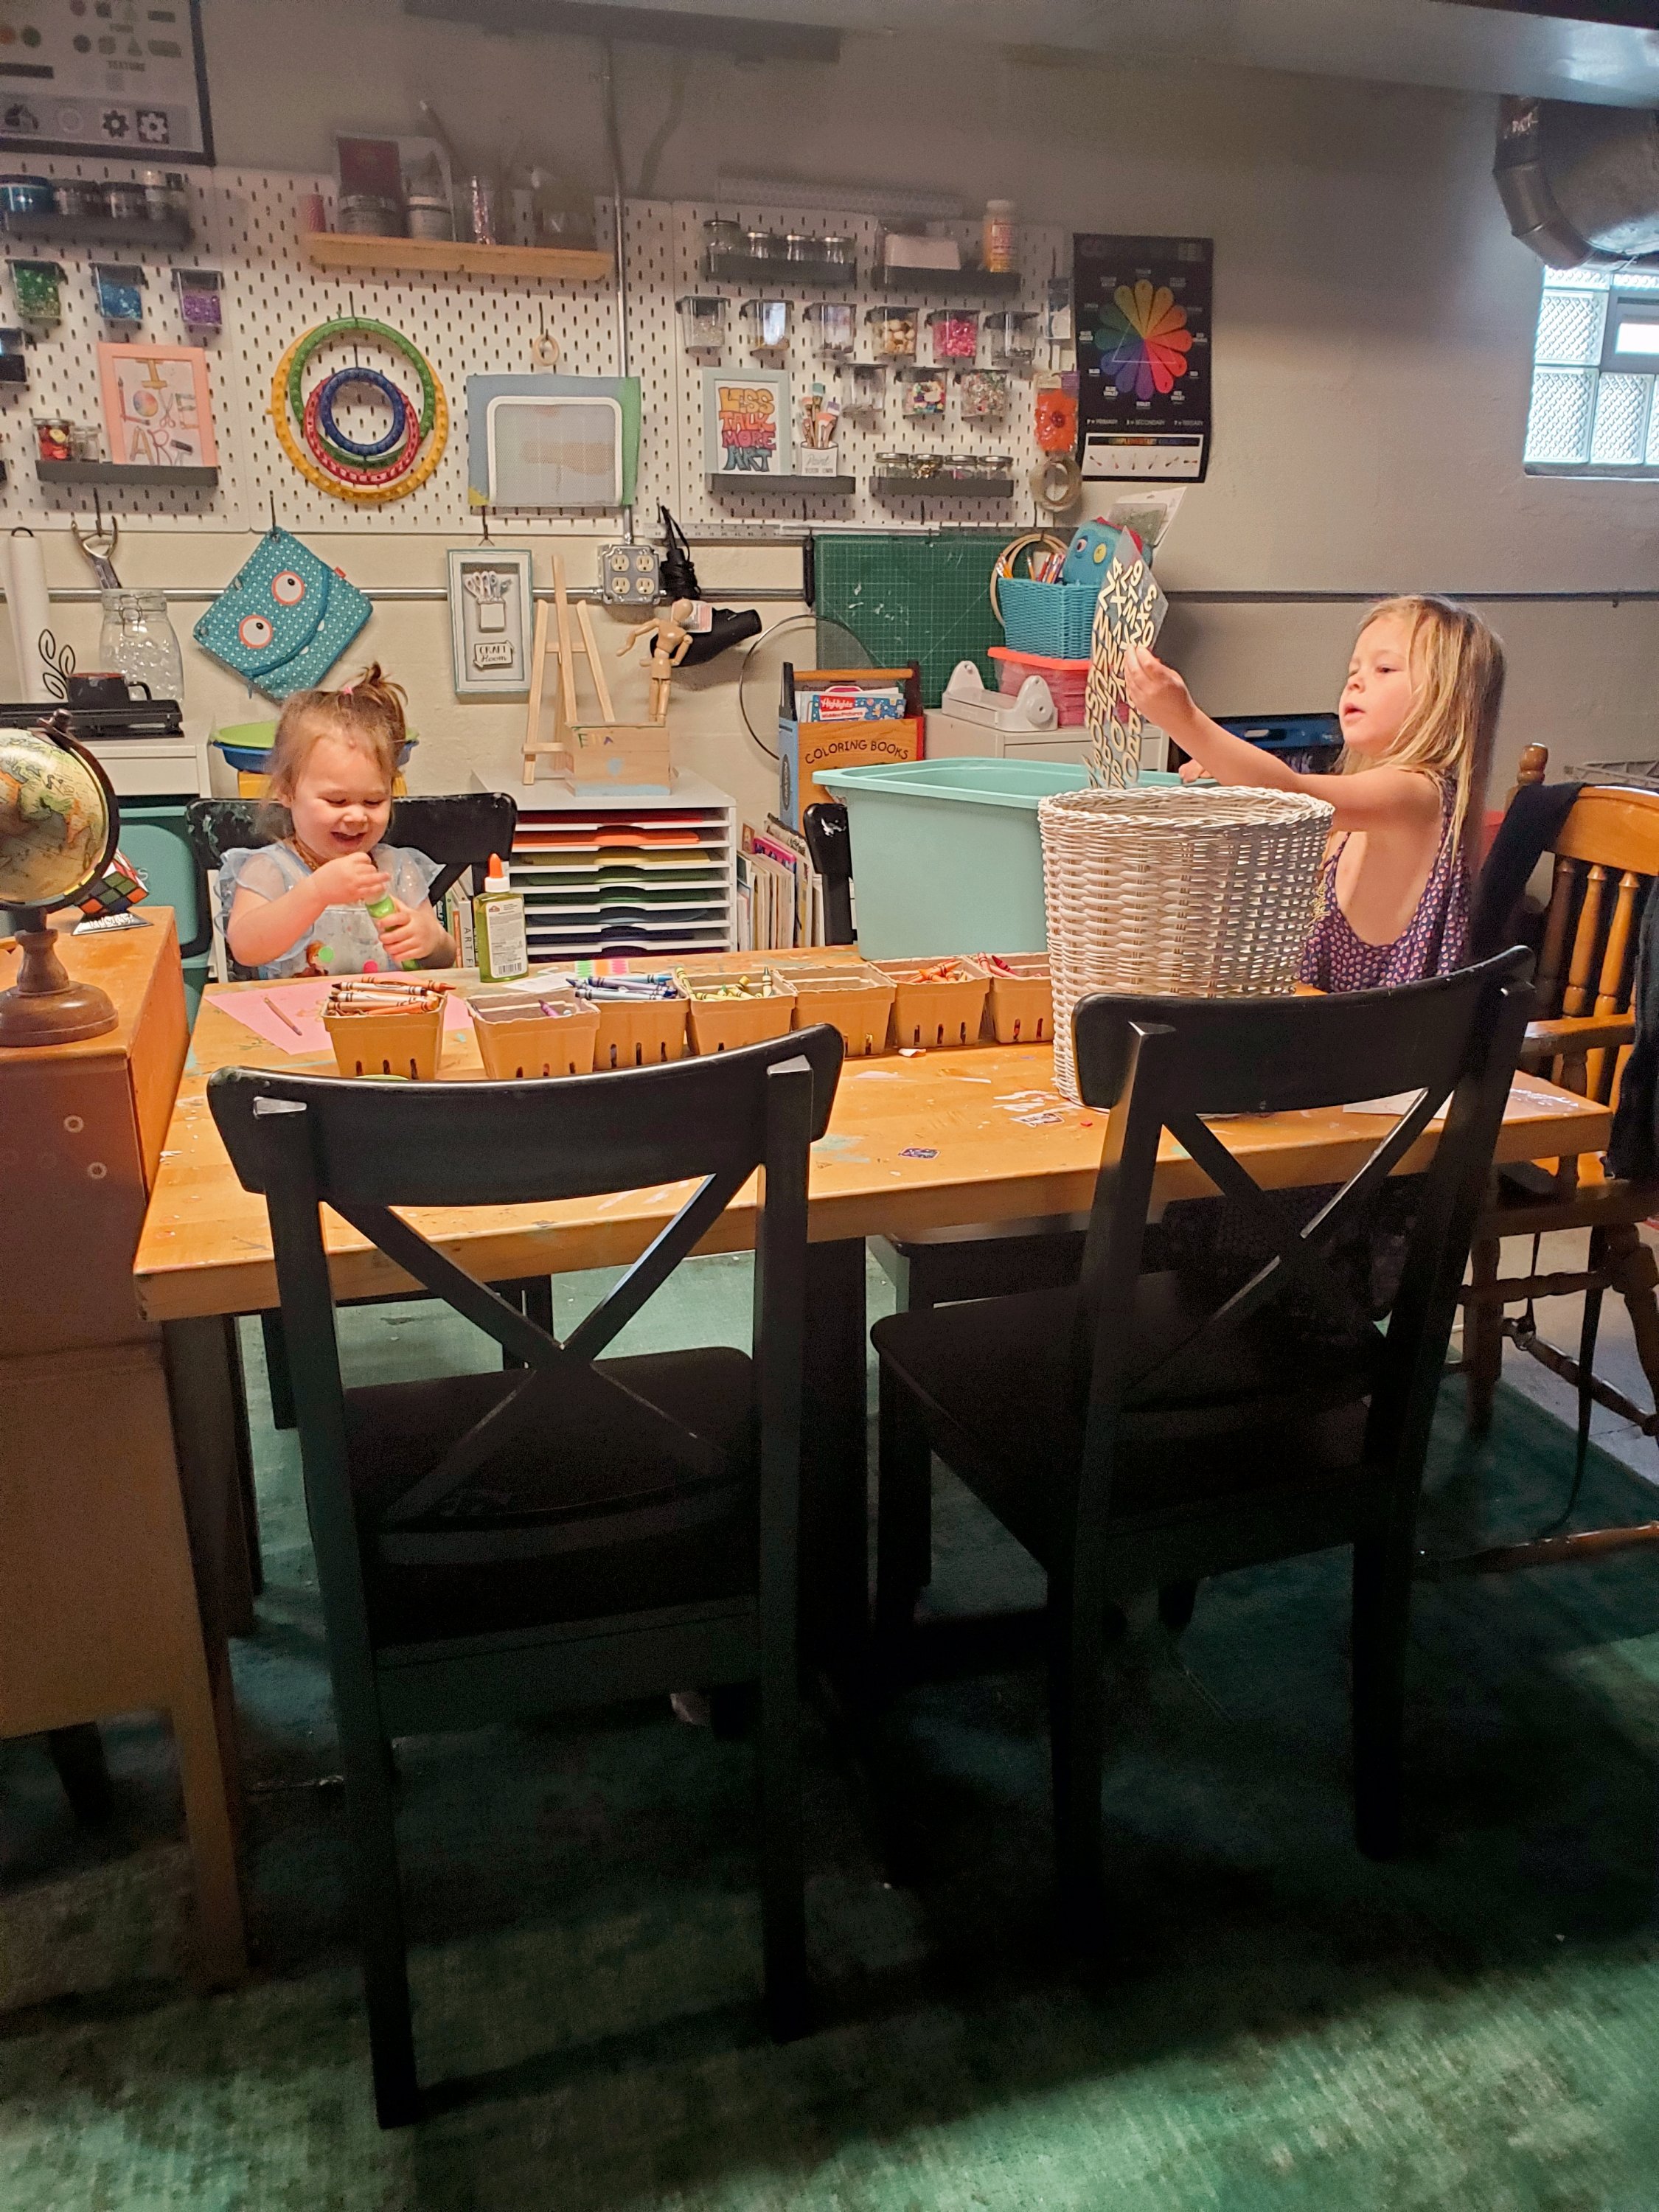
The art room gives students free-range to create to their hearts content. There is a painting table, all the coloring utensils you need, stencils, & tons of other various art supplies & tools. Anything out is able to be used, and if you see something in her art storage area that you want to use that isn’t out – just ask! She’s more than happy to accommodate little minds.

You can always count on seeing fun science projects or experiments going on from her science students – like this potato clock.

She even has a beautiful planter that is Ukrainian Petrykivka style, which makes my Ukrainian 💙💛 heart so happy to see.

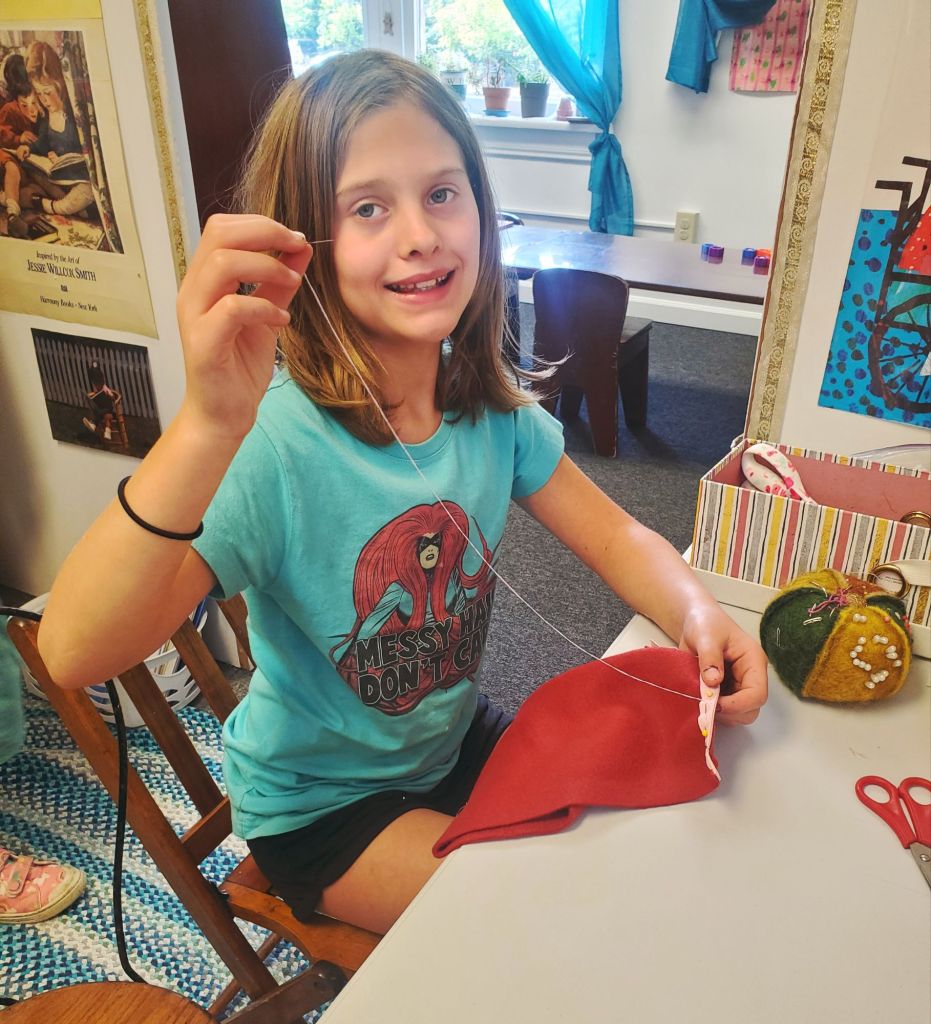
Ella loves learning sewing & embroidery from Ms. Natalie. I have loved every single project that Ella has created for me. Ms. Natalie comes up with super cute, child-friendly projects. One of my favorite projects she has made for me was the peekaboo picture frame with the cutest photo of our kids at the park.

Another thing you can always expect to find at Mason Cottage Day is plants! Ms. Natalie loves plants & nature. She teaches about Monarch Butterflies in season & grows her own pollinator garden outside.

Because of our mutual love of plants & Pollination, we made her a bouquet from our own pollinator garden to bring to her as a gift. We love creating bouquets for people we love!

She has been such a great teacher and role model in our children’s lives. She is helping them learn lifelong skills that they can & will regularly use. She has the kindest & understanding soul. I look forward to our visits with Ms. Natalie as much as the kids do!

“I want children to feel comfortable in the studio. Everything is set up so that they automatically know what to do. It’s a great joy to see children of every age play, pretend, and learn while using all the different materials! Children always have very good ideas about what should be included, and I always take their suggestions seriously. A simple thing such as including little squeeze ketchup and mustard containers made one young person so happy…he had noticed that the play kitchen did not have them, and he suggested adding them. Playing and learning are very definite collaborative communication pathways. I hope the studio allows children to learn in their best ways!” – Ms. Natalie

Classes are an affordable $20 each, which includes all necessary materials! *Beginning October 1, 2024 classes will be raised to $30 each*

Mason Cottage Day is located at 105 E. Main Street, Mason, Ohio 45040. The free parking lot is located behind the Pop Revolution Gallery Building off of Mason-Montgomery Road.

It is right along the cutest little shopping Street – while you are there check out the Mason Whippy Dip for a yummy ice cream treat, or the attached Thai Terrace for a delicious dinner!

You can contact Ms. Natalie to visit her studio or schedule classes at nataliebaxter@yahoo.com

Until next time ♡ Mama Morozov

One Room Challenge: Basement Playroom | Family Room | Part 1

home, Motherhood, Uncategorized

I began my basement project a few years ago before I became pregnant with Athena. I had big plans in mind, but a seriously rough pregnancy left me to abandon this project until a later time, then another pregnancy + baby pushed it back even longer. The time has finally come to finish what I started!

Since this is such a BIG project, I am going to be splitting this up into 2 parts: 1. The kids area, this post, & 2. The “adult” area (laundry, entertainment/electronics area, & tool/cellar).

Imaginative Play

In the Imaginative Play area we have a grocery store/deli, doctor/wellness center, a mini roll top desk to play school, as well as the kids toy storage.

There is a chalkboard wall with a bulletin board on top for both school & “daily specials” at the deli.

This little stand is so cute and can be used for many Imaginative Play purposes. It is currently being used as a deli + coffee shop. They have their Melissa & Doug Sandwich Shop + their wooden utensils on top, and their Melissa & Doug coffee maker set on bottom.

I am a huge lover & collector of reusable bags. I buy new ones constantly! Having miniature size ones for the grocery shop makes my heart SO happy!

Their little roll top desk with the miniature globe is SO cute. They love to play school with it.

Under the stairs is their “parking garage” for rideable things like scooters and ride-on cars. I do plan to change this space in the near future though.

Having so many little kids, it has been really nice to be able to have a space for them to play and be kids and not worry about them making messes. That alone has helped me SO much as an overly-stimulated and stressed out Mama. Kids need to be kids, and this is their home too. They need a place they are able to express themselves freely and I hope that this space is able to be that place for them.

Art Studio

The first time I went to rehab, I went to Timberline Knolls in Lemont, Illinois. It had the most beautiful art studio with tables stained in paint and clay residue, colors and Empowering messages everywhere, and so many supplies.

Ever since then it has been a dream of mine to have my own art studio, but never really saw it as super realistic.

I recently spoke with a friend, who, ironically, I met at Timberline Knolls. I’ve always envied her life. She’s built her own little plot of homestead paradise in the middle of no where and spends her time homesteading and crafting and doing things her, her husband, and children love to do. That is literally my dream life.

Anyway, she made me realize that life is what you make it. I need to stop waiting for better, for more space, for my children to get a little bigger. I need to stop waiting, and start building my happy place now with what I have. So I began building an “art studio.”

First, I set our old dining room table up in the soon to be art studio, then added this Trofast Storage Unit from IKEA for art supply storage. I used this rolling cart that I already had to organize more supplies like paintbrushes, glue, washi tapes, etc.

I added this paper sorter from Michael’s to color code their construction paper. Not only does color-coding items look beautiful, it helps cut down on mess because the kids can visibly see what they are working with instead of fumbling around for what they need.

I repurposed produce bins to color code their crayons in the middle of the table. It looks super cute and it helps teach my kiddos to put their supplies back where they belong.

Color coding is an easy way to help teach toddlers how to organize + learn their colors at the same time.

I began hanging these colorful banners to make it look fun and inspire creativity.

I also began picking up a few functional decor pieces that I was very excited to use in this space.

Next, we removed the old, random, oddly-placed cabinet. We found out why said cabinet was randomly & oddly placed. There was a MASSIVE crack/wall damage hiding behind it. We got cement filler, patched the damage and waited 24 hours.

After the 24 hour wait, we began hanging the pegboard. I had purchased + planned to hang 4, but I ended up deciding 3 was plenty to start. I bought a few accessories with the pegboard, but wanted to wait to go crazy with accessory shopping until I had a clear idea of how I was planning to arrange it to go back and purchase more.

My dad & his friend updated the electricity + added lights above the table & outlets in the middle to be able to use electronic tools. I cannot wait to add things like pottery wheels in the future now that I have this outlet.

Using my Cricut, I added labels to the bins so that we are easily able to find the items that we need.

We moved the desk over here so they could play “Art Teacher.”

I am absolutely obsessed with it and the way that it turned out. I now have my very own art studio, filled with colors and paint stains and all kinds of materials for us to choose from. I am so in love with it and still in such awe every time I walk downstairs and think how is this mine?!

Baby + Soft Play Area

It’s a lot of work to try to keep babies & toddlers entertained for a long time, especially on days we are stuck inside.

This fun little climber tent was a birthday gift to Sasha. One side has a climbing wall, the other has a window.

The Nugget was a MUST for this area. We are OBSESSED with our Nugget. I got The Very Hungry Caterpiller print because it’s one of our favorite books & the print was just beautiful. It is SO soft and comfy too!

I have a lot of Primary colors in the baby area. I added lots of cushions, padding, & floor mats to encourage crawling + be able to roll around freely. The Lego storage blocks hold other toys so that we are able to rotate the toys that are out for open play.

We added a little library against this wall with the baby/younger children’s books.

I added these fun flower lights above this area. It’s somehow both a fun vibe and a calming one in one.

Well, that’s where I’m at in this stage of my basement makeover! I hope you got some inspiration for your own basement/family/play room.

I still have many plans to come in the future and just like with every space, it is forever evolving. Make sure to check back for part two to see how I did the “adult” areas!