Ohio Harvest of the Month: February | Carrots 🥕

Crafts & DIY, homeschool, Motherhood, Recipes, Uncategorized

I’m loving this Harvest of the Month campaign! It’s been so fun having a specific produce item to focus on for the month! The month of February was focused around Carrots!

We are a very Holistic Health-oriented family. We believe food and movement are medicine. We also believe you are what you eat (if you eat garbage, you’re going to feel like garbage.) I am hopeful that by sharing these Harvest of the Month unit studies we put together in our homeschool this year will help educate others in the importance of eating healthy & inspire others to intentionally eat healthier too.

Health Benefits

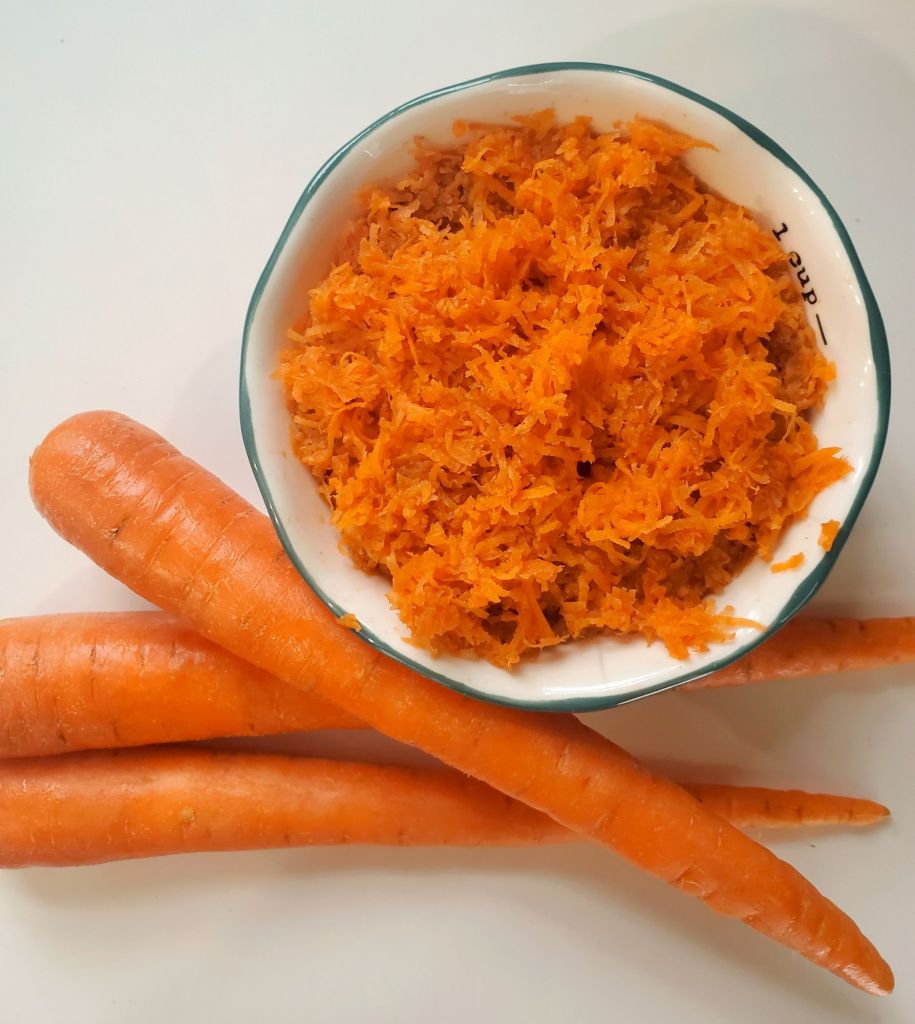
Let’s start out with the health benefits that you will gain by simply eating carrots:

  • Improves Eyesight, Reduces Macular Degeneration
  • Anti-aging
  • Prevents Cancer
  • Prevents Heart Disease
  • Strengthens Bones
  • Promotes Healthier Skin & Hair Growth
  • Improves Kidney Functions
  • Prevents Infection
  • Cleanses Body of Toxins
  • Improves Liver Functions
  • Prevents Strokes
  • Protects Teeth & Gums, Better Breath
  • Aid Digestion & Weight Loss
  • Maintain Cholesterol Levels
  • Minimizes Inflammation
  • Blood Pressure Regulation
  • Regulates Blood Sugar Levels
  • Improves Brain Health & Cognitive Function
  • Boosts Immunity
  • Anti-fungal
  • Antioxidant
  • Rich in Potassium + Vitamins A & K
  • High in Fiber, Combats Constipation, Cures Diarrhea
  • Naturally Boosts Energy
  • Prevents Diabetes
  • Increases Sperm Count in Men

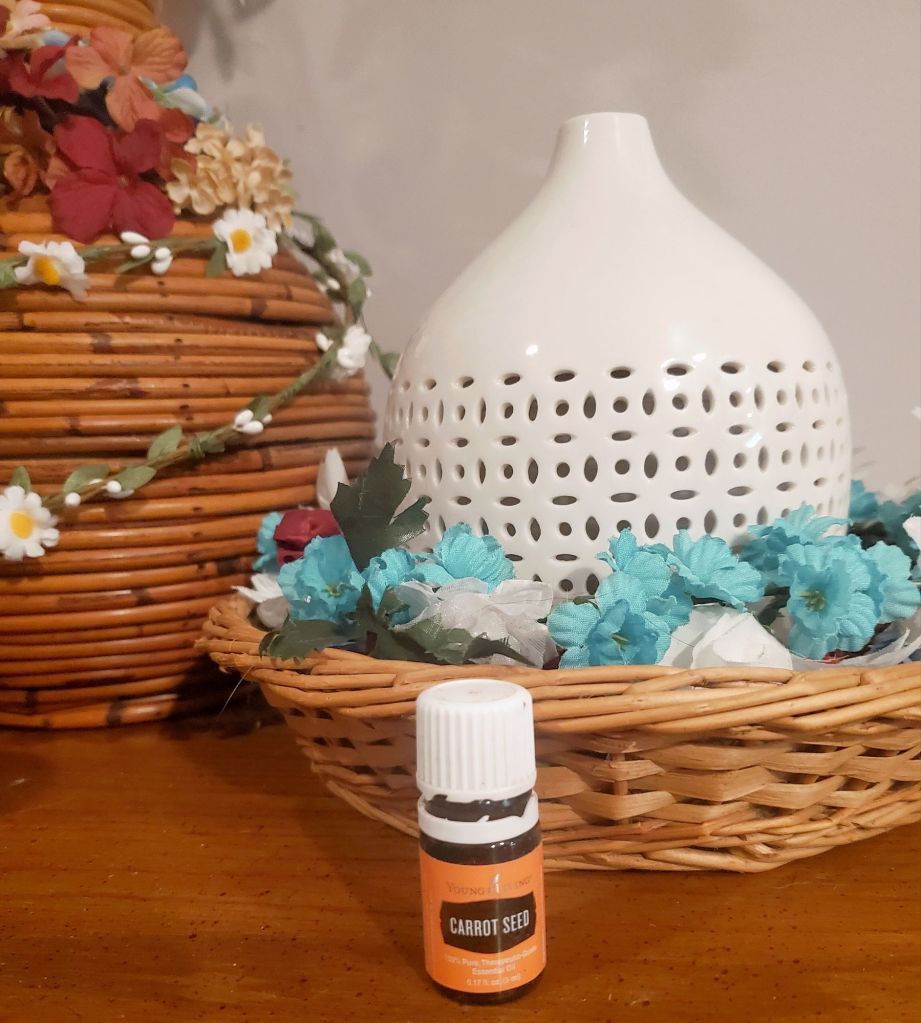
Carrot Seed Essential Oil also has many health benefits, but it is strongly urged to avoid during all stages of pregnancy, as well as by individuals who suffer from epilepsy. As always with Essential oils, make sure you are using a pure & reputable brand (I use Young Living and DoTerra) to get the best results.

  • Treats Kidney Stones
  • Treats Jaundice
  • Aids in digestion, gas, and bloating
  • Improves breast milk production
  • Stimulates lymphatic system
  • Relives menstruation pain
  • Relieves muscle pain
  • Stimulates appetite
  • Healthy Skin and hair
  • Antioxidant
  • Heals abscesses, wounds, and other skin disorders
  • Treats ulcers
  • Improves liver and gall bladder disorder
  • Relieves stress & anxiety
  • Improves respiratory function

Recipes

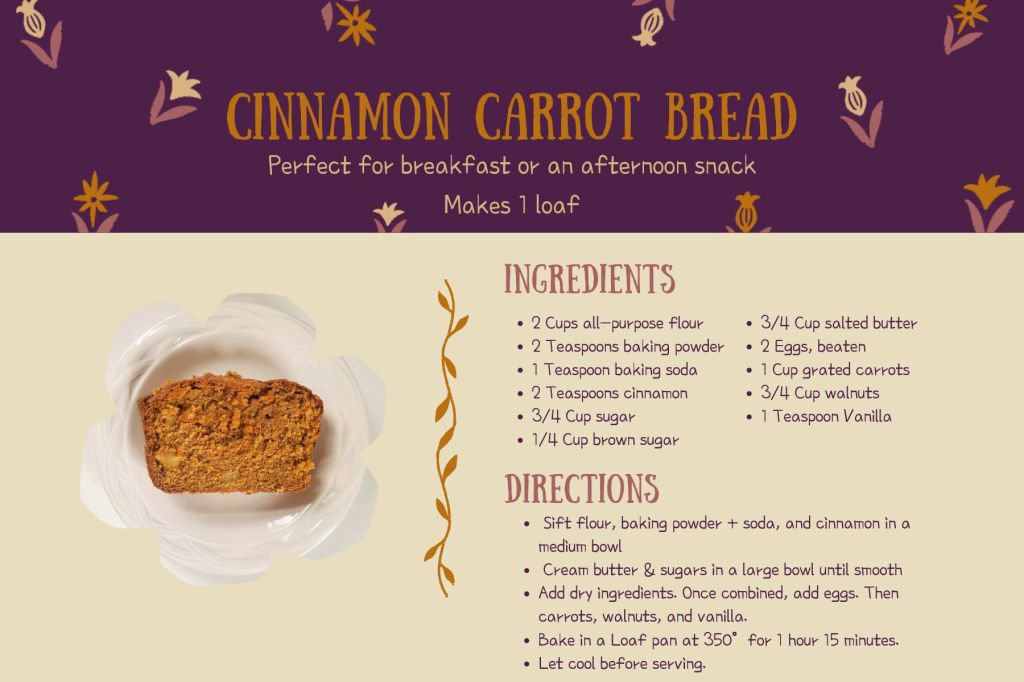
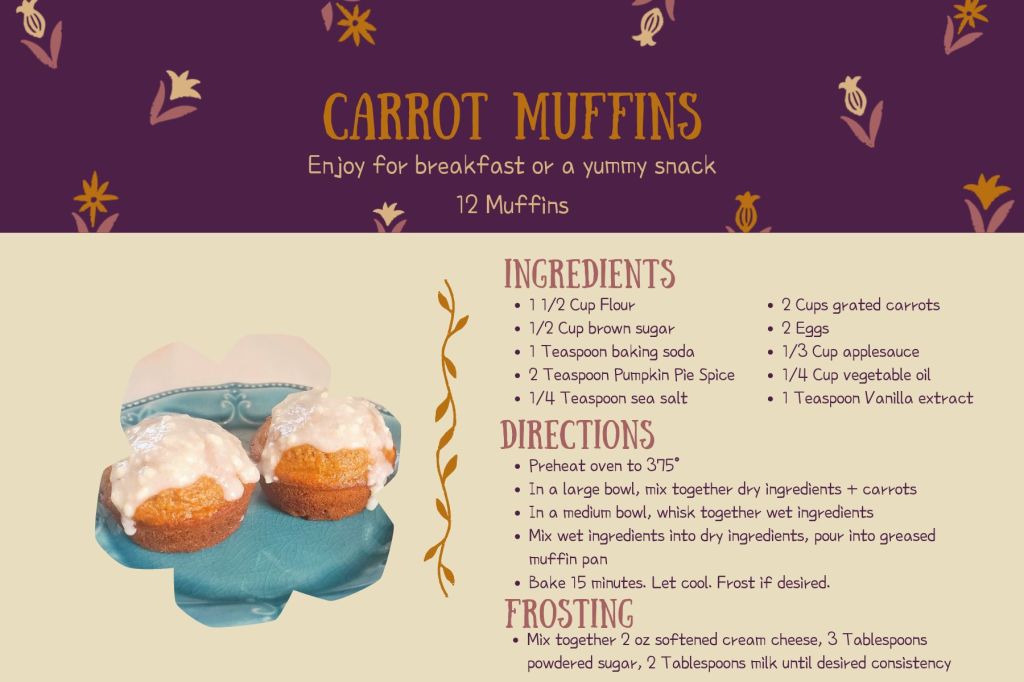
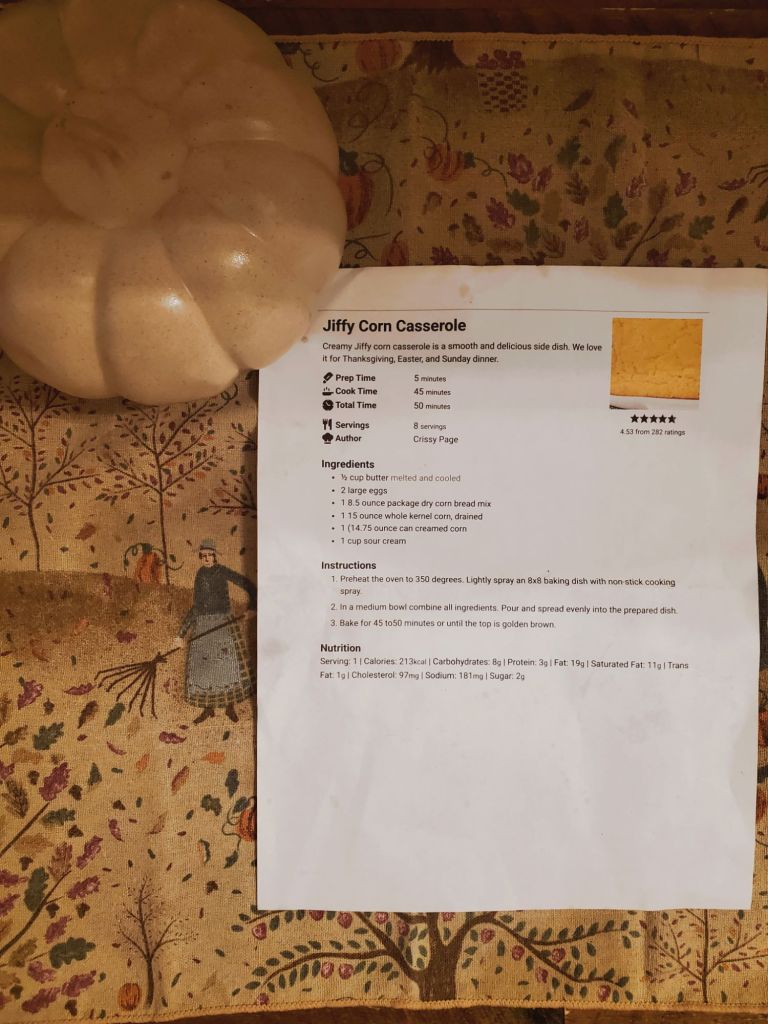
I made cute little recipe cards of the Carrot recipes we made this month so you could print & put together your own Harvest of the Month Cookbook as I continue to post each month!

🥕 Cinnamon + Carrot Bread 🥕

🥕 Carrot Muffins 🥕

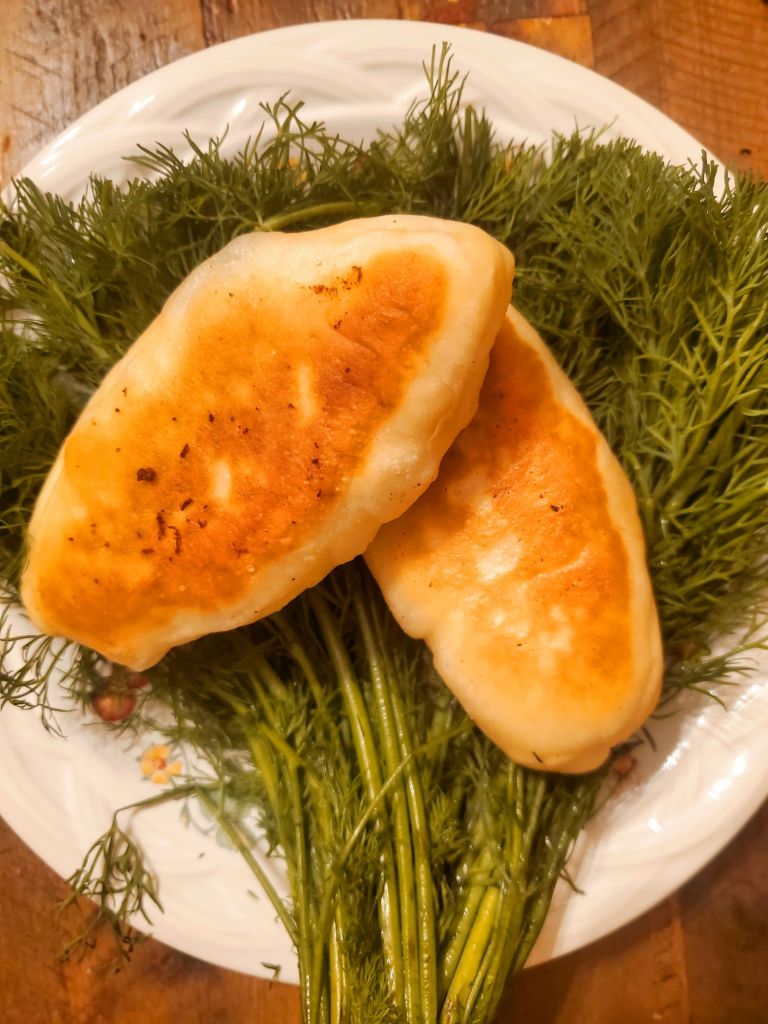
🥕 Ukrainian Carrot Sandwiches 🥕

These were hands down my favorite of all the Carrot foods we made. They were SO good! I’ll definitely be making this again soon for Easter and many more meals after that! We really liked these a lot.

🥕 Baked Carrot Fries 🥕

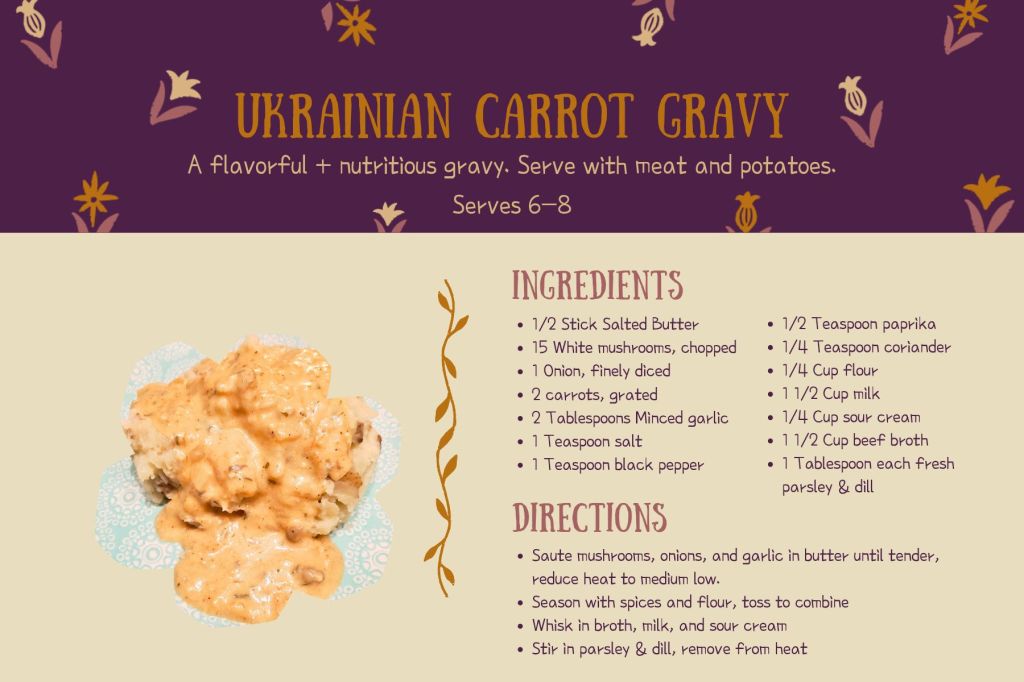
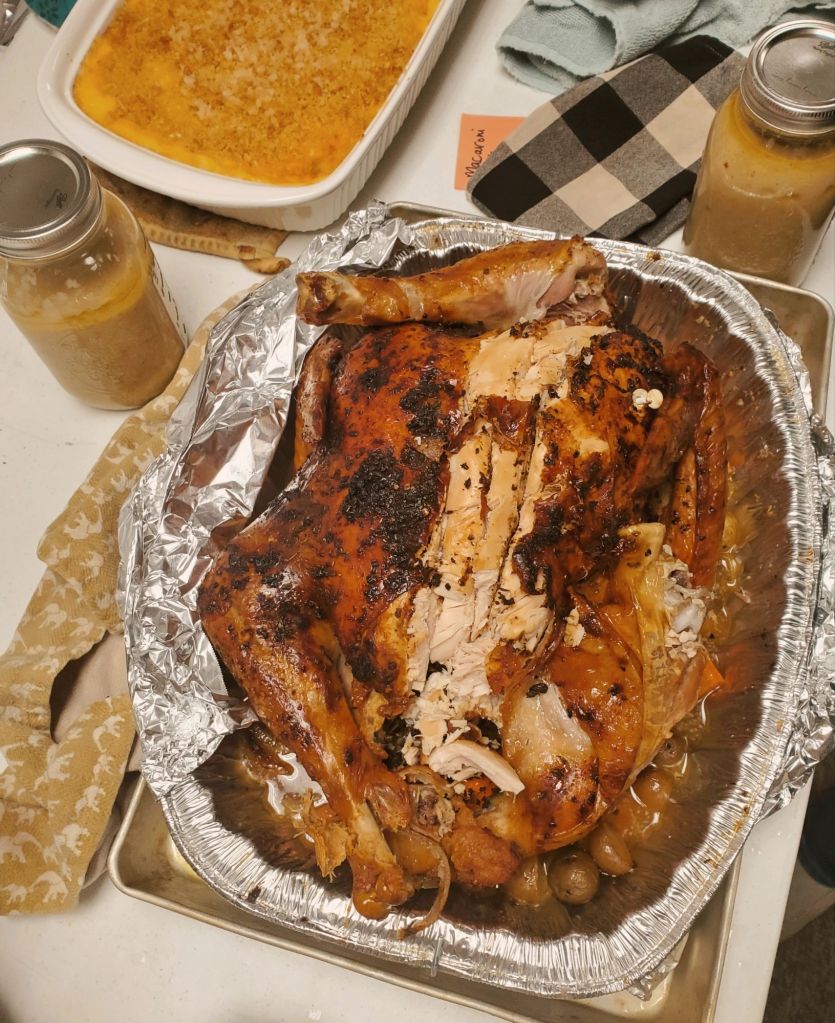
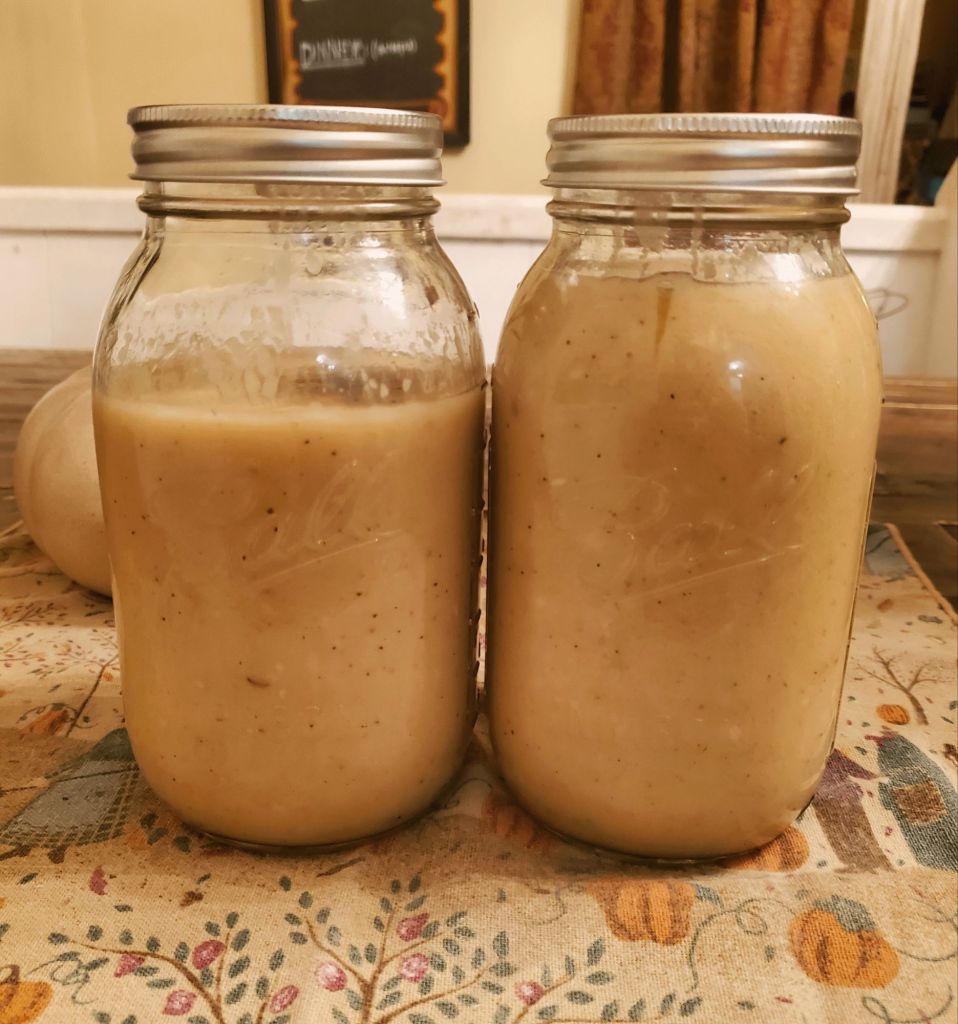
🥕 Ukrainian Carrot Gravy 🥕

We all really loved this gravy and have officially made it our “house gravy.” My husband and I agreed that it was better than any form of gravy we have ever tried before!
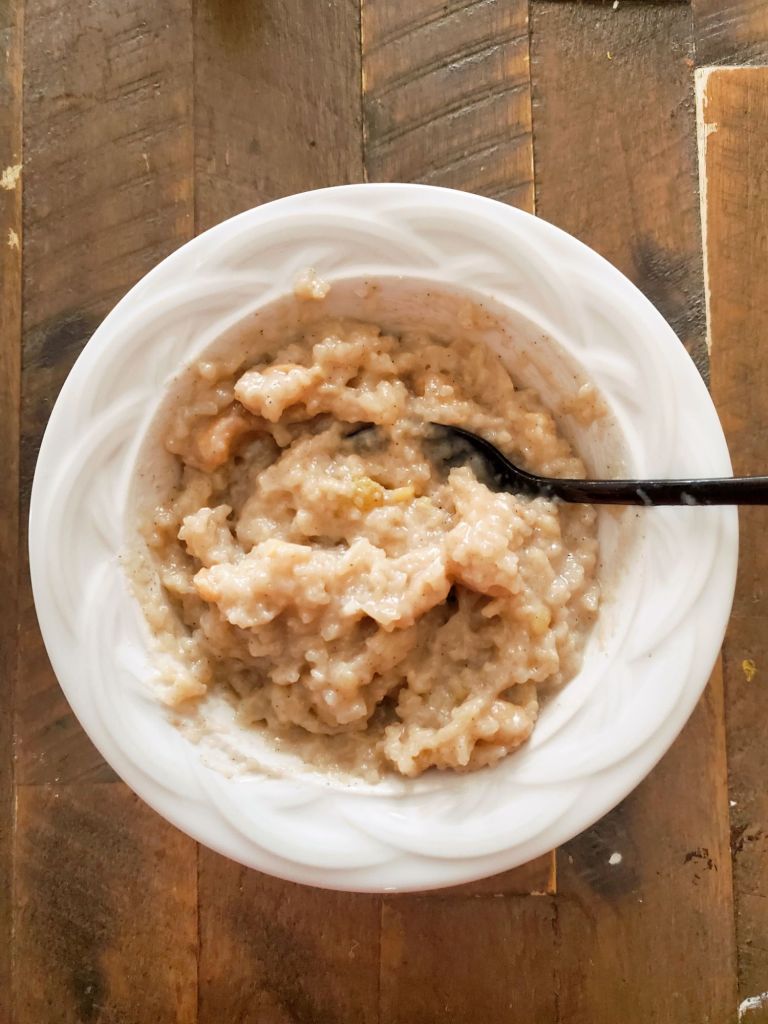
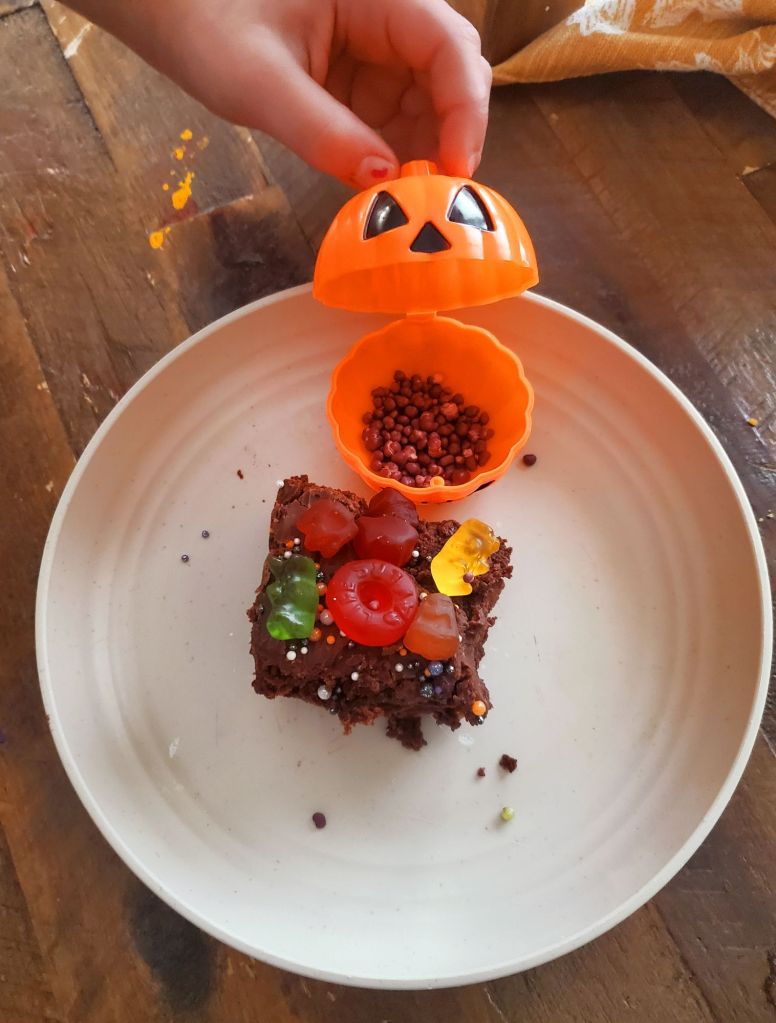
🥕 Carrot Pudding 🥕

🥕 Carrot Cake 🥕

I prefer my carrot cake to be packed with thickly shredded carrot pieces, nuts, & Golden raisins, but kids don’t particularly feel the same, especially if they haven’t already been introduced to these textures in cake before so I made a kid-friendly & sensory-friendly carrot cake with no nuts, no raisins, and carrots grated so thinly they resemble more of a carrot “pulp” than a carrot, so that you would never know carrots were included. It’s lovely, but come Easter, I’ll be making it the way we love it – full of texture.

Educational Resources

I had a lot of fun creating this Facts About Carrots printable! I feel like we learned a lot about carrots that we didn’t previously know!

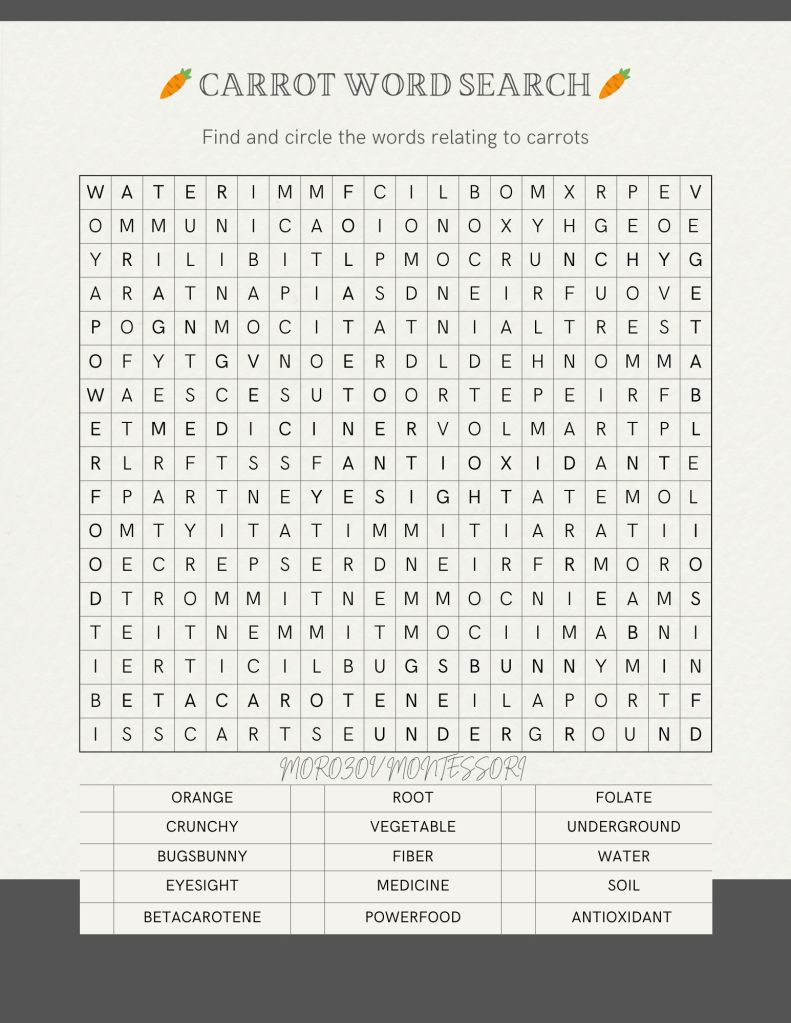
I also made the kids a fun carrot-themed word search with words relating to carrots. My kids always have a great time with these.

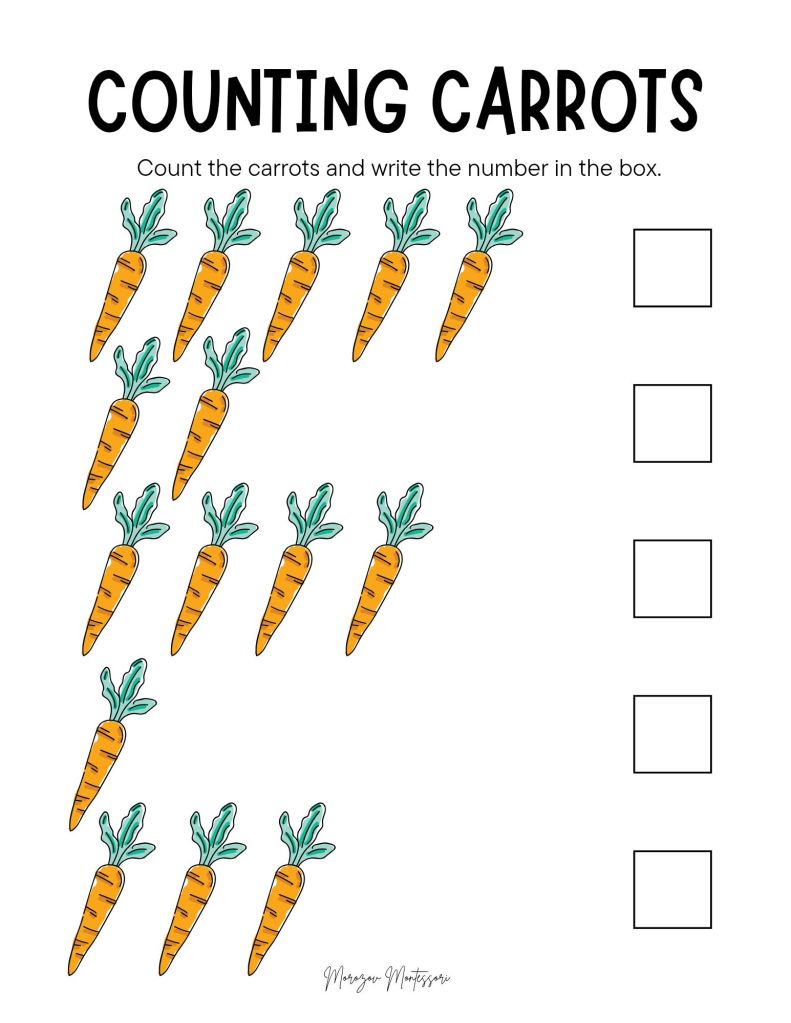
For the younger kids, I made this Counting Carrots worksheet focusing on numbers 1-5:

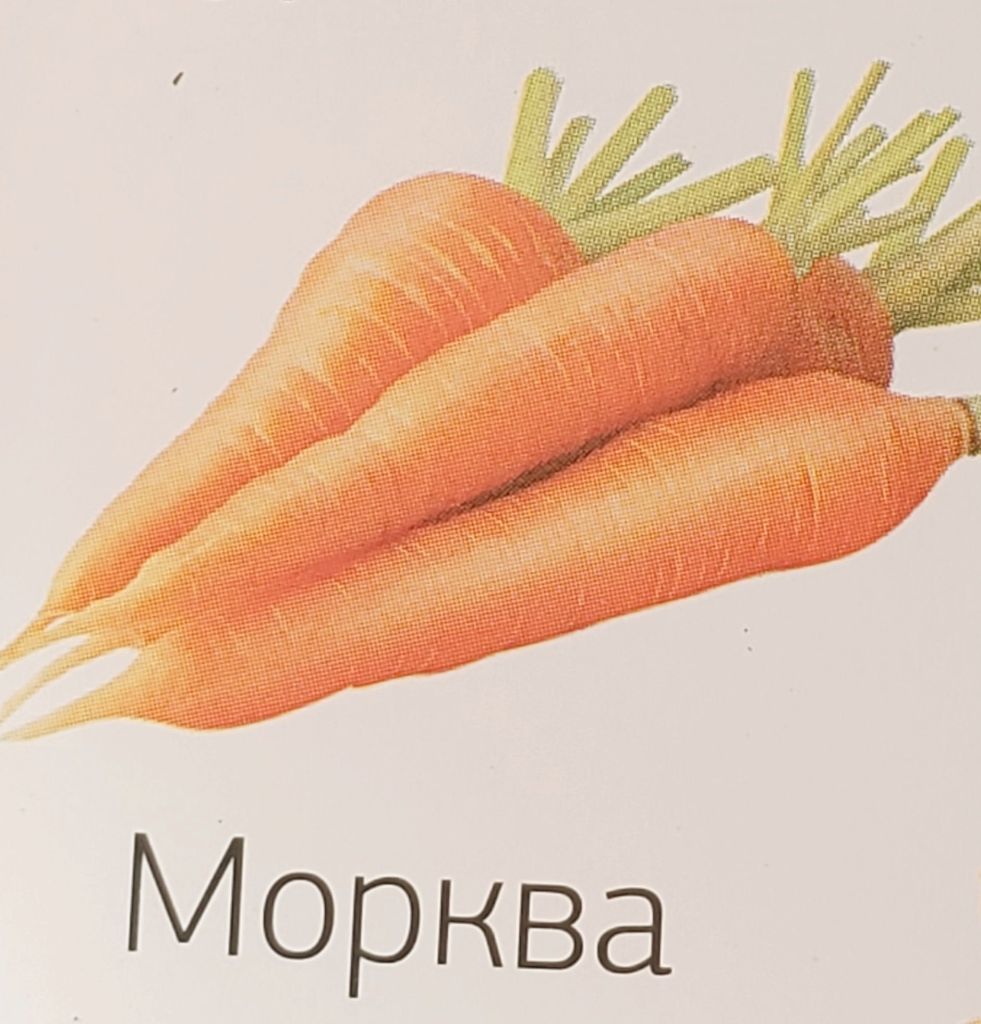
The Ukrainian word for carrot is: морква

These were a few of our books that we used to learn new information about carrots:

Activities

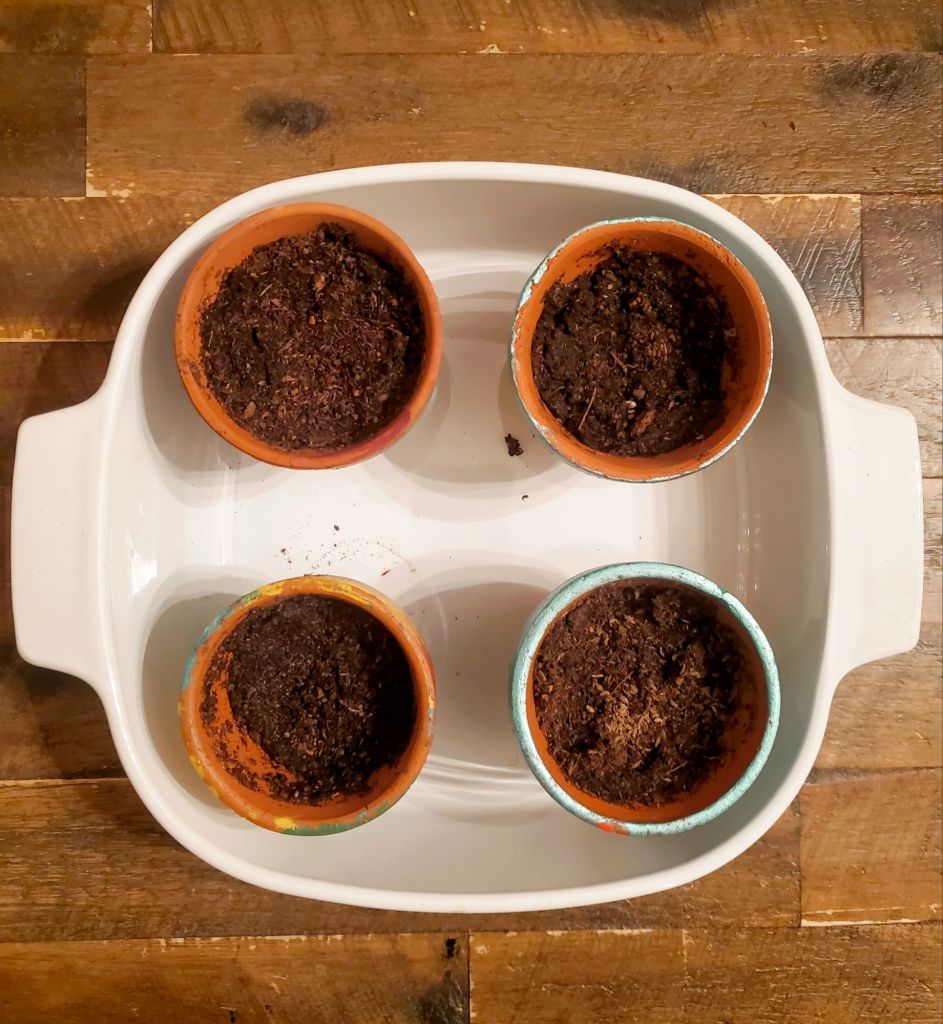
🥕 Planting Carrots For Our Garden.

We painted mini terracotta pots and planted carrot seeds inside.

We learned that carrot plants have roots, stems, leaves, and flowers. We eat the root part of the plant which grows underground. The seeds are planted underground, but can also be started inside 4-6 weeks before spring. Once the carrots are fully grown, flowers form on the carrot plant. The seeds fall down and replant themselves. It takes about 100 days for a carrot to grow.

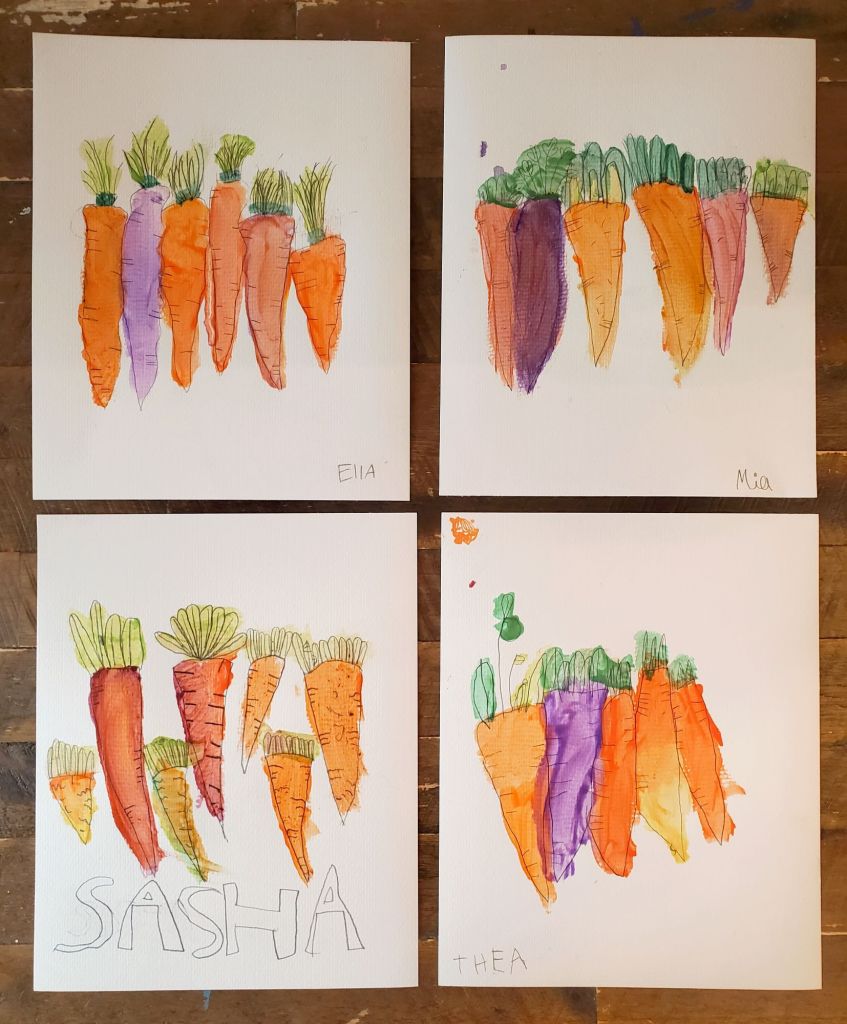
🥕 Watercolor Painting Carrots.

Each of the girls painted carrots using watercolor paints. I asked them to draw their carrots first and then paint them. I think they turned out really good! I asked Moses to participate in this activity, but he chose not to.

🥕 Scrap Fabric Carrots

We used fabric and ribbon scraps to make carrots on canvas banner pieces. Each person got their own banner piece to work on. Moses, again, chose not to participate. I am in love with the way it turned out and it will be hung for at least through Easter.

Daytime

Nighttime

I’m honestly really proud of our first Harvest of the Month unit. We learned a lot about carrots that we didn’t previously know and fell in love with recipes we may not have tried. We are excited to work on our March Harvest plans!

Until next time ♡ Mama Morozov

Silk Road Supper (with Recipes) + A Field Trip to Jungle Jims

homeschool, Motherhood, Recipes, Uncategorized

In our History course, we are currently learning about The Silk Road. This week’s assignment is making a Silk Road Supper.

We were given 4 courses (appetizer, main dish, side item, and dessert), Ella & Mia each chose two courses that they were going to be responsible for. I also chose 2 of my own to contribute to our feast. Ella chose a main & side, Mia chose the appetizer & dessert. They prepared their grocery lists by writing down the ingredients from each recipe that we needed to buy, leaving out the items that we already have.

Our next step was to go on a field trip to the grocery store and learn where the ingredients that we needed were sourced from, then buy the items that we need for our supper. We are fortunate to live where there is not only one Jungle Jims, but two, and either one a 20 minute drive for us. We decided that was the perfect store for this assignment.

For my friends outside Ohio, Jungle Jims is an International Grocery Supermarket. It’s sort of like an amusement park, but for foodies. It’s currently listed as the largest grocery store in the world. People travel from all over the country to visit this market.

You can shop international products by country. You can watch old-time animatronics perform or join eating contests. You can hang out at the lounge for beer & wine testing, or check out a cooking class at The Cooking School. Visit their Award Winning Restrooms. Watch the Jungle Jims Story in the theater or take a guided tour.

There is nearly every type of food you can think of from all over the world. It’s really fun to find new things to try that you otherwise would never know even existed.

It really is such an interesting place. If it’s your first time going, plan on spending at least half of your day there, if not more. It’s very easy to overspend though, so we try not to spend too much time browsing when we go. There’s a huge shopping area for kitchen tools & accessories, and a giant old school toy section filled with toys from my childhood & collectors items.

The surrounding Plaza around Jungle Jims has plenty of food options if you’ve made yourself hungry while shopping and want to grab a bite to eat on your way home. Don’t leave without checking out the renovated Monorail that once upon a time in Cincinnati history rode guests through King’s Island’s now-retired Lion Country Safari exhibit.

They are currently expanding the jungle, and I’m sure, surrounding Plaza as well. I’m so excited to see what all is added!

A Silk Road Supper

• APPETIZER: Bruschetta al Pomodoro(Mia)

I feel like this was a strange dish to be included in a Silk Road Supper, considering tomatoes are native to the Americas & did not reach Italy until the mid-1500s… after the Silk Road had already closed nearly 100 years prior… but we’re all about celebrating other cultures so we kept it on the menu 🤷🏼‍♀️. It was delicious though, so we’re glad we did!

MAIN DISH: Middle Eastern Market Chicken(Ella)

I forgot to get a picture of the finished dish, or of what it looked like packed inside a pita wrap – we were all so hungry by the time dinner was served. Ella made a rotisserie chicken in the crockpot. She’s getting really comfortable working with meat.

I made a Ready to Cook vegetarian legume “chicken” for myself. I don’t usually buy these products, but I wanted to try to get as close to the menu as possible for myself and I’m glad I did. It was so delicious.

• SIDE ITEM #1: Gan Bian Si Ji Dou (Ella)

Ella chose to use ground turkey for this recipe. I think we would remake, omitting the meat all together. We substituted regular rice wine because I could get it at my work with my discount. Dad got to drink the rest. He said it tastes like if vodka & wine had a baby.

SIDE ITEM #2: Biryani Rice (Mom)

This ended up being Sasha’s Favorite dish. I’ve never had it so I have nothing to compare to. My husband said it tasted “Middle Eastern.” I think that means it turned out right? It was what I was aiming for. I thought it was good, and had the most pleasant aroma. I caramelized the onions all day (10 hours) in a crockpot and I feel that they still never got very caramelized. They smelled amazing while they cooked, though.

DESSERT: Sakkarai Pongal (Mia)

I liked this a lot. It sort of reminded me of Ukrainian Kutya, but thinner. The kids were disappointed, they thought it tasted more like Oatmeal than pudding and saw this as more of a breakfast option than a dessert option. I could see that. I did have some with breakfast the next morning and can confirm, it’s awesome for breakfast.

BEVERAGE: • Ukrainian Kompot (Mom)

My reason for choosing this (besides that it is so delicious) is that the Silk Road branched off to the Black Sea, off the coast of Ukraine, which has always been a vital trading route, even today. China has been working on re-opening the Modern Silk Road that Ukraine aims to be a destination on for trade. Ukraine’s land is known to be the most furtile in the world and is known to be The Bread Basket of The World from their major exportation of wheat, soy, barley, maize, and sunflowers. Plus, we’re Ukrainian and I’ll use anything as an excuse to celebrate our culture!

Kompot is so great because in the summer you can serve it cold, then in these cold, winter months you can serve it warm like tea. It’s a great way to use up fruit that is turning mushy, but not yet moldy. Instead of throwing those away, place them in a gallon-size ziplock bag in your freezer. Once you fill a bag, use it for making Kompot to cut down on food waste & enjoy a delicious fruit drink.

I hope you enjoyed our Silk Road experience as much as we did. We thought it was a lot of fun and very hands on & family-oriented which we love. I am really grateful that we were able to take a field trip to such a large international market for this project. I’m also grateful for being presented with new foods to try and having children with an adventurous & open eating palate who are always willing to try new foods with me.

Jungle Jims, circa 2021

Until next time ♡ Mama Morozov

This Week’s Meal Plan | A Pantry Challenge

Recipes, Uncategorized

It’s the last week before our EBT re-loads which means we are doing a Pantry challenge this week. Personally, I feel like some of our best meals come from these Pantry challenges! It forces me to dig deep in cookbooks I don’t usually pick first to find recipes using only ingredients that we have on hand. I also really utilize Pinterest for these challenges. There, you can find endless recipes & ideas for meals using only a few ingredients.

We are an ingredient house – so we tend to keep a stocked Pantry of items to make meals from (including random things I have no idea how I accumulated 😅), but we don’t have any ready to eat or snack/junk food type items on hand hardly ever unless it was given to us, so if we want to eat, we have to make it ourselves.

I’m very good at meal planning, but I’m bad at planning meals using the ingredients that we already have on hand. This has led to an abundance of items that I don’t even know I have and a lot unnecessary spending. It’s time to fix that & get creative with what we currently have.

Even though a majority of the items are processed/canned instead of fresh, I still tried to keep the meals as healthy as possible. I really try to stay as far away from processed foods as possible (which is why they have ended up in Pantry storage rather than being used), but this challenge is all about using what I have and I’m honestly pretty proud of the meals I ended up throwing together & I had a fun time doing it. I tried to keep it interesting & exciting instead of meals like Spaghetti & Sauce that everyone is sick of.

Most of all, I’m grateful that I have these items available to me to prepare for my family. After our last issue with EBT, I learned the importance of building a food pantry and having items stored & available for emergencies. It has proven very useful.

On to this week’s meal plan:

👩🏼‍🍳 Sunday

Breakfast: Lemon-Poppyseed Cake

Lunch: Leftovers

Dinner: Dad Choice – Mom working

👩🏼‍🍳 Monday

• Breakfast: Custardy Popovers

Lunch: Stovetop Yogurt Mac & Cheese

Dinner: Roast Pork + Glazed Carrots

👩🏼‍🍳 Tuesday

Breakfast: Cream Cheese Omelets

Lunch: Leftovers

Dinner: Pan-Fried Catfish + Green Bean Casserole

👩🏼‍🍳 Wednesday

Breakfast: Danish Puff

Lunch: Cheesy Bean Burrito Copycat

Dinner: Chicken Piccata with Spaghetti & Sourdough Bread (1 of 2 Loaves)

👩🏼‍🍳 Thursday

Breakfast: Homemade Sourdough Bagels with Cream Cheese

Lunch: Leftovers

Dinner: Slow Cooker Broccoli & Cheese Soup with Day-old Sourdough Bread (2 of 2 Loaves).

👩🏼‍🍳 Friday

Breakfast: Egg Muffins

Lunch: Crockpot Buffalo Wings

Dinner: Tuna Pie + Creamed Peas with Swedish Braided Bread

👩🏼‍🍳 Saturday

• All meals are handled by Dad on this day while I am at work.

Hopefully you were able to find some inspiration from my Pantry challenge to now start a Pantry challenge of your own! Also, an important reminder that shelf stable items are still good past the date on the box. Here is a helpful guide for using up Pantry items!

Credit: Greater Pittsburgh Community Food Bank

Credit: Greater Pittsburgh Community Food Bank

Until next time ♡ Mama Morozov

Holiday 🎄 Popcorn 🍿 Ball Bites

Recipes, Uncategorized

We’ve still been working on our Daily December activities, but I’ve been super busy this past month and haven’t gotten around to posting as much as I had hoped.

Something I have learned during these activities: I do not work well with corn syrup. None of the recipes I make with it turn out as I hope when I plan for them, but I imagine it’s a learning curve, like dough was for me in the beginning too. I’ll just have to keep trying.

I followed the recipe (but added salt and vanilla as the commenters suggested), but the mixture was a gloppy mess. I don’t like gloppy messes. Luckily, I found a way to still make it work.

I spooned the mixture into several silicone candy molds, packing them as tightly as I could. I then placed them in the refrigerator overnight. The next day they popped out nicely into bite size popcorn balls. They were really cute!

The bite size balls tasted really great and the kids gobbled them up! I was happy to avoid a gigantic mess as messes tend to take away from the joy of the experience for me & turn me very Grinchy, and that’s the last thing I want in this season.

I actually really love the bite size ones and think they’d be a great additive to a treat basket gift. It would be really easy to switch them up for each holiday using different themed Sprinkles, drizzled chocolate, or caramel on top.

Ingredients

  • 5 Quarts plain popcorn, popped
  • 3/4 Cup Light Corn Syrup
  • 1/4 Cup Salted Butter
  • 2 Teaspoons Cold Water
  • 1 Cup Marshmallows
  • 2 1/2 Cups + 2 Tablespoons Powdered Sugar
  • 2 Teaspoons Vanilla
  • 1/2 Teaspoon Salt

Directions

  • Combine all ingredients (except popcorn) in a pan over medium heat. Heat & stir until the marshmallows are melted and the mixture comes to a boil.
  • Pour mixture over large bowl of popped popcorn and mix until all is coated evenly.
  • Spoon mixture into silicone molds, pressing tightly to pack the mold. (Alternatively, use greased hands to form into balls and wrap with plastic wrap to hold shape.)
  • Top with Holiday Sanding Sugar or Sprinkles & refrigerate overnight. Pop out balls when ready to eat or use!

Until next time ♡ Mama Morozov

Salted Christmas Caramels

Recipes, Uncategorized

Salted Caramels are one of my very favorite candies in the world! I was really excited for us to try to make them ourselves as one of our Daily December Holiday Activities.

These ended up being more of a toffee consistency than I like. They were really hard, but I have a feeling that is because my husband keeps our home temperature set to morgue. Once you got to chewing them for a minute they softened up a bit, but not enough for me (or my TMJ) to be happy with. They did have a pleasant taste though and were nice to suck on, very much like the Werthers hard candies.

They definitely looked cute with the salt. It reminded us of snow in our Christmas pan. I’d really like to attempt to remake these using a different recipe & end up with soft, chewy Caramels instead. Overall, it was still a happy holiday memory made & that’s the whole point of these daily activities. Despite my aversion to the hardness of these Caramels, the kids still really loved them, especially Athena. If hard candies are your thing, you’ll probably love them too!

Salted Caramels

  • 1/2 Cup Whipping Cream
  • 1/4 Cup Salted Butter
  • 1 Tablespoon Vanilla Extract
  • 1 Cup Sugar
  • 1/4 Cup Water
  • 1/4 Cup Light Corn Syrup
  • Flaky Salt for topping
  1. Line a 2L quart pan with parchment paper
  2. Heat the cream & butter until the butter has all melted, set aside.
  3. In a cast iron Dutch oven, mix together the vanilla, sugar, water, and corn syrup. Bring mixture to a boil and cook until the temperature reaches 320°. Turn off heat. Pour in cream/butter mixture and continue stirring for 5 minutes until the temperature lowers to 245°.
  4. Pour caramel into prepared pan & place in refrigerator overnight.
  5. Cut into candy size pieces and top with flaky salt.

Until next time ♡ Mama Morozov

Christmas Sugar Cookie Cake 🎄

Recipes, Uncategorized

We are working on making Christmas extra special this year over here. However, we do not want gifts to be the focus of making Christmas special. Each day of December, we are going to be baking or making a different activity to bring in holiday cheer & make new memories together. Maybe we’ll even make some new traditions too!

This Christmas Sugar Cookie Cake was so good and really simple to make! I can’t believe I was intimidated by cookie cakes! This is SO much better then mall-kiosk bought and definitely a new favorite (until I make a chocolate chip version, I bet.) Mia asked to help with piping the frosting since we recently learned how in our Grace Girls Group. I think she did a really great job! It almost looks professional!

This would be a great dessert to bring to a Christmas party to share! You definitely won’t be leaving with any Leftovers! Make sure to cut small enough slices so no one has to miss out! It’s THAT good!

Sugar Cookie Cake

  • 1 Stick Salted Butter at Room Temperature
  • 3/4 Cup Sugar
  • 1 Egg + 1 Egg Yolk
  • 2 Teaspoon Vanilla Extract
  • 1 1/2 Cup All-Purpose Flour
  • 1/4 Sea Salt
  • 1 Teaspoon Baking Powder
  • 1/2 Teaspoon Baking Soda
  • 1 1/2 Teaspoon Cornstarch
  • 1/2 Cup Christmas Sprinkles
  1. Preheat oven to 350°F
  2. In your Kitchen Aid Stand Mixer, cream together butter & sugar. Once smooth, beat in eggs & vanilla.
  3. In a medium bowl, whisk dry ingredients together then add to Stand Mixer until combined.
  4. Fold in Sprinkles.
  5. Pour mixture into greased 9-inch pie pan and spread evenly using your fingers to press down.
  6. Bake 25 minutes. Let cool completely.

Frosting

  • 1 Stick Salted Butter
  • 1 3/4 Cups Powdered Sugar
  • 2 Tablespoons Heavy Whipping Cream
  • 1 Teaspoon Vanilla Extract
  • 1/4 Teaspoon Almond Extract
  • Pinch of Salt
  1. Cream together butter & sugar in your Kitchen Aid Stand Mixer. Once smooth, add remaining ingredients and beat for 3 minutes.
  2. Stir frosting very hard to release any air bubbles then scoop into piping bag.
  3. Pipe 2 lines of frosting to create a “crust.” (*Save remaining frosting for individual piece decorating or for a later time).
  4. Decorate with Christmas colored Sparkling Sugar.

It’s so moist & chewy! Exactly how I like my cookies. I KNOW that you’ll enjoy it as much as we did!

Do you want to make holiday memories in the kitchen with your children, but don’t know where to begin or how to teach them? Today is the LAST day to join the Holiday Baking Challenge at not only half-price, but also receive a second Holiday Baking Challenge to gift to a friend for free! That’s a HUGE savings on getting started learning a lifelong skill! Don’t miss out!!

Until next time ♡ Mama Morozov

A Grace Girls Thanksgiving Feast

Motherhood, Recipes, Uncategorized

It’s time for our annual Grace Girls Thanksgiving Feast! This is a feast in our Grace Girls Group that is hosted entirely by the girls themselves using the skills that we have learned over time in our classes.

I am VERY grateful for our Grace Girls Group. My girls & I have learned some amazing lifelong homemaking skills through this group. It has helped us form strong bonds as Mother & Daughters. It has helped us form friendships with other like-minded homeschooled girls & mamas.

The girls each choose a dish they’d like to bring to our potluck feast. The girls are then responsible for:

  • Making a shopping list of ingredients needed, AFTER checking the Pantry to see if we already have the items on hand.
  • Prepare ingredients – wash, cut, measure, etc.
  • Cooking, baking, or assembling dish.
  • Preparing table decor & setting the table

*** We are SO lucky to have this group where our girls (& myself) are learning incredible homemaking skills at such a young age by so many mamas with great wisdom! I know firsthand that not every mama has that opportunity, but still wants to teach basic kitchen skills & don’t know where to start! 🔪 Does the idea of a child holding a knife in the kitchen make you panic? The Kids Cook Real Food method of knife skills will have them cutting like pros in no time! Check out the FREE knife skills class HERE. ***

Ella 🦃 (Age 11)

Ella chose to bring a turkey (plus Gravy & stuffing, of course) for the second year in a row now! Which I, of course, forgot to photograph before we left 🤦🏼‍♀️. Luckily I got a couple side shots of it on the buffet table before it was cut into. It was a really, really beautiful turkey.

The turkey needed an 20 minutes of cooking time, so we were late (as usual), but I’d rather it be fully cooked & late than show up early with an underdone bird and cause food illness 🤷🏼‍♀️. The moms were so kind and helpful to wait for me to pull up and unload everything & everyone for me so I could park and hurry in for prayer.

She used a Loaf of Italian bread & a Loaf of Light Rye from the bakery department to make bread crumbs, lots of butter, onions & Celery, turkey broth, & fresh herbs.

I quickly threw together gravy from the Turkey drippings while Niko safely packed the food & children in the car.

PRO TIP: pack everything in a laundry basket or collapsible tote. It makes carrying in food so easy!

Mia 🌽 (Age 9)

Mia chose to bring Corn Pudding – a timeless potluck classic that is one of my personal favorites!

This is a very simple dish that is really easy to keep Pantry staples on hand to be able to whip together for any event quickly.  

Other than supervising the putting in & taking out of the oven, it is entirely do-able for children to make by themselves from start to finish. Children being able to cook by themselves gives them such a huge sense of accomplishment.

Sasha 🥗 (Age 6)

Sasha chose a Grape & Walnut Salad with both red & green grapes. We substituted goat cheese with Feta because I already had it on hand.

I wanted to share this recipe from one of our favorite family cookbooks: At The Farmers Market with Kids. It gives very simple recipes that kids are able to follow by themselves (with a little supervision). I love that it is divided by seasons to offer healthy seasonal produce options throughout the year. It’s such a great book for kids just beginning their healthy food journey or even just to come back to seasonally for inspiration or practice!

Thea 🍞 (Age 5)

Thea chose to bring Dinner rolls.

We doubled the recipe since our family devours the 36 rolls in mostly one meal and thought we will definitely need more… but with bread you do not need to double. There was so much food that everyone was too full for much bread.

We made a total of 6 trays, brought 5 because we “tested” one during lunch and I ended up giving away 2 trays to other families to take home. I didn’t like how they turned soggy on the bottom during travel.

When we arrived, we saw these cute signs leading the way to our feast.

The leaders of our group invited “The Elders” to join our feast before their meeting. I commented to my husband that the term “The Elders” sounds very culty. It specifically makes me think of The Village by M. Night Shyamalan 😅. He laughed and said he can definitely see that.

The first table was appetizers, salads, & breads. I loved the bread tray, pumpkin-shaped rolls, & Cardamom bread!

There were post-it notes & Sharpies for us to write down when we brought & who made it.

Next was the Hot Dish table with main items like Turkey, Ham, Soup & Sides.

The Macaroni & Cheese was the first dish gone like always. We’ll have to keep that in mind for next year & sign up for that as one of our dishes so that there is plenty to go around.

There was also a delicious glazed sweet potato Casserole with pecans. I’ve tried a lot of sweet potato dishes in my life, and this was definitely a new favorite! As an adult I’ve grown out of the marshmallow-topped casseroles & learned to truly appreciate the deep, warm, richer fall flavors out there. This was really yummy – I think I’m going to try to replicate it for Thanksgiving this year. I have plenty of sweet potatoes that need used up!

Another girl brought her version of stuffing, which was definitely better than ours, in my opinion. Had I known ahead of time that she was bringing stuffing too, I would have made the Holiday Stuffing with cranberries I’ve been eager to try for variety, but it gives me the excuse to make it for our Family Thanksgiving next week since we already had plenty of original stuffing this week!

Everyone thanked us for bringing the turkey. They said that it was delicious! I’m glad my husband competitively picked the largest bird he could find – it was a good size to feed such a large crowd. I’m excited to make some bone broth this cozy, cold evening to can for the cellar with the leftover carcass.

I loved the pumpkin pie & apple crumble so much. I had to go back for seconds of the apple crumble! Mia liked the fudge a lot.

We had Mulled Apple Cider & Fruit Punch, or water, to drink. Both were so delicious! The Punch was made with fruit & ginger ale. The Mulled Cider was so warm & delicious! It tasted & smelled so much like Fall in a cup, I can only imagine how deliciously fragrant Mrs. Melissa’s home smelled as they were making this for us.

The table settings were really cute. They reminded me of Ukrainian decor with the wheat, sunflowers, & berries. I love everything about Fall. The colors, the sunflowers, the smells, falling leaves, cozy weather. It is such a time to be grateful.

The drive to the church smelled so amazing, the snow was falling, and it felt like we were traveling to a family holiday dinner like I remember doing year after year as a child. It felt like a really magical drive there.

Some of our favorite dishes at the Grace Girls Thanksgiving Feast were: Macaroni & Cheese (Mia & Thea), Seafoam Salad (Ella), Pumpkin-Shaped Rolls (Sasha), Turkey (Moses). Pumpkin Pie (Mom).

Some things we are grateful for are: We have a roof above our heads (Ella), Having a great family (Mia), Having great food (Thea), Having a family (Sasha), Having Mom (Moses), Still having our electricity on (Mom).

The last two years as I have gained a lot of Potluck Experience (both Ukrainian & American), I’ve learned the importance of planning ahead & bringing take-home containers with me to potlucks to bring Leftovers home in! This is such a game changer!!! No one wants to balance a flimsy paper plate full of food in a moving vehicle. I also learned the importance of a cooking schedule!

I’m grateful for this experience & the chance to do a good taste testing of the Thanksgiving menu. We were able to try some new dishes & get a sense of gathering since we have decided not to host or attend Thanksgiving this year to keep things the holiday small & stress-free and focus on what we are grateful for in our hearts.

Until next time ♡ Mama Morozov

Ooey Gooey Halloween 👻 Sourdough Discard Brownies

Motherhood, Recipes, Uncategorized

HAPPY HALLOWEEN 🎃!!! I can’t believe that tomorrow is already November! This year has absolutely blown by abnormally fast. I’m not gonna lie though, this has been a rough (but also rewarding) year & I’m totally ready for a fresh new one.

Anywho – These Sourdough Discard Brownies have easily become my favorite brownie ever! Usually I prefer to leave out the Mini M&Ms in this recipe and they are absolutely delicious, but for Halloween we decided to add the Mini M&M candy surprise then topped them with Halloween Sprinkles we had.

Ingredients

  • 1 Stick Salted Butter
  • 1 10oz Bag Semi-Sweet Chocolate Chips
  • 1/2 Cup Cocoa Powder
  • 2 Teaspoons Pure Vanilla Extract
  • 2 Large Eggs, + 1 Egg Yolk
  • 1 Cup Sugar
  • 1/2 Cup Brown Sugar
  • 1 Cup All-Purpose Flour
  • 1 Teaspoon Salt
  • 1/2 Cup Mini M&Ms (or other candy of choice)

Directions

  • Preheat oven to 350° and grease a 10×10 square baking dish.
  • On low heat, melt the butter. Once melted stir in chocolate chips, cocoa powder, and vanilla extract. Once everything is smooth, remove from heat and set aside.
  • In the bowl of your electric mixer, beat together the eggs & sugars for 5 minutes. Add the sourdough discard and chocolate mixture and beat again for another 5 minutes. Add flour and salt, and mix together until fully combined on a low setting.
  • Remove bowl from stand mixer and fold in Mini M&Ms.
  • Pour into prepared baking dish and bake for 35 minutes at 350°
  • Cool for at least 30 minutes before adding frosting & Halloween Sprinkles or other decorations.
  • Serve & Enjoy!

The kids decided to decorate theirs with some of the Halloween candy they received too. They were definitely a hit for Halloween!

Naruto, Coraline, Pirate Princess, Cowgirl, Spiderman

The only photos I got from trick or treating tonight. I could not get over how cute & confident Moses was 😍.

Until next time ♡ Mama Morozov

Pumpkin Spiced 🎃 Whoopie Pie Cookies

Recipes, Uncategorized

‘Tis the season for Pumpkin Spiced everything! Although, it’s hard to accept that we are already 2/3 of the way through the Fall season. These little Pumpkin Spiced Whoopie Pies are so good and easy to make! They would make a great addition to a Halloween celebration or a non-pie dessert option for Thanksgiving.

Ingredients | Cookies

  • 2 Cups All Purpose Flour
  • 1 Teaspoon Baking Soda
  • 1 Teaspoom Baking Powder
  • 2 Teaspoons Pumpkin Pie Spice
  • 1 Teaspoon Cinnamon
  • 1/2 Teaspoon Sea Salt
  • 1 Stick Salted Butter, Softened
  • 1 Cup Brown Sugar
  • 2 Large Eggs, Room Temperature
  • 1 Cup Pumpkin Puree
  • 2 Teaspoons Pure Vanilla Extract

Ingredients | Filling

  • 8 oz Cream Cheese, Softened
  • 1 Stick Salted Butter, Softened
  • 2 Cups Powdered Sugar
  • 1 Teaspoon Pure Vanilla Extract

Directions

  • Line 2 large baking sheets with parchment paper & preheat oven to 350°
  • In a large mixing bowl, whisk together flour, baking soda, baking powder, pumpkin pie spice, cinnamon, and salt. Set aside.
  • In the bowl of your stand mixer, use the paddle attachment to cream together the butter & brown sugar for 2 minutes. Scrape down sides.
  • Add eggs, one at a time, until fully incorporated. Scrape down sides, Add pumpkin puree. Scrape down sides. Then add vanilla extract. Scrape down sides.
  • Slowly, mix in the dry ingredients so they don’t fly all over the counter.
  • Scoop 1 Tablespoon of cookie dough at a time onto the prepared baking sheets lined with parchment paper spaced at least 2 inches apart.
  • Bake one baking sheet at a time for 13 minutes at 350°
  • Allow cookies to cool for 10-15 minutes while you make the cream cheese filling.
  • Clean the bowl of your stand mixer & paddle attachment, then beat the cream cheese until smooth. Scrape down the sides and add the butter, mixing until combined & smooth. Scrape down the sides, add the powdered sugar, and mix until smooth. Repeat with the vanilla extract.
  • Pipe the frosting filling onto all of the flat sides of the cookies, then squish together. Save any extra frosting filling.
  • Eat & Enjoy!

Until next time ♡ Mama Morozov

Vegetarian Beef ‘n Cheddar Piroshki

Recipes, Uncategorized

I love cooking traditional Ukrainian food for my family, and replicating the dishes into Vegetarian counterparts for myself.

This time I was trying to mash both Ukrainian & American foods together (I was going for the Ukrainian version of Arby’s Beef N Cheddar in my head) for something a little different. The flavor was AMAZING, but the cheese wasn’t saucy enough for what I was aiming for. I think next time I’ll make a cheese sauce instead of mixing the cheese together in the filling.

However my family will tell you that these piroshki are absolutely perfect the way they are. They begged me to write this down so I could remake them again, and told me that serving it alongside my Green Ajika sauce would take it to the next level.

Ingredients | Dough

  • 1 1/2 Cup Warmed Whole Milk
  • 1 Tablespoon Sugar
  • 1 Tablespoon Active Dry Yeast
  • 1 Teaspoon Sea Salt
  • 1/4 Cup Melted Butter
  • 1 Large Egg
  • 4 Cups All-Purpose Flour

Ingredients | Filling

  • 1 Tablespoon Butter
  • 1 Pound Vegetarian Ground “Beef” Crumbles
  • 1 Onion
  • 3 Cups Cheddar Cheese
  • 1 Tablespoon Fresh Dill
  • 2 Teaspoons Sea Salt
  • 1 Teaspoon Black Pepper
  • 1 Teaspoon Garlic Powder

Directions | Dough

  • Whisk the warmed milk & sugar together in the bowl of your stand mixer until the sugar has dissolved. Sprinkle the yeast on top of mixture, set aside, and let proof for 5 minutes.
  • Add in melted butter, egg, and salt, and allow your stand mixer to whisk for 2 minutes.
  • Switch from your whisk attachment to your dough hook attachment & begin adding flour 1/2 cup at a time until a dough ball has formed.
  • Knead dough on a floured surface for 5 minutes, then transfer to a large greased bowl for 1 – 1/2 hours.

Directions | Filling

  • Cook ground “beef” crumbles according to package or preference, set aside.
  • Grate onion into a large mixing bowl.
  • Add cooked, but cooled ground “beef” crumbles, Cheddar cheese, dill, salt, pepper, & garlic powder to the bowl with onion. Mix together. Set aside.

Directions | Assemble

  • On a floured surface, cut your dough into 16 equal pieces.
  • Roll each piece into small circles and fill with 1/4 cup of filling. Fold dough from the middle down to close tightly and place seam side down. Repeat until all are assembled.
  • Fry in small batches in a large Dutch Oven cast iron pot over medium heat for a total of 5 minutes each, flipping after every minute for even heating.
  • Serve & Enjoy!

Until next time ♡ Mama Morozov